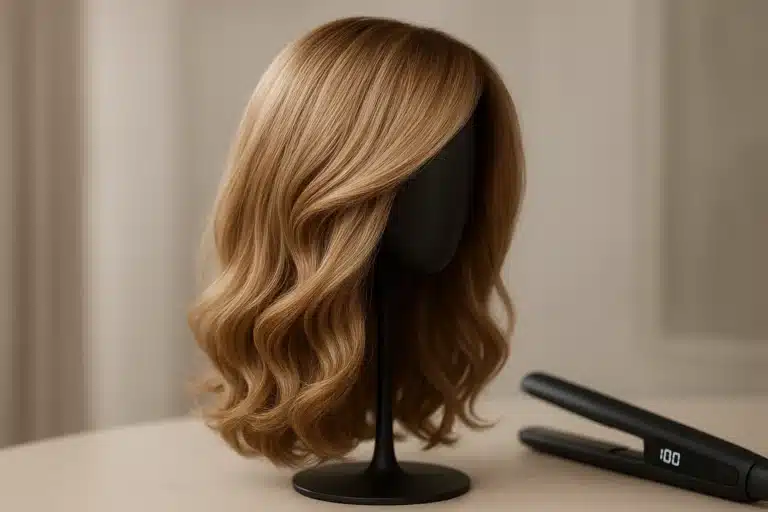
We’ve all been there: You’ve rocked a flawless install for weeks, but the time has finally come to take it down. As you touch the hairline, you feel that stubborn, unyielding grip of the adhesive. Suddenly, a mild panic sets in. You find yourself staring in the mirror, wondering how on earth you’re going to get this off without pulling out your natural edges or ripping a hole in your expensive lace.
If you’ve ever frantically scrubbed your forehead or yanked at a stuck track, you aren’t alone. However, understanding your removal process is just as vital as choosing the right application method found in The Complete Guide to Wig Security: Adhesives, Tapes, and Glueless Methods. Taking off a hairpiece shouldn’t be a battle of wills. By shifting our mindset from simply “removing” the wig to “preserving” both our hairline and the lace, we can completely avoid the dangers of traction alopecia and extend the life of our favorite pieces.
Let’s demystify the science of wig adhesives and walk through a stress-free, zero-damage protocol that protects your skin and your investment.
The Science of the Hold: Why Water Isn’t Enough
To understand how to remove glue, we first need to understand why it sticks so well in the first place.
Many of the most popular and reliable adhesives on the market—such as Esha Lace Glue or Super Lace Glue—are formulated as acrylic copolymers. Unlike basic water-based gels that easily dissolve in the shower, acrylic-based glues are designed to repel water and sweat. They create a microscopic, waterproof bond with your skin.
Because water won’t break down an acrylic bond, beginners often resort to the one thing they shouldn’t: friction. Scrubbing, picking, and pulling at the lace is the fastest way to trigger traction alopecia (hair loss caused by repeated pulling on the hair follicles) and damage delicate Swiss or HD lace.
The Golden Rule of Removal: Let the solvent do the work, not your fingers.
Your Residue Removal Toolkit: Solvents vs. Safeties
Having the right tools is half the battle. Depending on your skin’s sensitivity and the type of adhesive you used, you’ll want to choose your bond-breaker carefully.
Pro-Grade Removers
- Citrus-Based Solvents (like C-22): These are the gold standard in the wig community. The natural oils and citrus extracts are specifically formulated to melt acrylic bonds quickly while being gentle on the skin.
- Isopropyl Alcohol (70%+): High-percentage alcohol breaks down adhesive bonds rapidly. However, use this with caution. Continually using harsh 91% alcohol can dry out your skin and make thin HD lace brittle over time.
DIY & Household “Safeties”
- Coconut Oil or Vaseline: If you have highly sensitive skin or run out of pro-solvents, natural oils act as gentle bond-breakers. They take much longer to work than citrus solvents, but they are incredibly safe for your hairline.
- Red Flag Warning: Never use acetone or nail polish remover on your skin or lace. These harsh chemicals can cause severe contact dermatitis and instantly melt synthetic hair fibers or degrade the delicate lace grid.
The Step-by-Step Zero-Damage Removal Protocol
Ready to take your wig off? Follow these steps to ensure a flawless, tear-free removal.
Step 1: The “Soak Time” Secret
Most quick-fix tutorials tell you to apply a remover and wait one or two minutes. But here is the secret many industry professionals know: true acrylic bonds often need 5 to 7 minutes of soak time to fully release.
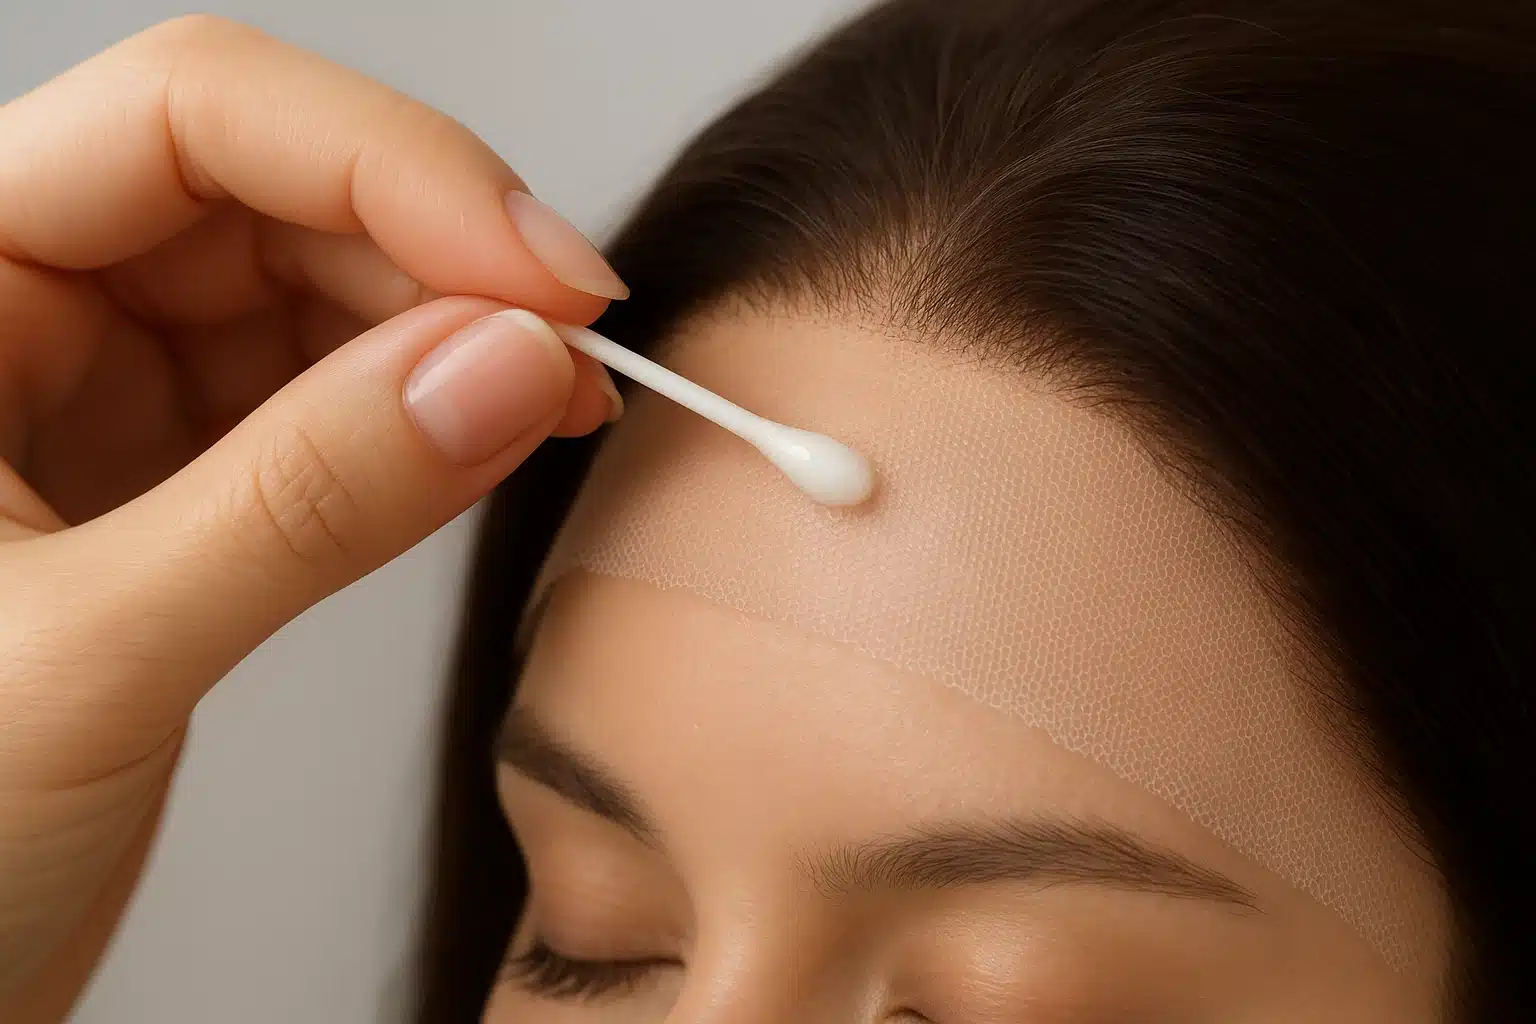
Saturate a cotton swab or a small sponge with your chosen solvent and dab it gently along the hairline where the glue or tape is attached. Set a timer. You are waiting for the adhesive to turn from a solid, tacky state into a soft, gummy state.
Step 2: The “Slide” Release
After 5 to 7 minutes, gently test the edge of the lace. If you feel resistance, apply a bit more solvent and wait. When the bond is truly broken, the lace will literally slide off your skin. You should never feel like you are peeling off a bandage.
Step 3: Lace Cleaning and “The Mirror Trick”
Now that the wig is off, you’ll likely notice gummy residue stuck in the fine mesh of your lace. Scrubbing the lace with a towel will just push the glue deeper into the tiny holes and fray the knots.
Instead, use The Mirror Trick:
- Take your wig and press the sticky, glue-covered inside of the lace flat against a clean bathroom mirror.
- Gently slide the lace downward along the glass.
- Because the adhesive wants to stick to the smooth, non-porous glass more than it wants to stick to the lace, the residue will magically peel out of the lace grid and stay on the mirror!
- You can easily scrape the mirror clean afterward with a paper towel and some alcohol.
Step 4: Ethical Disposal
It might be tempting to jump in the shower and rinse away the remaining clumps of glue from your forehead, but acrylic adhesives don’t dissolve in water. Rinsing glue chunks down the drain is a guaranteed recipe for a clogged sink. Always wipe away excess gummy residue from your skin with a dry paper towel and throw it in the trash before washing your face.
The Recovery Phase: Loving Your Hairline Post-Removal
Once the wig is safely stored, your natural hair and skin need a little TLC. Removing an adhesive often disrupts the natural pH balance of your scalp.
- Cleanse: Wash your hairline with a clarifying shampoo to ensure every microscopic trace of solvent and glue is gone.
- Soothe: Apply a calming, lightweight oil (like jojoba or argan oil) to your edges. This stimulates the follicles, reduces any redness, and keeps your natural hair deeply hydrated.
Troubleshooting: When the Sticky Stays Put
Even with the best techniques, you might run into a few stubborn spots. Here is a quick if/then guide:
- If the lace is still sticky after 3 wipes: Then stop wiping. You need more solvent. Reapply a citrus-based remover, let it sit for another 3 minutes, and try the mirror trick again.
- If you have glue residue caught in your natural baby hairs: Then coat the affected hair in a heavy layer of coconut oil or hair conditioner. Let it sit for 10 minutes, and use a very fine-tooth comb to gently glide the residue out from the root to the tip.
Frequently Asked Questions (FAQ)
Will rubbing alcohol damage my lace wig?
Occasional use of 70% isopropyl alcohol is safe, but prolonged and heavy use of 91% alcohol can strip the moisture from hand-tied knots and make delicate HD or Swiss lace brittle, leading to premature tearing. Whenever possible, alternate with oil-based or citrus removers to preserve the lace’s longevity.
How often should I clean the glue off my wig?
For the healthiest scalp and longest-lasting wigs, you should remove the adhesive residue after every single install. Letting old glue build up not only breeds bacteria but also makes your next application look bulky and unnatural.
Why does my skin break out after removing my wig?
Post-removal breakouts are usually caused by leaving solvent residue on the skin or not properly washing away the broken-down glue. Always follow up your removal process with a gentle facial cleanser to clear your pores of any chemical remnants.
Empowering Your Hair Journey
Mastering the art of safe adhesive removal transforms wearing wigs from an anxious experience into an empowering one. By understanding the chemistry of your adhesives, treating your delicate lace with care, and giving your natural edges the grace they deserve, you can confidently cycle through styles week after week.
At Wig Superstore, we believe that education is the foundation of confidence. Whether you’re exploring hair replacement options for the first time or you’re a seasoned wig wearer looking to refine your routine, knowing how to protect your investment—and your natural beauty—is the ultimate key to feeling beautiful. Take these insights to your vanity, and enjoy a flawless, zero-damage takedown every single time.