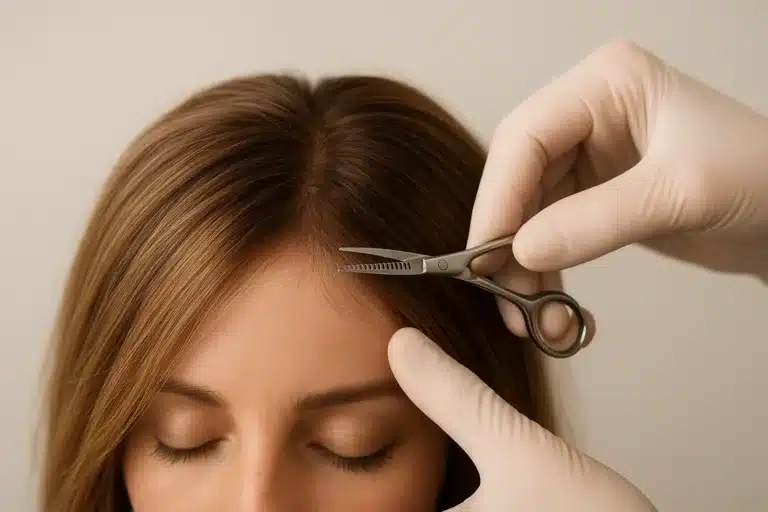
For years, the universal metric for positioning a wig has been the “four-finger rule.” While stacking four fingers horizontally above your brow bone provides a rudimentary starting point for beginners, relying on this rigid template is often the single biggest reason a high-quality unit ends up looking “wiggy” and unnatural. True realism isn’t found in a standard factory template; it is achieved by tailoring the spatial architecture of your hairline to your individual, unique facial structure.
To achieve a truly undetectable front perimeter, customization must extend beyond spatial placement; mastering hairline density and texture is equally vital to ensuring the synthetic or human hair fibers transition realistically from the scalp. By learning how to customize your wig’s hairline placement—adjusting its height, width, and contour—you can effortlessly balance your face shape, soften sharp angles, or elongate rounder features. This guide moves past generic, ready-to-wear advice to deliver an anatomy-driven blueprint for mapping, plucking, and securing a front perimeter tailored specifically to you.
The Failure of the Four-Finger Rule
If you’ve ever watched a wig tutorial, you’ve likely seen the four-finger rule in action. It’s simple, highly accessible, and helps prevent the common mistake of placing a wig directly on your biological hairline. However, it completely ignores the beautiful diversity of human facial geometry.
In cosmetic and reconstructive fields, professionals analyze the face using the principle of Facial Thirds Harmony. Ideally, a face is divided into three equal vertical sections (a 1:1:1 ratio):
- The Upper Third: From the hairline to the glabella (the smooth space between your eyebrows).
- The Middle Third: From the glabella to the base of your nose (subnasale).
- The Lower Third: From the base of your nose to the bottom of your chin (menton).
The four-finger rule assumes everyone has perfectly equal facial thirds. If you naturally have a higher mid-face or a shorter chin, rigidly applying four fingers above your brows will distort your proportions. It can create an artificial, top-heavy look or a visually squashed facial silhouette. To achieve true realism, we have to treat hairline placement as a specialized form of non-surgical facial contouring.
Customizing the Perimeter for Your Unique Face Shape
Just as makeup artists use bronzer and highlighter to sculpt the face, you can alter the visual shape of your face simply by adjusting where your wig’s hairline sits and how it curves.
Round Faces: Creating Vertical Elongation
- The Goal: To introduce structure and visually elongate the face.
- The Technique: Position your central hairline slightly higher—about 0.5 to 1 centimeter above the standard baseline. Instead of a flat horizontal line, customize the perimeter by plucking the temple areas slightly deeper. This creates a subtle “temporal recession,” which narrows the profile of the forehead. By narrowing the top, you naturally draw the viewer’s eyes upward, minimizing the fullness of the cheeks.
Square Faces: Softening Angular Features
- The Goal: To soften prominent, angular jawlines and sharp forehead corners.
- The Technique: Straight, horizontal hairlines are the enemy of a square face. You want to customize a soft, rounded U-shape curve into the lace. Deepen your plucking into a gentle C-curve at the temples to break up any boxiness in the perimeter. This soft framing beautifully counterbalances a strong jaw.
Heart-Shaped Faces: Balancing Proportions
- The Goal: To balance a wider forehead with a delicate, narrow chin.
- The Technique: Lower the center of the hairline slightly, but keep the temples fuller (requiring less plucking). This visually narrows the upper third of the face, pulling everything into harmony. Recreating a delicate, soft widow’s peak in the center is an exceptional technique here, as it visually divides the width of the forehead.
Oblong (Long) Faces: Introducing Horizontal Balance
- The Goal: To minimize vertical height and add horizontal width to the face.
- The Technique: Position the hairline slightly lower (0.5 to 1 centimeter below your standard baseline). Keep the shape flatter and wider across the forehead. This introduces horizontal lines that visually widen the upper face, perfectly balancing a longer facial structure.
Oval Faces: Maintaining Symmetrical Harmony
- The Goal: To maintain your natural balance while preventing a sterile, artificial uniformity.
- The Technique: Oval faces generally align well with the 1:1:1 ratio, so the goal is to mirror your natural bone structure. Focus heavily on plucking “micro-irregularities”—tiny, staggered transitions into the perimeter. A perfectly smooth, unbroken curve looks like a wig; a slightly imperfect, irregular curve looks like a biological scalp.
The Step-by-Step Anatomical Mapping Blueprint
Ready to customize? Before you reach for the tweezers or scissors, you need to map out your anatomical landmarks. This prevents guesswork and gives you a clinical-grade blueprint.
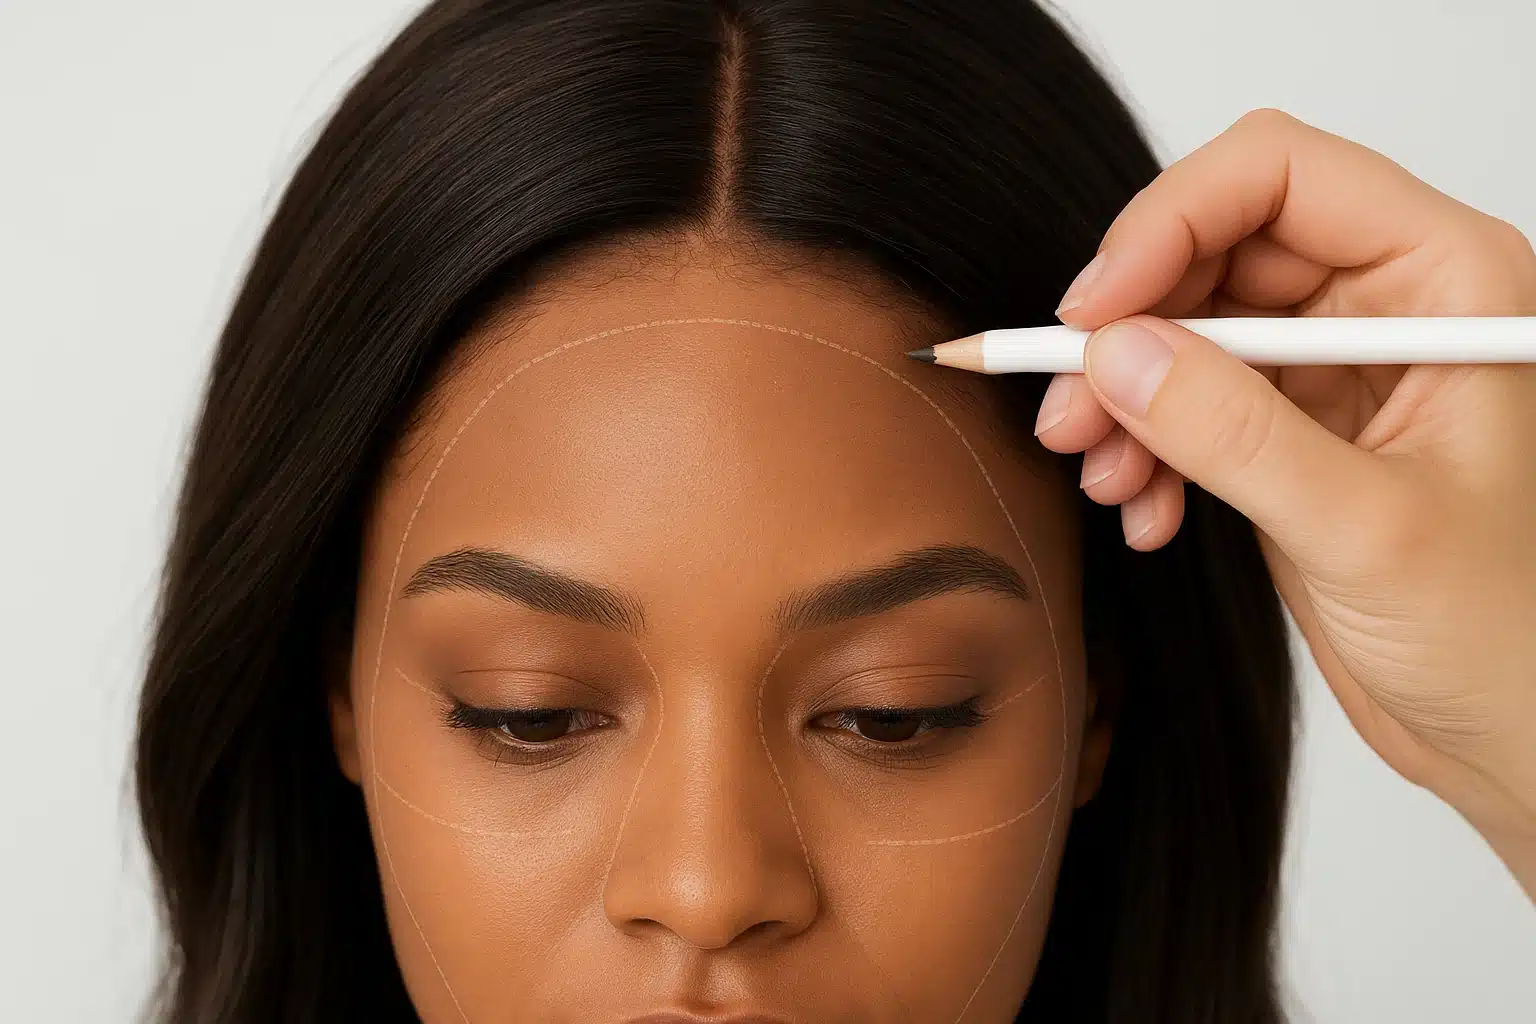
Your Tool Kit: A white eyeliner pencil, a canvas block, a measuring tape, and a hand mirror.
- Step 1: Locate the Central Anchor. Based on the facial thirds harmony we discussed, decide if your central hairline needs to be raised or lowered. Place the wig on your head and mark this exact center point on the lace with your white eyeliner.
- Step 2: Map the Temporal Crests. Forget guessing where the temples should curve. Look straight into the mirror. Use the outer arch of your eyebrow and the temporal crest of your skull (the bony ridge above your temples) as physical alignment markers. Mark where the hairline should transition from the flat forehead to the sides.
- Step 3: Sketch the Perimeter. While still wearing the wig, use your white pencil to connect the dots. Sketch your custom curve directly onto the lace. You are literally drawing the exact zones you will cut or pluck.
- Step 4: Custom Plucking. Remove the wig and pin it securely to your canvas block. Pluck carefully along your mapped white lines, focusing on creating a natural density gradient (thinner at the very front, gradually getting thicker as you move backward).
Troubleshooting the Undetectable Melt
Even with perfect mapping, you might encounter a few structural challenges. Here is how to handle the two most common hurdles:
Concealing a Low Natural Hairline
What if your custom blueprint requires a higher hairline, but your natural biological forehead is very low and narrow? Do not pluck your natural hair, and avoid gluing lace directly over it, which can cause traction alopecia. Instead, use the bald cap method. Slick your biological hair back securely with a strong hold gel, apply a sheer wig cap, and use a safe holding spray to freeze the cap in place just past your natural hairline. Once dried, you can apply your wig slightly higher up on your forehead, effectively hiding your natural low hairline underneath the cap.
Ear Tab and Sideburn Customization
A dead giveaway of a wig is when the ear tabs float above the skin or overlap onto the ear cartilage. The sideburn area of the lace should sit precisely in front of the ear and behind the jaw’s vertical ramus (the vertical bone of your jawline). If the ear tabs are too long, mark where they hit your ear cartilage with your white pencil, remove the wig, and carefully trim the lace in a C-shape to accommodate your ear. This prevents lifting and maximizes the illusion of hair growing directly from your scalp.
Frequently Asked Questions (FAQ)
Where should a wig hairline start?
While the traditional answer is four finger-widths above your eyebrows, the correct answer depends on your unique facial thirds. Ideally, your hairline should sit at a height that makes the top third of your face (hairline to eyebrows) equal in length to the middle third (eyebrows to bottom of nose) and bottom third (bottom of nose to chin).
How do I use the four-finger rule for wigs?
Place your index, middle, ring, and pinky fingers horizontally against your forehead, resting your pinky just above your brow bone. Where your index finger lands is the baseline for where a standard hairline starts. Use this only as a starting point, then adjust up or down based on your specific face shape.
Why does my wig make my forehead look too big or too small?
This happens when the wig’s factory hairline placement conflicts with your natural facial geometry. If you have a naturally long face, a standard placement might make your forehead look excessively large. If you have a round face, placing the wig too low can make your face look squashed. Adjusting the height and plucking the temples can easily fix this optical illusion.
How do you cut lace around the ears and sideburns without it lifting?
Lifting occurs when lace is resting on moving parts of the face (like the jaw joint) or overlapping the ear. Put the wig on, trace the curve of your ear onto the lace with a white eyeliner pencil, and then take the wig off to cut along that line. The lace should lay flush against the flat skin directly in front of the ear.
***
Mastering hairline placement is a journey that transforms wearing a wig from simply putting on a hairpiece into a true art form of facial styling. By respecting your natural bone structure and taking the time to map your customized perimeter, you can wear your hair with absolute confidence, knowing it looks effortlessly, undeniably real.