You spent good money on a lace front wig, and the second you put it on, all you can see is the lace. That shiny line across the forehead is the thing that screams “wig” before anyone notices anything else. The good news is that closing the gap between “obvious” and “looks like it grows from my scalp” comes down to a handful of steps you can do at home.
Making a lace front wig look natural comes down to a few repeatable steps. Start with the right lace and density, then customize the hairline by plucking it and lightening the knots (or tinting the lace to match your skin). Trim the lace cleanly, then lay it flat against your forehead so the edge disappears. Done in order, these steps turn an obvious wig into a hairline that looks like it grows from your own scalp.
If you’re nervous about being “caught,” that’s normal. Every giveaway has a fix, and most of them are easier than they look. Here’s how to do each step at home.
What makes a lace front wig look fake
The single biggest giveaway is too much hair packed into the front of the wig. A real hairline is soft and a little uneven, so a thick, ruler-straight front reads as fake before anyone notices anything else. Fix the density first and you’ve already won half the battle.
A few other things tend to give a wig away:
- A hairline that’s too perfect or too straight across the forehead.
- Lace that looks gray or chalky in daylight and doesn’t match your skin.
- Dark knots (or over-bleached yellow ones) sitting where the hair meets the lace.
- A sharp, straight-cut lace edge you can see at the forehead.
- The wig sitting too far forward or too low, past your natural hairline.
None of these are permanent. The rest of this guide walks through each fix in the order you’d actually do them.
Start with the right wig
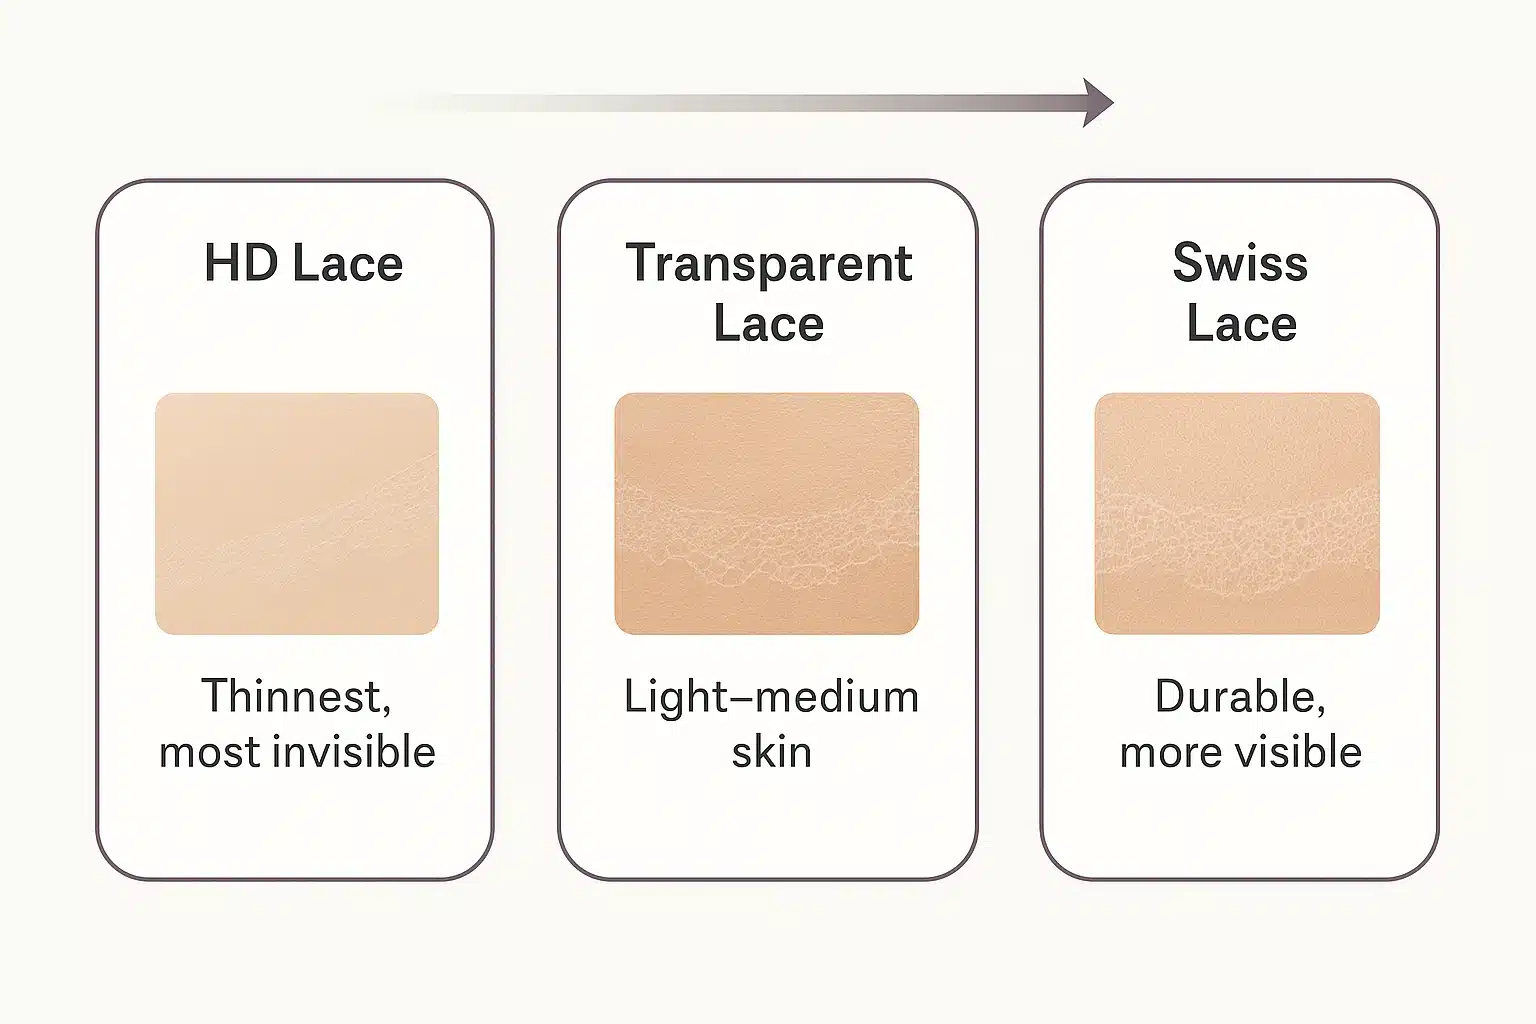
The three lace types at a glance: HD lace is the thinnest and most forgiving, transparent suits light-to-medium skin, and Swiss is durable but needs more tinting.
The easiest way to get a natural result is to start with a wig that does some of the work for you. The lace type and the density matter most. A medium density, fuller in the back and lighter at the front, looks far more like real hair than a dense “glam” cap that piles hair onto your forehead.
It also helps to know the three lace types you’ll see. HD lace is the thinnest and most see-through, so it melts into most skin tones with the least effort. This is why it’s become the go-to for a natural hairline. Transparent lace is slightly thicker and works well on light to medium skin, usually after a quick tint. Swiss lace is durable but more visible, so it needs more tinting or bleaching to disappear. If you’re not sure which to pick, HD lace is the most forgiving for a beginner.
This is also where you can skip steps. Many wigs now come pre-plucked and pre-bleached, with the hairline already thinned and the knots already lightened. Wig Superstore’s lace front wigs, including its glueless, ready-to-wear styles, are often built this way, so a lot of the customizing below is done before the wig reaches you. If you’d rather not pluck or bleach anything yourself, choose one of those and jump ahead to laying the hairline.
Pluck the hairline so it looks real
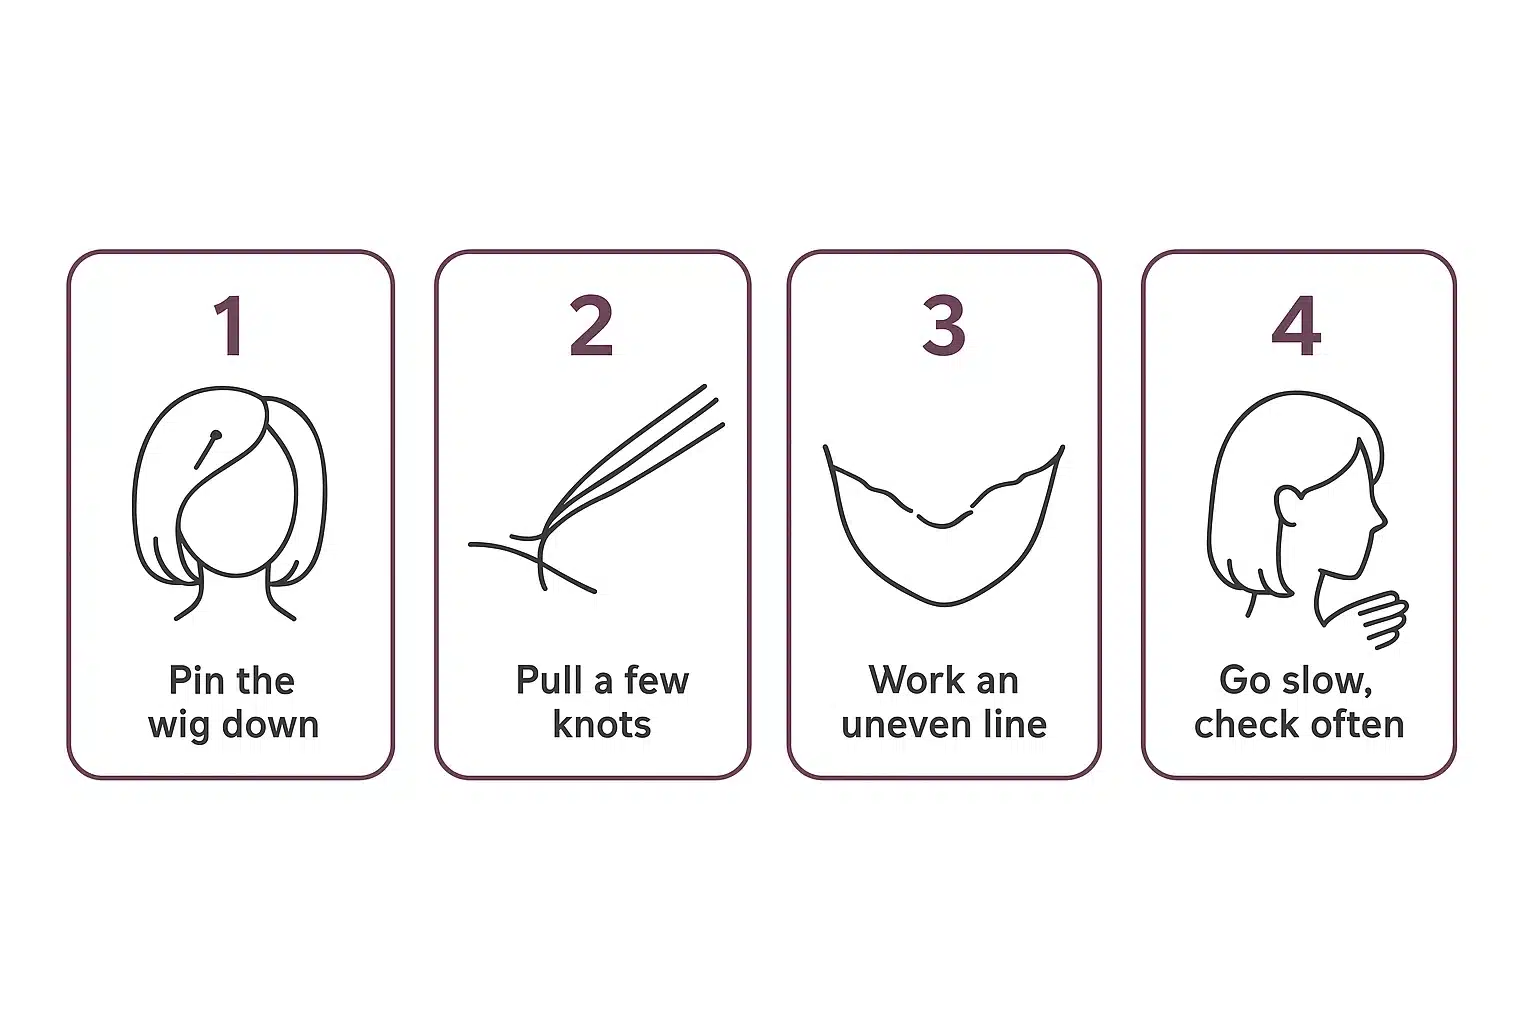
Plucking, step by step: pin the wig down, pull a few knots at a time, work an uneven line, and go slow so you thin the hairline without over-doing it.
Plucking means removing a little hair from the very front of the wig so the hairline isn’t a solid block. A natural hairline is sparse and irregular at the edge, and plucking recreates that. The goal is to thin it, not to bald it.
Here’s how to do it, step by step. Pin the wig to a wig head so it stays still. Use tweezers or a seam ripper to gently pull out a few knots at a time from the back of the lace. Work in a soft V-shape or an uneven line rather than straight across, moving down about one to two millimeters and plucking again to thin the area gradually. Go slowly and step back often to check your progress. Over-plucking leaves gaps that are harder to fix than a hairline that’s slightly too full, so stop sooner than you think you need to.
Lighten the knots (or tint the lace)
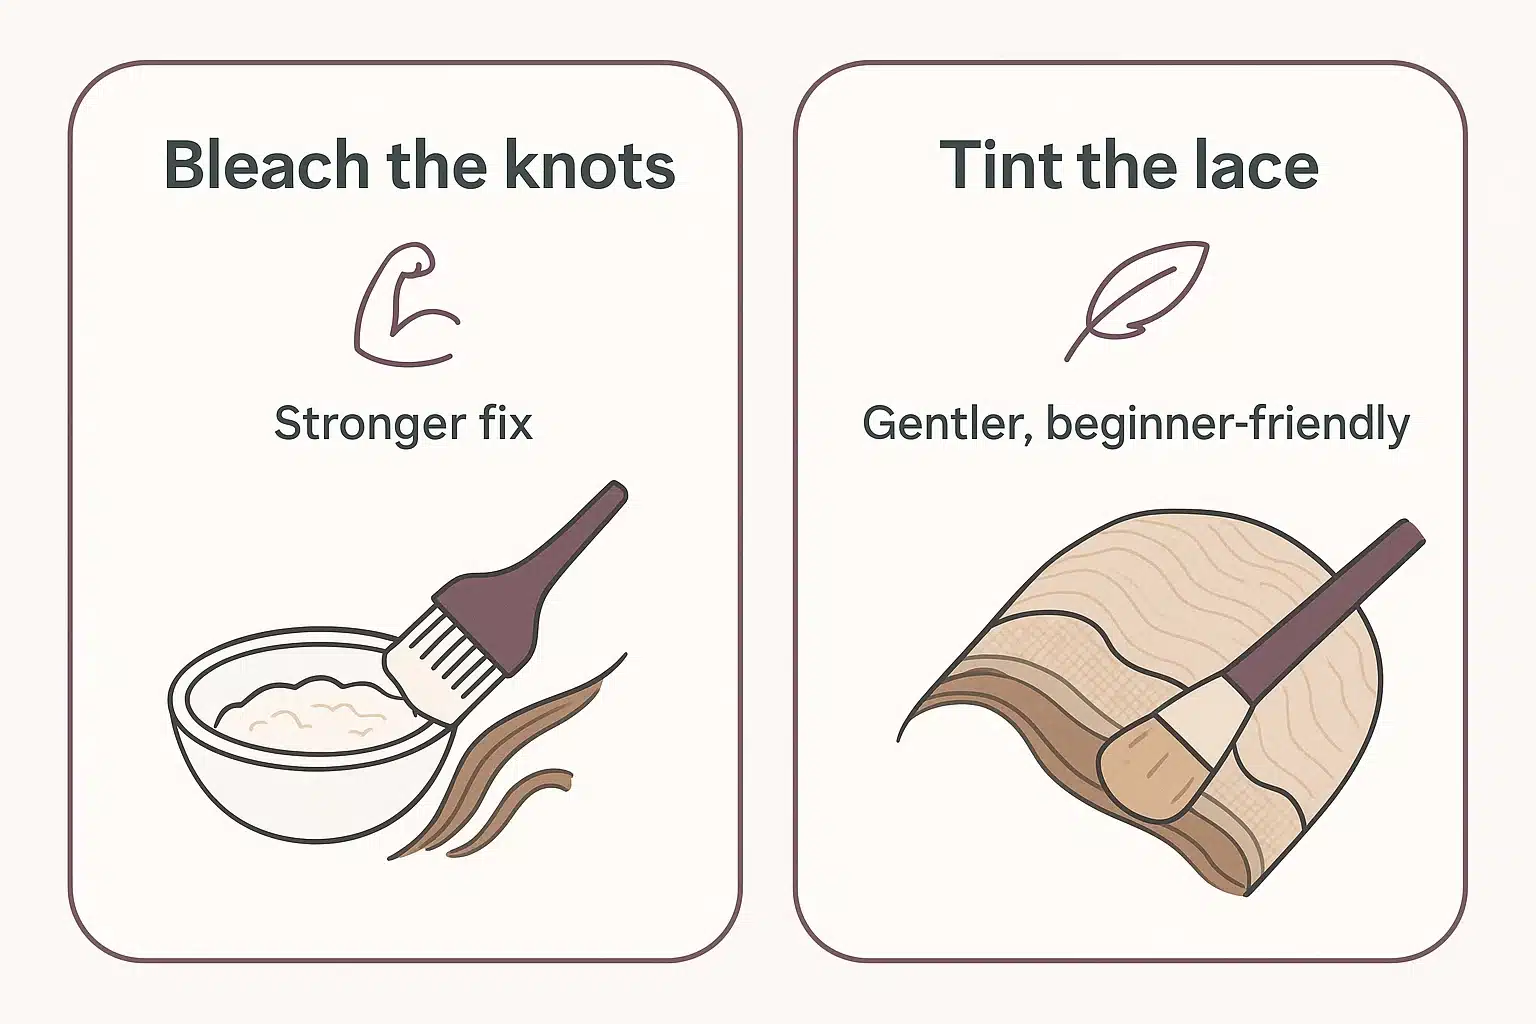
Two ways to hide dark knots: bleach them for the stronger result, or tint the lace with foundation for a gentler, beginner-friendly fix.
Knots are the tiny dots where each hair is tied to the lace. On darker hair they show as little dark specks, which makes the part and hairline look like a wig. You’ve got two ways to handle them: bleach the knots, or tint the lace.
Bleaching is the stronger fix. If you’re a beginner, use a 30-volume developer, which works slowly and is harder to overdo. Mix the bleach powder and developer into a thick, toothpaste-like paste so it sits on top of the lace instead of bleeding onto the hair. A ratio of about one ounce of powder to two ounces of developer works for a frontal. Apply it only to the knots, let it process for roughly 20 to 45 minutes, and check every 10 to 15 minutes. Stop once the knots turn a light brownish color. Rinse it out well and use a neutralizing shampoo so the chemical reaction fully stops.
If bleaching feels like too much, tint the lace instead. Mix a little liquid foundation in your shade with rubbing alcohol and brush it onto the underside of the lace. This darkens the lace to match your skin and hides the knots without any chemicals on the hair. Tinting is gentler and more forgiving, so it’s a good first choice while you build confidence.
Cut the lace the right way
Once the hairline is customized, trim the extra lace so there’s no visible film at your forehead. How you cut matters as much as cutting at all. A straight cut leaves a hard line that catches the light, while an irregular cut disappears.
Cut in a slight zig-zag rather than a straight line, and leave a small amount of lace instead of cutting right to the hairline. Trim a little at a time, since lace that’s cut too short tends to curl up and become more visible, not less. Follow the shape around your ear tabs so the sides lie flat too. Small, careful cuts beat one confident snip here.
Lay and melt the hairline
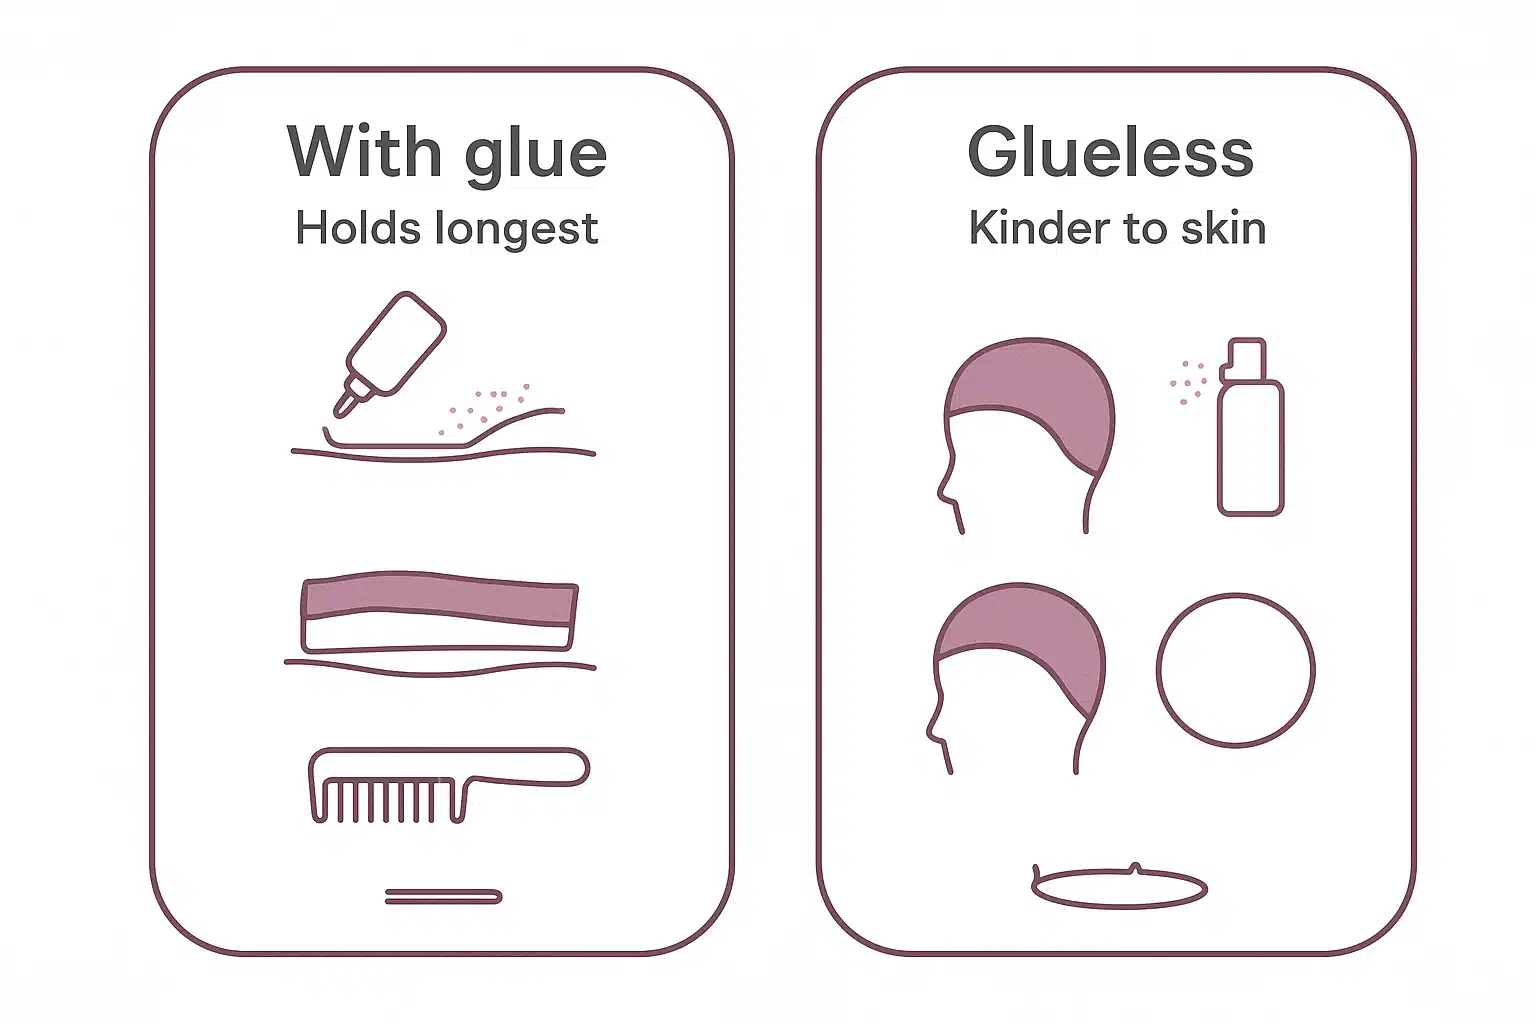
Laying the hairline two ways: glue holds longest and lies flattest for special occasions, while glueless is kinder to skin and edges for everyday wear.
“Melting” sounds dramatic, but it doesn’t involve heat or a flame. It just means pressing the lace flat against your skin and saturating it with product so the edge blends in and disappears. You can do this with glue or without it.
With glue: apply a thin layer of skin protector along your hairline first, then spread a thin, even coat of wig glue, the way you’d spread a thin layer of butter. Let it dry with a cool blow-dryer until it turns clear, then lay the lace down and press it flat with the edge of a comb. Wrap an elastic melt band around your hairline and leave it for several minutes to set.
The glueless way: tint the lace first so it already matches your skin, mist a little melting spray along the edge, and use a comb to press the lace flat. Then wrap an elastic band around your head and leave it for about 15 minutes while it sets, and style as normal. Glueless takes less commitment and is kinder to your skin and edges, while glue tends to hold longer and lie flatter for special occasions. For everyday wear, most people are happiest with a good glueless melt.
Finishing touches
A few small things sell the final look. Lay a handful of soft baby hairs at the front instead of a sharp edge, and keep them irregular rather than uniform. If you can still see the part, brush a little powder or foundation along it to add depth under the lace. Where you place the part also matters: line it up with your own natural part so it reads as your hair, not a wig set on top. Tame any factory shine on synthetic hair with a light dusting of dry shampoo or a leave-in spray. Putting your own hair in a low, flat ponytail or braids underneath also helps the wig sit smoothly so nothing bulges at the front.
Common mistakes to avoid
Run through this quick checklist before you walk out the door:
- Too much density at the front. The number-one reason wigs look fake. Thin it or choose lighter density up front.
- A ruler-straight hairline. Pluck it into a soft, uneven shape.
- Skipping the lace tint. Untinted lace looks gray on the skin, so tint or bleach before you wear it.
- Over-bleached, yellow knots. Yellow shows more than dark. Stop bleaching at light brown.
- A straight lace cut. Cut in a zig-zag and leave a little lace.
- Wearing the wig too far forward. Line it up with your real hairline, not past it.
If all of this sounds like a lot, it can be the first time. That’s exactly why Wig Superstore’s glueless, pre-customized HD lace wigs exist: the plucking, bleaching, and lace prep are already handled, so you can skip most of these steps and go straight to laying the hairline.
Frequently Asked Questions
How do you make a lace front wig look natural without glue?
Choose a glueless wig with a thin HD lace, tint the lace to match your skin, then press the edge flat with a little melting spray and hold it down with an elastic band for about 15 minutes. Plucking the hairline and adding soft baby hairs finishes the look. No adhesive is needed, and it’s gentler on your skin and edges.
How do you hide the lace on a lace front wig?
Match the lace to your skin and lay it flat. Tint the lace with foundation (or bleach the knots), trim the excess in an irregular cut, and press the edge to your forehead so it blends in. A thin HD or transparent lace hides far more easily than a thick, dark one.
Do lace fronts damage your hairline?
They can, but it’s almost always about how the wig is worn, not the wig itself. The usual culprits are harsh glue that irritates your skin and edges, wearing the wig too tight, and ripping it off, which over time can lead to traction alopecia (hair loss from constant pulling). You can avoid most of it: go glueless or use glue sparingly, take the wig off gently, don’t wear it so tight it strains your hairline, and give your edges regular breaks.
How long does a lace frontal last?
It depends on the hair and how you treat it. A synthetic lace piece worn daily lasts about 4 to 6 months, while a human hair wig lasts 1 to 2 years, and up to 4 to 6 with careful handling. The lace itself usually wears out before the hair does. Sun, friction, heat on synthetic fibers, harsh products, and poor storage all shorten its life, so handle the lace gently and keep it on a wig head when you’re not wearing it.