
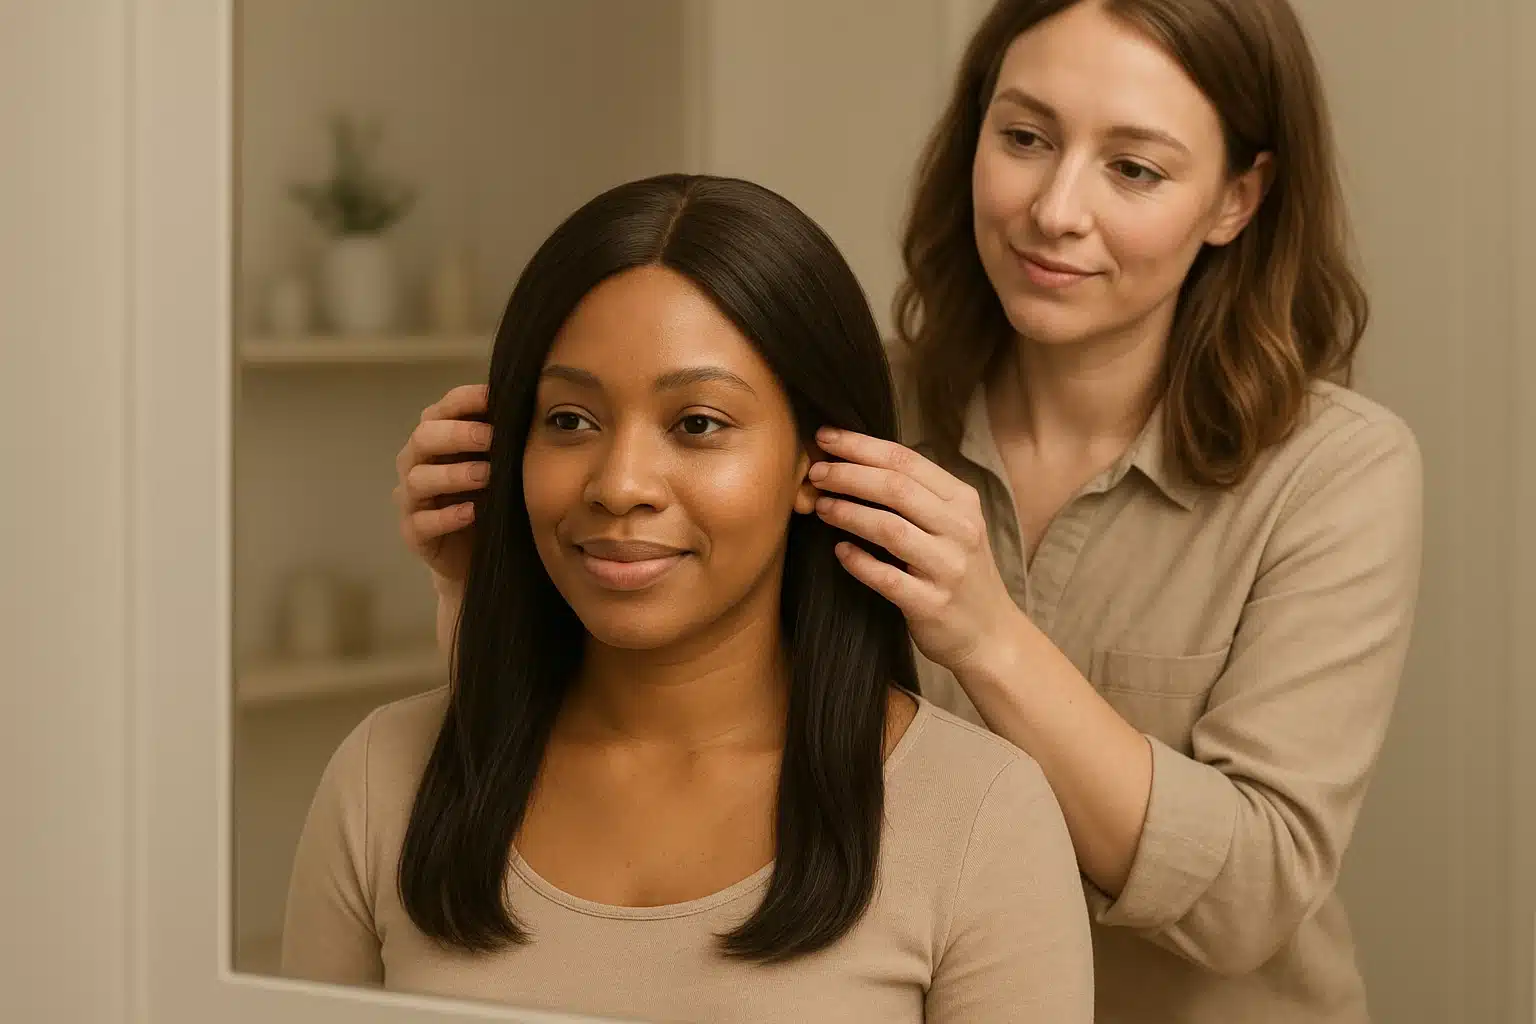
Walking into a wig boutique for the first time is often accompanied by a whirlwind of emotions. Whether you are navigating medical hair loss, thinning hair, or simply looking for a new aesthetic chapter, stepping through those salon doors takes courage. It’s entirely normal to feel a bit vulnerable, overwhelmed by technical terms like “monofilament” or “lace front,” or anxious about how natural a wig will actually look on you.
The good news? A professional wig fitting is designed to eliminate that anxiety, replacing it with empowerment, comfort, and confidence. If you’re unsure where to begin your journey, reading through an ultimate shopper’s guide to the best wig stores in Oakland, CA is the perfect way to find a welcoming boutique that prioritizes your needs. Knowing exactly what happens during a personalized consultation transforms a potentially intimidating experience into an exciting journey of self-discovery.
Here is your comprehensive, step-by-step guide on what to expect during your first professional wig fitting, and how to arrive completely prepared.
Preparing for Your Fitting: The First-Timer Blueprint
A successful wig fitting actually begins before you ever leave your house. Taking a few simple preparatory steps ensures you get the most accurate fit and the best possible experience.
Wardrobe Tactics: Wear a Button-Down Shirt
This is an insider secret most beginners miss: wear a button-down shirt or a top with a very wide, scoop neckline to your appointment. Trying on multiple wigs means pulling them over your head. A tight collar can catch on delicate lace fronts, disrupt the placement of the wig, or create friction against the fibers. A button-down shirt keeps the try-on process seamless and protects the high-quality pieces you are testing.
Prepping Your “Bio Hair”
You might be wondering, “Do I need to shave or braid my hair before going?” The answer is no. You do not need to alter your biological hair just for a fitting. If you have existing hair, the stylist will likely help you place it into flat pin-curls or use a soft stocking cap to compress it closely against your scalp. If you have total alopecia or a bare scalp, simply arrive with clean, moisturized skin.
Create an Inspiration Portfolio
Bring three photos that represent your goal. These could be pictures of yourself before your hair loss, or photos of styles and colors you’ve always wanted to try. This gives your stylist an immediate visual baseline to pull from their inventory.
Step Inside: The Mechanics of a Professional Fitting
Once you are in the private fitting room, the experience shifts from emotional to brilliantly scientific. A well-fitted wig shouldn’t feel like a hat; it should feel like a second skin.
The 6-Point Cranial Measurement Protocol
Before any wigs are brought out, your stylist will measure your head. Just knowing your general hat size isn’t enough. Professional fitters use a 6-point measurement system:
- Circumference: Around the entire head.
- Front to Nape: From the center of your forehead to the base of your neck.
- Ear-to-Ear over the Crown: Measuring the top depth.
- Temple-to-Temple: Across the back of the head.
- Nape Width: The width of the hairline at the back of your neck.
Why so many measurements? Because two people with a 21.5-inch circumference might have completely different cap depth requirements depending on the prominence of their occipital bone (the curve at the back of the skull). Standard petite, average, and large caps all sit differently on unique cranial geometries.
The “Four-Finger Rule” Demystified
As you begin trying on pieces, your stylist will teach you the “Four-Finger Rule” for placement. First-time buyers often pull wigs way too far down on their foreheads, which instantly makes the piece look unnatural.
To find your natural hairline, place four flat fingers horizontally across your forehead, with your pinky resting just above your eyebrow bone (the supraorbital ridge). Where your index finger lands is exactly where the frontal edge of the wig should sit.
The “Shake, Tilt, and Nod” Diagnostic
When a wig is properly placed, the stylist will align the ear tabs so they are perfectly equidistant from your ears, and press the flexible wire stays flush against your temples. Then comes the fun part: the diagnostic test. You’ll be asked to shake your head, tilt side to side, and nod aggressively. A properly fitted piece will comfortably hug your mastoid process (behind the ear) and occipital ridge without shifting.
Decoding the Jargon: Cap Construction and Fibers
During your fitting, your stylist will introduce you to different materials. Understanding this terminology helps you make an informed decision based on your lifestyle, budget, and local climate.
Understanding Cap Anatomy
- Basic Wefted (Open Cap): Features rows of hair sewn onto elastic strips. These offer maximum airflow and built-in volume (sometimes called “permatease”). They are highly breathable and wonderfully budget-friendly.
- Lace Front: Features a sheer, nearly invisible mesh exactly at the hairline. This creates the illusion of hair growing straight out of your forehead, allowing you to style the hair completely off your face.
- Monofilament Top (Mono Top): The hairs on the top of the wig are individually hand-tied to a sheer, breathable fabric, mimicking multi-directional hair growth. You can part the hair anywhere you like, and it looks like a natural scalp.
- 100% Hand-Tied: The gold standard for sensitive scalps. Every single hair is tied by hand to a soft, velvet-like base. It offers 360-degree natural movement and Supreme comfort, making it ideal for those undergoing chemotherapy or experiencing total alopecia.
Fiber Thermodynamics in the Bay Area
Should you choose synthetic or human hair? In the microclimates of the San Francisco Bay Area, this is a crucial question.
- Synthetic Memory Fiber: High-quality synthetic wigs have “style memory.” This means if you step out into wet East Bay fog, the fiber retains its exact silhouette and curl pattern. It requires very little maintenance.
- Remy Human Hair: Just like biological hair, 100% cuticle-intact human hair reacts dynamically to ambient humidity. It offers unmatched longevity and realism, but it requires the same blow-drying and heat-styling maintenance as natural hair.
The In-Salon Diagnostic: 4 Questions You Must Ask
To ensure you are making a confident investment, treat the fitting as an interview. Here are four essential questions to ask your stylist:
- “Can I examine this piece in natural daylight?”Overhead salon lights can alter the true color of a wig. Ask to step near a window to check the density of the fibers, the realism of the hairline, and the true color depth in natural sunlight.
- “Has this fiber been coated in temporary factory silicone?”Sometimes, lower-tier human hair wigs are coated in a silicone wash to make them feel artificially soft in the box. A knowledgeable stylist will help you identify genuine, cuticle-aligned hair that will maintain its soft texture wash after wash.
- “Is on-site personalization included?”Very few wigs are perfect straight out of the box. Ask if your salon offers customization like face-framing layers, bang-trimming, or plucking the part to match your features.
- “What is the exact return and warranty policy?”Brick-and-mortar policies differ greatly from online stores. Understand the timeline for exchanges, restock fees, and what manufacturer warranties cover.
Transitioning Home: Confidence Mastery
Once you’ve found “the one,” the journey isn’t quite over. Taking your piece home requires a brief adjustment period.
Try the 30-Minute Living Room Test. Before wearing your wig to a social event, wear it around your house for half an hour. Let your scalp acclimate to the gentle tension and allow yourself to get used to seeing your new reflection in different mirrors and lighting.
You’ll also want to discuss securing options with your stylist before you leave. Depending on your level of hair loss, you might benefit from a velvet wig grip (which creates wonderful friction to hold the wig in place), a silicone band, or specialized gentle adhesive tapes.
Frequently Asked Questions for First-Time Wig Buyers
How long does an in-person wig consultation take?
A thorough, professional fitting typically takes between 45 to 90 minutes. This allows ample time for measurements, trying on various cap styles, and discussing maintenance routines without feeling rushed.
Can people tell I’m wearing a wig in natural Bay Area sunlight?
If you are wearing a properly fitted wig with a lace front and monofilament top, it is virtually undetectable. High-quality synthetic and human hair pieces are expertly crafted to mimic the exact light reflection and movement of biological hair.
What customization should be done on-site versus at home?
Never take regular kitchen shears to your wig! Any cutting, thinning, or heat-steaming (especially on synthetic fibers) should be done by a professional stylist in the salon. At-home customization should be limited to gentle styling with wig-approved brushes and products.
Your Next Steps Toward Confidence
A professional wig fitting is not just about purchasing hair; it’s an educational experience designed to restore your confidence and comfort. By understanding the mechanics of cap construction, knowing how to measure cranial geometry, and asking the right questions, you transition from an anxious beginner to an empowered consumer.
Take a deep breath. Armed with this knowledge, you are entirely ready to book your first consultation and step confidently into your next chapter.