
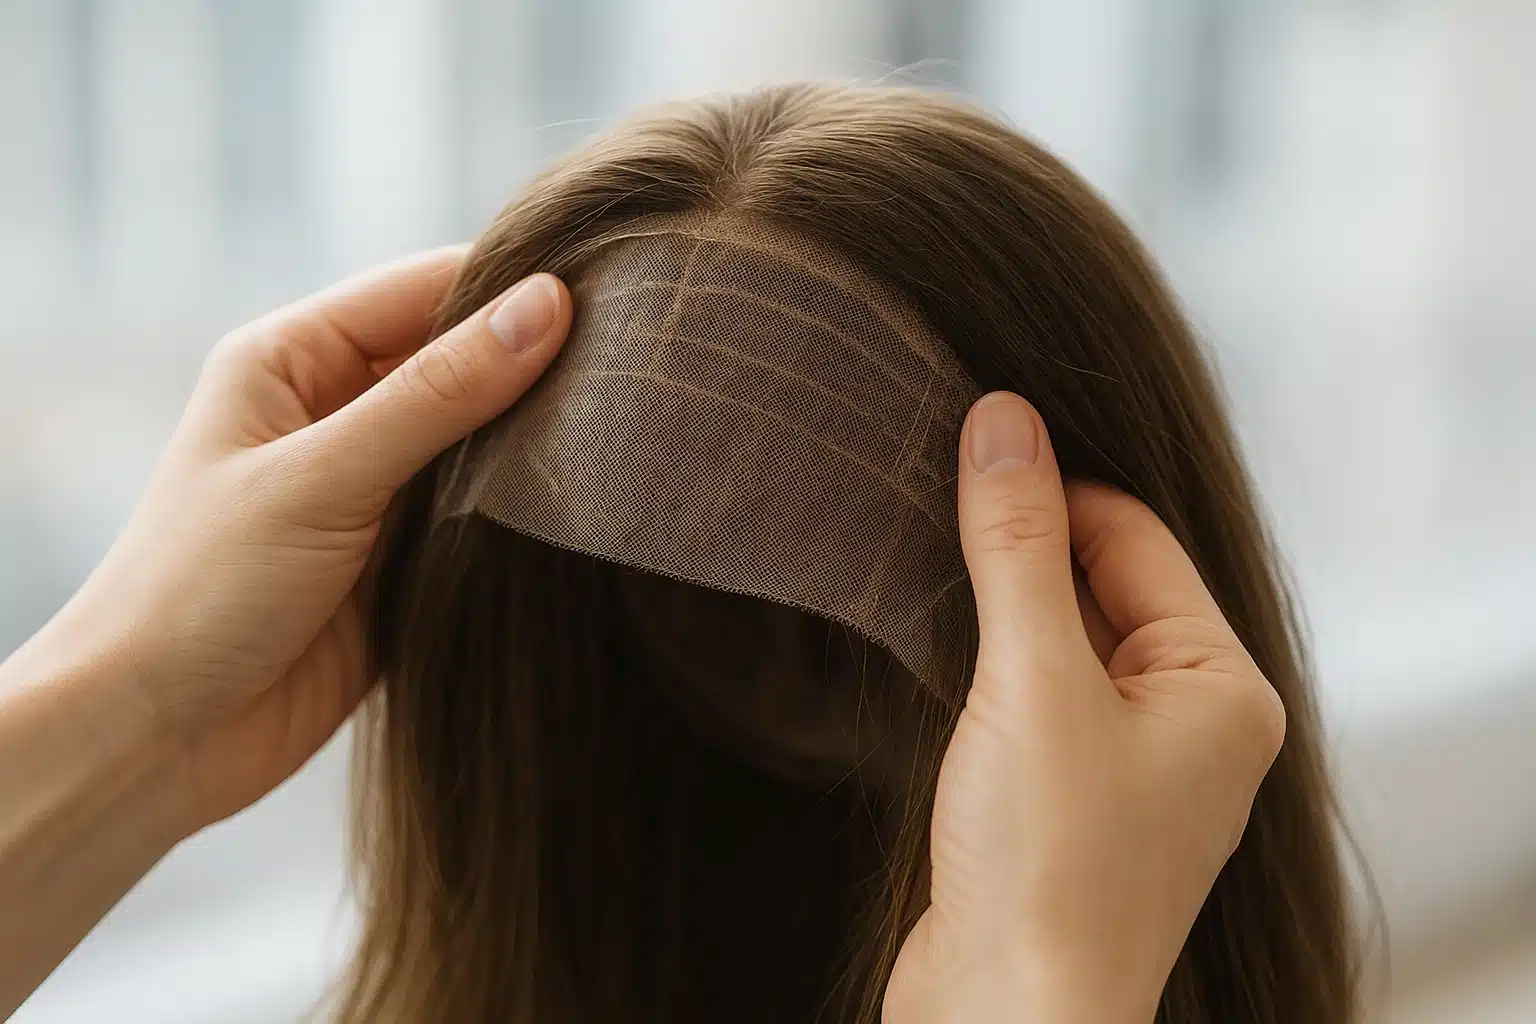
Shopping for a wig is a deeply personal, highly tactile experience. Whether you are navigating medical hair loss, exploring a gender-affirming transition, or simply treating yourself to a fresh new look, evaluating a wig in person can carry a lot of emotional weight. When you step into a brick-and-mortar boutique, you are often immediately met with glowing retail lighting, pushy sales tactics, and complex industry jargon that can make the process feel overwhelming.
The good news is that you don’t need a degree in cosmetology to tell a masterpiece from a dud. If you’re currently exploring the various Portland wig stores, you already know the immense value of seeing and touching hairpieces in person. But to truly make an informed decision, you need more than just a mirror. You need a hands-on diagnostic approach.
This guide will walk you through exactly how to inspect, handle, and evaluate wigs like a seasoned pro—ensuring you walk out of the boutique with a piece that perfectly matches your lifestyle, climate, and expectations.
The Pacific Northwest Paradox: Selecting for Portland’s Microclimate
Before we even touch a wig, we have to talk about the weather. Most wig buying guides treat climate as an afterthought, but in the Pacific Northwest, the environment is your biggest variable. Portland experiences a chronic drizzle and averages around 70% relative humidity during the cooler months. This moisture behaves radically differently depending on the fiber you choose.
The Human Hair Humidity Trap: Premium human hair is beautiful, but just like biological hair, it absorbs ambient moisture. If you step out into the damp Portland air, a meticulously heat-styled human hair wig can quickly expand at the cuticle and frizz, unless it is properly sealed with specialized anti-humectants.
The Synthetic Winter Coat Dilemma: Traditional synthetic fiber (like Kanekalon) is essentially hydrophobic. It maintains its curl memory beautifully in the misty rain without falling flat. However, synthetic fibers are incredibly susceptible to friction. When the nape of a synthetic wig constantly rubs against heavy high-pile fleeces, wool coats, and waterproof rain jacket hoods, it can quickly mat and tangle.
Understanding this microclimate dynamic is the first step in deciding which fiber type will genuinely work for your daily life.
The Showroom Illusion: Why Density and Lighting Lie
When you see a wig on a mannequin, you are seeing a curated presentation. Two of the most common traps beginners fall into are being deceived by retail lighting and misunderstanding hair density.
The “Wig Helmet” (Decoding Density)
Many buyers assume that a higher density percentage (like 150% to 180%) means more luxury, thickness, and value. In reality, excessive density creates a heavy, artificial “wall of hair” that pulls on delicate lace and is the number one giveaway of an amateur wig. Look for the “Scalp Separation & Silhouette Test”: a high-quality wig will feature a graduated, lighter density (around 100% to 120%) at the hairline that mimics natural biological hair growth.
The Two-Light Verification Rule
Fluorescent or warm LED boutique lights are designed to make everything look good. They easily mask the artificial, plastic shine of low-quality synthetic fibers, and they make the temporary silicone coatings on cheap human hair look vibrant and healthy. Always ask to take the wig near a store window or exterior entryway. Natural daylight is the ultimate lie detector for unnatural sheen and uneven dye pigmentation.
The “Inside-Out” Inspection Protocol
Beginners look exclusively at the outside hair. True authority comes from flipping the wig inside out immediately. Examining the interior tells the true story of the wig’s quality within 30 seconds.
Cap Construction and Comfort
Examine the base. Is it an open-weft (machine-made) cap, which breathes well but lacks natural parting? Or does it feature a monofilament top or 100% hand-tied construction, which allows for multi-directional parting and supreme comfort? Check the ear tabs and nape area. You should feel for soft velvet linings, bendable stays that sit flush against your temples, and silicone grips—which are absolutely essential for sensitive or bald scalps.
Decoding Knots and The Bleaching Risk
If you are looking at a lace front wig, closely inspect how the hair is tied to the lace.
- Single vs. Double Knots: The delicate front edge of the hairline should feature tiny, nearly invisible single knots. As you move toward the interior crown, sturdy double knots are preferred for durability.
- The Bleached Knot Audit: Many guides claim bleached knots are universally superior because they make the hair look like it’s growing from your scalp. However, over-bleached knots chemically degrade the root of the hair shaft. If you see an orange halo around the knots or brittle lace perforations, walk away. Over-processing here leads to massive shedding within 60 to 90 days.
Permatease vs. Defective Frizz
Have you ever parted a wig and noticed short, frizzy, crimped hairs right at the root? It’s crucial to know if this is a defect or a design feature. “Permatease” is built-in root crimping used intentionally in machine-wefted wigs to provide lasting volume and hide the tracks below. If it is hidden and functions well, it’s a feature. If it is exposed at the part and looks like breakage or sloppy hand-tying, it’s a flaw.
Your Step-by-Step In-Store Buyer’s Checklist
Ready to head into the fitting room? Save this 5-step diagnostic checklist on your phone to use while you evaluate your options:
- The Perimeter Daylight Test: Ask the consultant if you can step near a natural light source. Check the color authenticity, ensure the lace tint matches your skin tone, and look for any glaring, artificial shine.
- The Inside-Out Seam & Stretch Test: Flip the unit inside out. Give the cap a gentle 3-second tension stretch to verify elasticity. Check the stitch reinforcement along the seams.
- The Gentle 4-Pass Shed Test: With permission, run your fingers gently through the length of the hair four times. Proper raking etiquette will reveal if the knots are secure. A stray hair or two is normal; a handful means poor ventilation.
- The Ear-Tab Alignment & Jaw Movement Check: Put the wig on. Align the ear tabs so they are perfectly symmetrical at your temples. Talk, smile, and move your jaw. The wig should not ride up or shift uncomfortably.
- The Nape Friction Run: Run a multi-finger pass upward starting from the occipital bone (the back of your neck). If the fiber already feels stiff or is beginning to mat on a display model, imagine how it will behave against your winter coat.
Essential Questions to Ask the Boutique Consultant
A trustworthy boutique won’t be offended by your curiosity—they will welcome it. Arm yourself with these essential questions:
- “Can you explain your return and exchange policy if I find the cap stretches differently after a few hours of wear?”
- “Are you able to provide an itemized receipt for a ‘cranial prosthesis’ so I can submit this to my medical insurance?”
- “If I purchase this piece, do you offer in-house cap resizing or custom styling services to thin out the density?”
Frequently Asked Questions (FAQ)
Why does a $300 synthetic wig look almost identical to a $1,800 human hair wig in the showroom?Modern synthetic fibers have evolved tremendously and are often styled to perfection for display. Furthermore, retail lighting creates a forgiving environment. The difference in price reflects longevity, styling versatility, and cap construction (such as hand-tied medical caps) rather than just initial visual impact.
How do I test the quality of a human hair wig in the store?
Use the “Pinch & Slide Cuticle Test.” Take a small strand of hair between your thumb and forefinger. Slide your fingers down from the root to the tip—it should feel smooth. Then, slide your fingers back up from the tip to the root. If you feel extreme resistance or a rough texture, the cuticles are not aligned (non-Remy), meaning the wig will tangle fiercely once the factory silicone coating washes off.
How do I know if a wig cap truly fits my head before I buy it?
A well-fitting wig should feel like a comfortable headband—secure, but not headache-inducing. The ear tabs should sit evenly on both sides without covering your actual ears, and the lace front should lie entirely flat against your forehead without buckling or rippling when you raise your eyebrows.
Next Steps in Your Hair Journey
Evaluating a wig isn’t just about avoiding a bad purchase; it’s about empowering yourself to find a piece that helps you feel beautiful, confident, and entirely like yourself. By understanding how to physically inspect lace integrity, fiber quality, and cap construction, you transition from a passive shopper to a confident evaluator.
Take your time, trust your hands as much as your eyes, and remember that the right wig should adapt to your life in the Pacific Northwest—not the other way around.
At Wig Superstore, we believe in combining compassionate care with deep industry expertise. If you’re looking for further education on navigating hair loss and finding high-quality solutions, explore our comprehensive guides to making your next wig purchase a complete success.