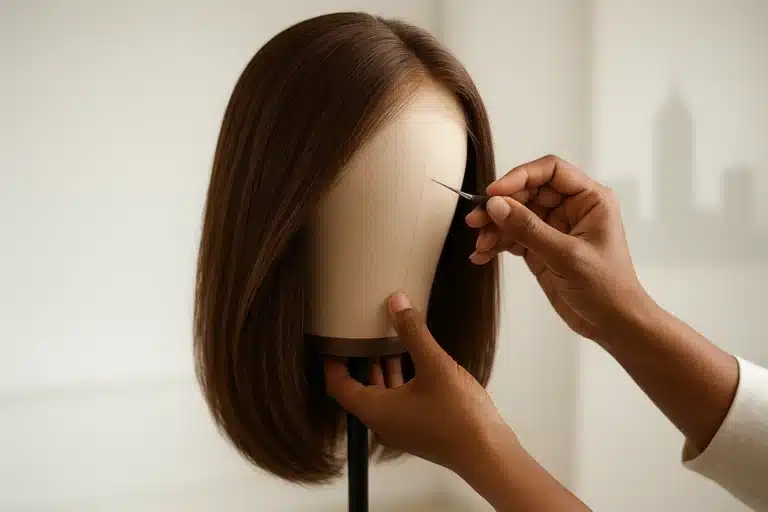
You’ve finally found it—the perfect wig. The color is stunning, the texture is incredibly realistic, and the style is exactly what you envisioned. But when you put it on, something isn’t quite right. Instead of a seamless, natural look, you’re experiencing the dreaded “cone-head” effect, or perhaps the wig shifts uncomfortably when you move. If this sounds familiar, you are not alone. The secret to a flawless, undetectable look rarely lies in the wig itself; it’s almost always about the foundation underneath.
Achieving a professional-grade silhouette requires a blend of technique and an understanding of the unique physics of your natural hair (often called “bio hair”). Before you even pick up a comb, ensuring your unit physically matches your prepped foundation is crucial. For those just starting their journey, mastering wig fit through accurate head measurements and cap sizing provides the essential first step. Once you have the right canvas size, you can focus on sculpting the bio hair underneath to create the ultimate “melt.”
Let’s explore the architecture of a perfect wig foundation, from protecting delicate thinning hair to mastering the bald cap method.
The Psychology and Physics of the “Flat Install”
Many beginners become frustrated when their wigs look bulky, often blaming the wig itself. However, creating a natural look is really about understanding the physics of displacement. Your wig cap has a set volume. If your natural hair is bunched up in the wrong areas, it acts like a push-up bra for your wig, lifting it away from your scalp and destroying the illusion of natural growth.
To become your own “Foundation Architect,” you have to move beyond basic how-to steps and look at your head as a silhouette.
Identifying Your “Bulk Zones”
There are three primary areas where hair naturally wants to gather, causing your wig to lift:
- The Crown: Excess hair here creates the classic “cone-head” shape.
- The Nape (Back of the Neck): Bulk here causes the wig to ride up, exposing your natural kitchen area.
- The Temples: Thick braids at the hairline make the wig look dense and “wiggy” around the face.
The goal of any prep method is to strategically move the bulk of your bio hair away from these critical zones, distributing it evenly across the flatter parts of your skull.
The Prep Spectrum: A Foundation Blueprint for Every Hair Type
If you’ve watched wig tutorials online, you might feel like cornrows are the only way to prepare your hair. But what if your hair is thinning, or too short to braid? Your preparation method should be dictated by your specific hair density and scalp sensitivity.
Level 1: Thinning Hair or Total Hair Loss
Most online guides skip over thinning hair entirely, leaving many people feeling left out. If you have fine, patchy, or highly sensitive bio hair, your priority is protection and grip, not flattening.
- The “Skin-First” Approach: For total hair loss, skip the nylon caps. Opt for a high-quality velvet wig grip or a silicone band. These provide friction without putting pressure on bare skin.
- The “Anchor Pin” Technique: If you have thinning hair that can’t hold a braid, use the anchor pin method. Create tiny, flat pin curls around your crown and secure each with two bobby pins crossed in an ‘X’ shape. This creates a tiny, sturdy shelf for the wig’s combs or grip to hold onto, providing the stability beginners often lack.
- Cap Materials: Stick to silk or satin-lined caps. They reduce friction against delicate hair follicles and prevent the material of the wig from causing further thinning.
Level 2: Medium-Length or Fine Hair
If your hair is long enough to manipulate but not excessively thick, you want a method that lies incredibly flat without causing tension.
- The Flat Twist Method: Flat twists are gentler on the scalp than cornrows. By twisting the hair tightly to the scalp and pinning the tails flat against the back of the head, you create a beautiful, low-tension foundation.
- Pin Curls: For medium hair, taking small sections, wrapping them into flat circles against the scalp, and pinning them is an excellent way to distribute volume evenly.
Level 3: Thick, Coarse, or Long Hair
For dense hair, strategic cornrows are your best friend. But direction matters.
- Straight Back vs. Beehive: Braiding straight back is excellent for keeping the nape of the neck flat, making it ideal for bob-length wigs. The “Beehive” pattern (braiding in a continuous circle around the head) is superior for keeping the crown perfectly flat, eliminating the cone-head effect.
- The Braid Wrap: If your braids leave long tails, never bunch them at the nape. Wrap the tails flat around the perimeter of your head and sew or pin them down to ensure zero bulk at the neck.
The “Bald Cap Method” Masterclass
For lace-front wearers aiming for an undetectable hairline, the “Bald Cap Method” is considered the gold standard. It involves using a thin cap to visually erase your natural hairline and create a smooth, skin-like canvas.
When to use it: When wearing HD or transparent lace wigs where your natural hair color heavily contrasts with the wig’s lace.
The Technique:
- Placement: Pull a thin nylon cap down over your prepped hair, covering your ears and forehead.
- The Freeze Spray Trick: Instead of heavy glues, use an extreme hold styling freeze spray or gel right along your hairline (over the cap). Blow-dry on a cool setting until it feels tacky and hard.
- The Cut: Carefully cut small holes around your ears to relieve tension, then trim the excess cap across your forehead, following the line of the hardened spray.
- The Blend: Use a cream foundation matching your skin tone to paint over the edge of the cap and your hairline. When the lace wig sits on top, it creates a seamless “melt” that looks exactly like a natural scalp.
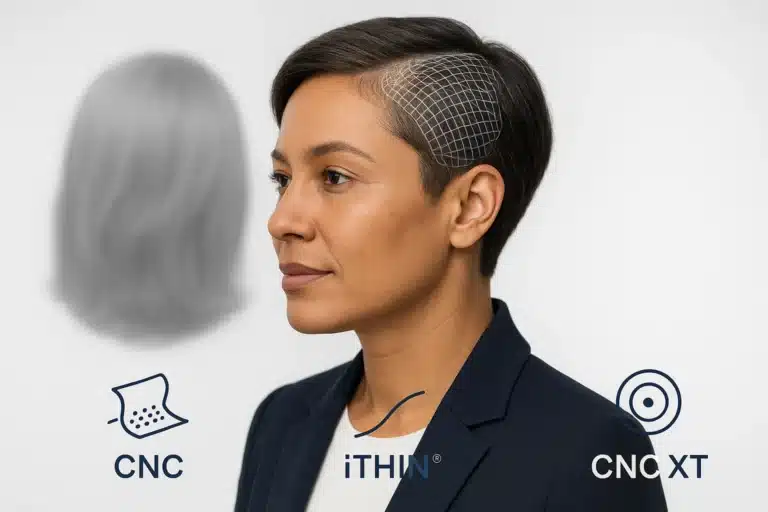
Understanding Cap Materials
Don’t grab just any cap from the beauty supply store.
- Nylon Caps: Best for the bald cap method as they are thin and melt easily into the skin.
- Mesh Caps: Highly breathable, excellent for daily wear and preventing scalp sweat.
- Silk/Satin Caps: Essential for protecting thinning bio hair and preventing friction-induced breakage.
Troubleshooting the “Cone Head”: Why Wigs Lift
Even with a good braid pattern, things can go wrong. Here is a quick visual checklist for fixing a bulky foundation:
- Mistake: Your wig has a distinct ridge at the top of the head.
- The Fix: Your braids or twists are overlapping at the crown. Unpin the hair and distribute the ends toward the lower back of your head.
- Mistake: The wig looks incredibly dense and unnatural right at the forehead.
- The Fix: You may have started your braids too thick at the front. Next time, start with micro-braids at the hairline and gradually add hair as you move backward.
- Mistake: The wig keeps sliding backward.
- The Fix: You have too much bulk at the nape of your neck, pushing the wig up. Ensure your braid tails are wrapped around the sides of your head, not tucked under at the bottom.
Prioritizing Bio-Hair Health Underneath It All
A beautiful wig install should never come at the cost of your natural hair. Traction alopecia—hair loss caused by constant pulling—is a genuine concern for frequent wig wearers.
Tension Checkpoints
Before you even put your wig cap on, do a tension check. Gently press on your scalp where your braids or twists begin. Does it throb? Do your eyebrows feel pulled upward? If yes, your prep is too tight. Tension does not equal longevity; it equals hair loss. Re-do the sections that hurt.
The “4-Day Rule”
For beginners, it is highly recommended not to leave a glued or heavily secured install on for more than four days to a week. Your bio hair needs moisture, and your scalp needs to breathe. Take the unit down, cleanse your scalp, deeply moisturize your bio hair, and let your follicles rest before your next application.
Frequently Asked Questions (FAQ)
Why does my wig look like a cone?
A “cone-head” wig usually means there is too much bulk concentrated at the crown of your head. This happens when braid tails are pinned at the top or when bio hair is simply bunched up inside the cap. Redistributing the hair evenly toward the flatter back of your head will fix this.
How can I protect my thinning edges under a wig?
Always use a silk or satin-lined wig cap, or a soft velvet wig grip. Avoid placing any wig adhesives, hard gels, or wig combs directly onto your delicate edges. Instead, anchor the wig slightly behind your natural hairline.
What is the difference between nylon, mesh, and silk wig caps?
Nylon is ultra-thin and perfect for melting into the skin for a “bald cap” look. Mesh is porous and breathable, great for hot climates or working out. Silk and satin are protective barriers designed to lock moisture into your bio hair and prevent friction breakage.
Do I have to braid my hair to wear a wig?
Not at all! If your hair is fine, thinning, or short, flat twists, pin curls, or simply using a velvet wig grip to slick the hair back are highly effective, low-tension alternatives to cornrows.
Taking Your Next Steps in the Wig Journey
Mastering the foundation underneath your wig is an empowering step in your hair journey. It shifts the experience from hoping your wig looks good to knowing you have constructed a secure, natural-looking silhouette from the base up.
Take the time to experiment with these different prep methods to find the one that best suits your hair density and scalp needs. Remember, a flawless wig installation is a skill, and like any skill, it gets easier with patience, practice, and a little bit of grace. Keep exploring, keep learning, and enjoy the confidence that comes with a perfectly customized fit.