There is a specific moment of hesitation that many wig wearers know intimately. It’s that split second before you step out the door, looking in the mirror and wondering, “Can they tell?” You love the style, the volume is perfect, and the color is radiant. But then your eyes drift to the hairline. Does it look like skin? Or does it look like a border?
Achieving a truly undetectable hairline isn’t just about buying a high-quality product; it is an art form. It requires understanding the specific mechanics of the lace you are working with. To truly master your look, you may want to consult our comprehensive guide to Estetica wigs, which covers the broader spectrum of cap construction and style. However, if your specific goal is making that front hairline vanish, you are in the right place.
This guide moves beyond generic advice to focus on the unique “Swiss Lace+” technology found in Estetica designs. We will walk you through the “melt-to-mastery” process, helping you turn a standard application into a flawless, invisible finish.
Decoding the Technology: Why Estetica’s Honeycomb Matters
Before you pick up a pair of scissors, it is vital to understand the canvas you are working on. A common mistake beginners make is treating all synthetic lace fronts the same. However, Estetica utilizes a Swiss Lace+ honeycomb technology.
Unlike traditional welded lace, which can feel stiff and plastic-like, the honeycomb construction is a fine, pliable mesh. This offers two distinct advantages: it conforms more naturally to the curvature of the forehead, and it diffuses light better than a standard grid pattern. However, because the mesh is so fine, it requires a different approach to cutting and tinting than heavier lace wigs.
The Pre-Install: Preparing Your Canvas
An invisible hairline starts before the wig ever touches your head. The goal is to create a flat, neutral surface that allows the Swiss Lace to lay flush against the skin.
1. The “Bio-Hair” Foundation
If you have biological hair underneath, bulk is the enemy of realism. Even a slight bump at the hairline can cause the lace to lift, creating a shadow that reveals the wig’s edge. Ensure your hair is wrapped or braided as flat as possible, specifically pushing volume away from the forehead area.
2. Skin Preparation
The natural oils on your forehead act as a barrier, causing lace to slip and slide. Cleanse your forehead with an alcohol-free toner. We specify alcohol-free because harsh astringents can over-dry the skin, leading to irritation when the lace rubs against it. You want a clean, matte surface.
3. The Modified 4-Finger Rule
A general rule of thumb is to place the hairline four fingers width above your eyebrows. However, head shapes vary. Estetica wigs are designed with a “true average” fit but possess high stretch. If you have a lower forehead, strictly following the four-finger rule might place the wig too far back, exposing your bio-hair. If you have a higher forehead, it might sit too low, looking unnatural. Place the wig where your natural hairline would be, and use your ears as the alignment anchors.
The “Precision Cut”: Moving Beyond the Straight Line
This is the step that causes the most anxiety, but it is also the most transformative. Most wigs come with excess lace that needs to be trimmed.
The Mistake: Cutting the lace in a perfectly straight line.The Physics: A straight line catches the light uniformly, creating a visible ridge across your forehead.
The Solution: The Micro-ZigzagTo mimic the organic nature of a human hairline, you must create deliberate imperfection.
- Pin it back: Clip the hair fibers back so you have a clear view of the lace.
- Small Scissors: Use small, sharp embroidery scissors rather than large kitchen shears.
- The Motion: Instead of gliding the scissors, use a “snip-turn-snip” motion to create a microscopic zigzag pattern.
This jagged edge tricks the eye. When light hits the lace, the zigzag breaks up the reflection, making the edge disappear against your skin.
The “Melt” Technique: Tinting Without Damage
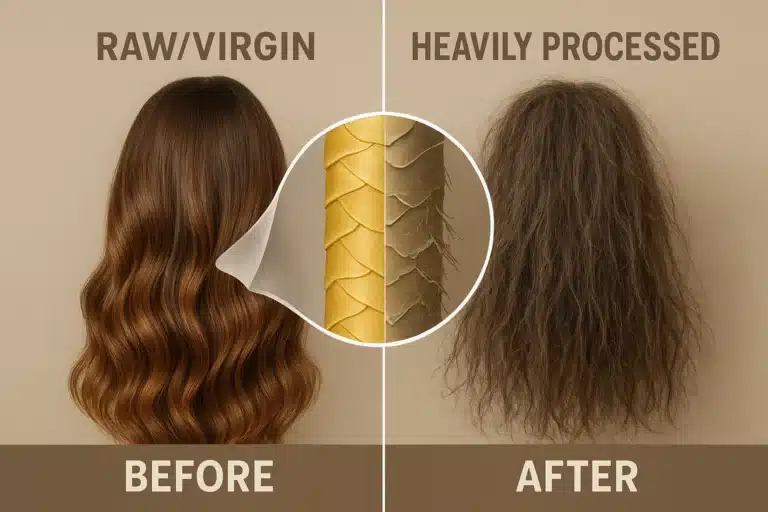
If you research lace front customization, you will inevitably find tutorials telling you to “bleach the knots.” Do not do this on synthetic wigs. Bleach is a chemical process designed to strip pigment from human hair protein; applying it to synthetic fiber will irreparably damage the structural integrity of the wig.
Instead, we use a technique called “Foundation Tinting.”
The “Tapping” Method
Because Estetica uses a honeycomb mesh, smearing liquid foundation or concealer across the lace can clog the tiny holes, creating a caked, muddy appearance.
- Select your medium: Use a powder foundation or a lace tint spray that matches your skin tone.
- The Application: Turn the wig inside out. Using a blending brush, gently tap the powder into the lace where the knots are visible.
- The Effect: This camouflages the dark knots (where the hair is tied to the lace) against your skin tone without compromising the fiber.
Advanced Mastery: The Art of “Wispy Bits”
Real hair doesn’t grow in a dense wall right at the forehead; it graduates from fine “baby hairs” to thicker density. Estetica wigs are pre-plucked to some degree, but you can customize this further.
Caution: Unlike human hair, synthetic fiber does not grow back. Proceed with extreme conservatism.
To create “wispy bits,” isolate a very small section of hair at the temples. Using tweezers, pluck every third hair from the lace. This reduces the density at the very edge, creating a softer transition from forehead to hair.
The Finishing Tie-Down
Once your wig is placed and the lace is adhered (whether using tape, glue, or just the natural tension of the cap), there is one final step that separates the pros from the amateurs: The Melt Band.
Wrap a silk scarf or a dedicated melting band around your hairline and let it sit for 15 minutes. This applies heat-free compression, forcing the warmed lace (warmed by your body heat) to mold perfectly to the texture of your skin. When you remove the band, the lace should look like it is growing directly from your scalp.
Frequently Asked Questions
Can I use heat to flatten the hairline on my Estetica wig?
Estetica fibers are generally synthetic (unless specified as heat-friendly). You should avoid standard hot irons. However, you can use the “warm hands” technique: rub your palms together to generate friction heat, then press them against the hairline to flatten the fibers safely.
Why is my lace curling or warping up?
This is usually caused by “tugging.” When adjusting your wig, never pull it by the lace front. The honeycomb mesh is delicate; pulling it stretches the pattern, causing it to lose its shape and curl outward. Always adjust your wig using the ear tabs.
How do I reduce the shine on the lace?
If the lace looks too shiny in photos, lightly dust a translucent setting powder over the hairline. This mattifies the synthetic material and helps it blend with your skin’s natural texture.
Continuing Your Journey
Achieving a natural hairline is a journey of small adjustments that yield massive results. By respecting the unique construction of your wig and applying these patience-based techniques, you transform a hairpiece into a part of your identity.
For those ready to dive deeper into the world of alternative hair, remember that wig care and maintenance are just as important as the initial styling. As you become more comfortable with these techniques, you’ll find that your confidence grows alongside your skills.
Ready to explore more? Browse our educational library to learn more about maintaining your synthetic styles.