We have all had that moment of hesitation—standing in front of the mirror, checking your reflection from every angle, wondering if the world will notice. For wig wearers, specifically those navigating the world of lace fronts, the “fear of the wind” is a very real thing. You want the confidence that comes with knowing your hair looks like it’s growing directly from your scalp, not sitting on top of it.
The secret to that confidence isn’t magic; it is a blend of chemistry, technique, and patience. Achieving a truly seamless “melt”—where the lace vanishes into the skin—requires understanding how adhesives interact with your specific body chemistry. Whether you are new to hair replacement or looking to refine your technique, mastering the art of the natural wig hairline turns a simple hairpiece into an extension of yourself.
The Science of the “Stick”: Choosing Your Weapon
Before you unscrew a cap or squeeze a tube, you have to realize that not all adhesives are created equal. Many beginners make the mistake of buying whatever product is trending on social media, only to find it slides off their skin within hours. The “best” glue isn’t universal; it depends entirely on your skin type and lifestyle.
Analyzing Your Skin Chemistry
Adhesives rely on polymers to create a bond, but your body’s natural oils (lipids) and sweat are the enemies of that bond.
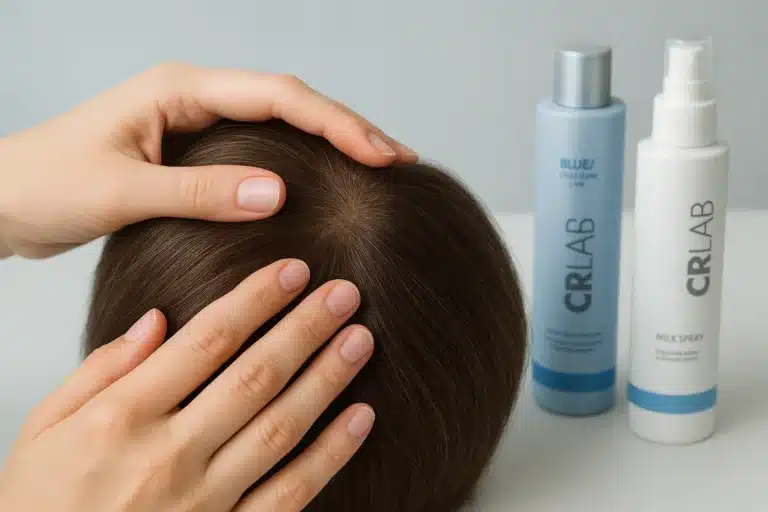
- For Oily or Active Skin: If you have an active lifestyle or naturally oily skin, standard water-based glues might break down too quickly. You generally need an acrylic or solvent-based adhesive, or a water-based formula specifically engineered with moisture-control polymers (often labeled “XL” or “Sport”). These are designed to resist the oils that try to push the adhesive away from the skin.
- For Sensitive or Dry Skin: If you are prone to breakouts or irritation, solvent-based glues can be harsh. Water-based adhesives are generally gentler, hypoallergenic, and easier to remove without damaging the skin barrier. They utilize water as a carrier for the sticking agents, making them safer for daily wear.
Adhesive Types at a Glance
| Adhesive Type | Best Used For | The “Why” |
|---|---|---|
| Water-Based | Daily to 1-2 week wear; Sensitive skin. | Dries clear without harsh chemical fumes; easy cleanup protects the lace. |
| Solvent-Based | Long-term wear (2-4 weeks); Oily skin. | Stronger chemical bond that resists humidity and sweat, but requires careful removal. |
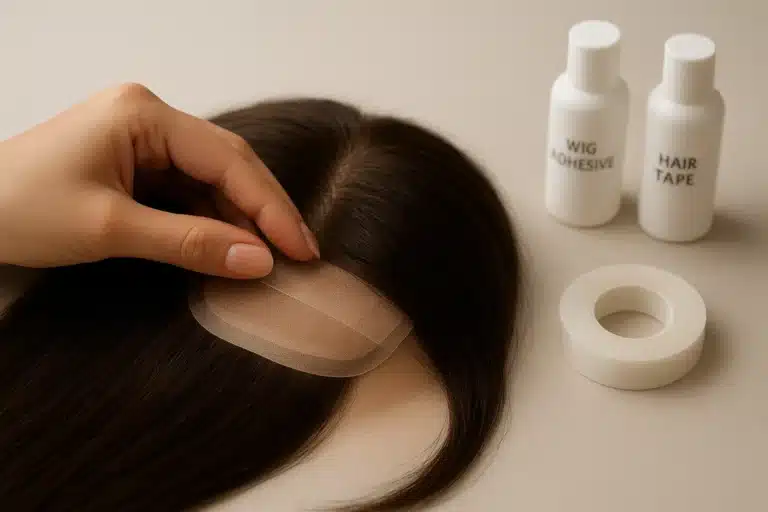
| Tape Adhesives | Quick application; Beginners. | Less messy than liquid; good for those intimidated by liquid glue, though slightly less “melted” in appearance. |
The “Tacky Test”: The Secret to Invisibility
If you take only one thing away from this guide, let it be this: Wet glue does not stick.
The single most common mistake beginners make is applying the lace while the glue is still wet and white. When you do this, the glue seeps into the lace mesh and dries white, creating a crusty, chalky “line of demarcation” that is visible from across the room.
To achieve a melt, the adhesive must reach the “tacky state.” This is the window of time where the solvents (water or alcohol) have evaporated, leaving only the sticky polymers behind.
How to Identify the Perfect Tacky State
- Visual Cue: The glue should turn from opaque white to completely clear (or have a transparent blueish tint for some formulas).
- Touch Test: If you lightly tap it with the back of a fingernail (not your finger pad, which has oils), it should feel stringy and snap back, like cold chewing gum. It should not be wet or slippery.
Building the Bond: The 7-Step Flawless Application Method
Achieving that “growing from the scalp” look is about preparation. Think of your forehead as a canvas; if the canvas is dirty, the paint won’t stick.
1. The Purification Prep
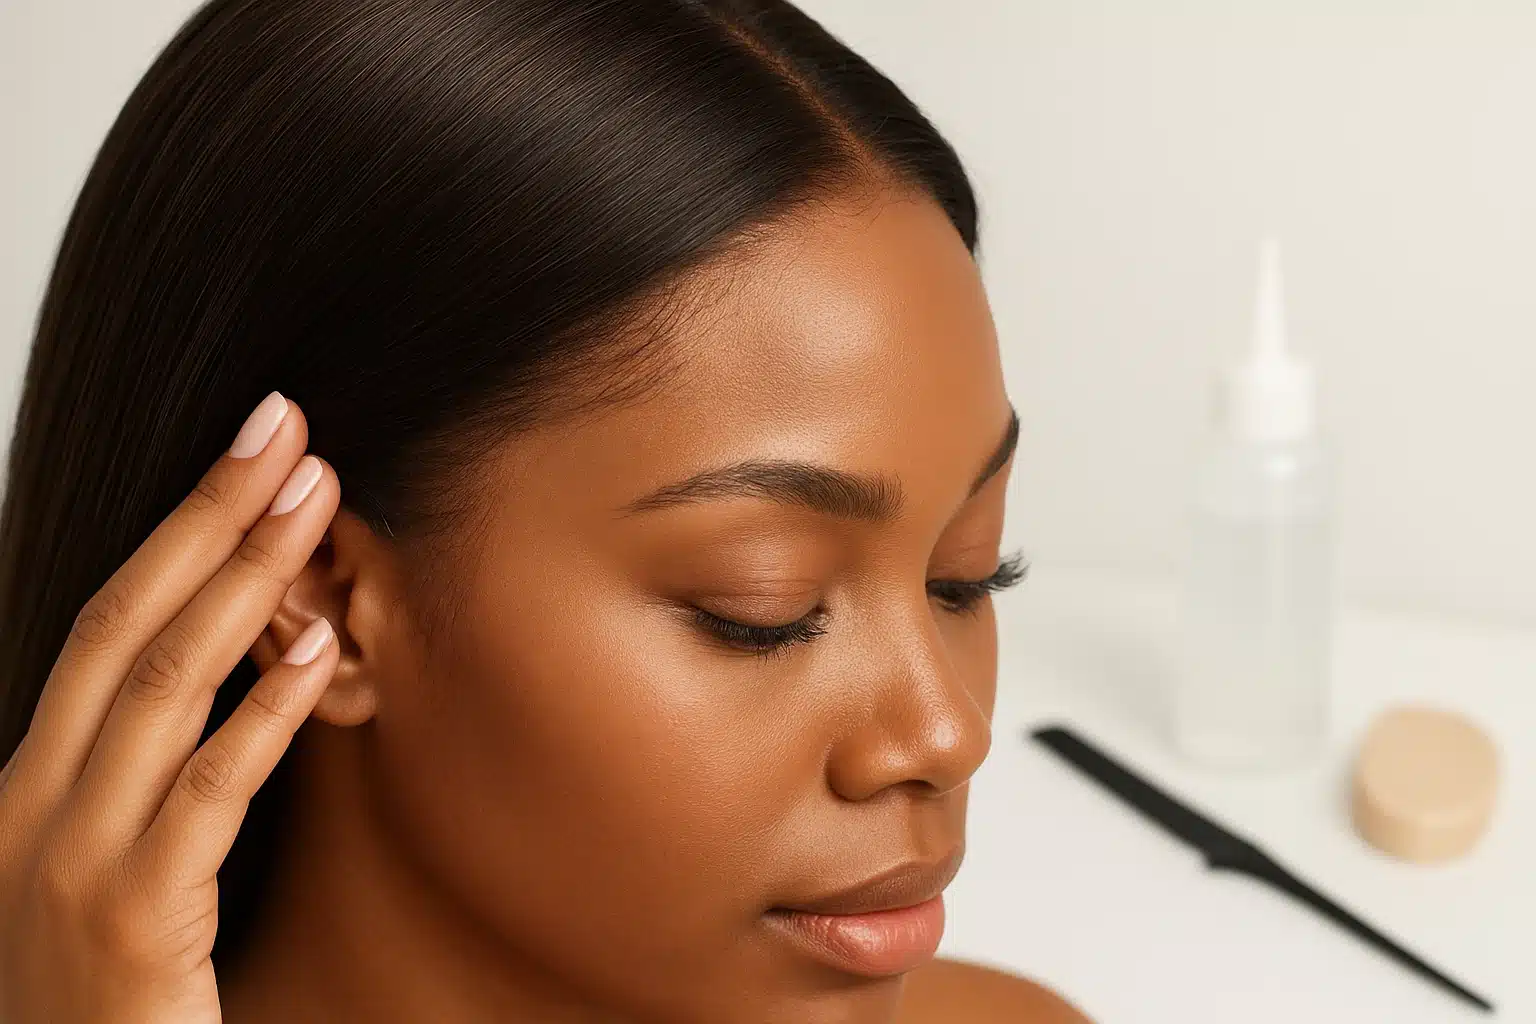
Your skin has invisible layers of oil, makeup, and moisturizer. Even if your face feels clean, these barriers will prevent a long-term hold. Thoroughly clean your hairline with 91% isopropyl alcohol on a cotton pad. Wipe until the pad comes away clean.
- Pro Tip: If you have sensitive skin, apply a scalp protector spray after cleaning. It acts as a shield between your skin and the glue.
2. Wig Preparation
Ensure your lace is clean. If there is old glue residue on the lace from a previous wear, it will create a lumpy, uneven hairline. The lace must be pristine to lay flat.
3. The “Less is More” Layering
Apply your adhesive in thin, consistent layers. A common misconception is that a thick glob of glue equals a stronger hold. The opposite is true; thick layers trap moisture and never fully cure.
- Technique: Use the back of a rat-tail comb or a specialized spatula to spread the glue paper-thin.
4. The Curing Patience
Allow each layer to turn clear before applying the next. For a standard 1-2 week hold, 3 thin layers are usually the “goldilocks” amount. Do not rush this step.
5. Placement and Press
Once the final layer is tacky, carefully pull the lace forward. Position the hairline exactly where you want it (usually just in front of your natural hairline). Press the lace down into the glue using a comb, not your fingers. The teeth of the comb help push the lace hairs into the adhesive for a seamless look.
6. The “Melt Down”
This is the step that changes everything. Once the lace is pressed in, wrap a silk scarf or an elastic “melting band” tightly around your hairline. Leave this on for 10-15 minutes.
- Why this works: The pressure combined with your body heat forces the lace into the adhesive, eliminating air pockets and making the mesh virtually disappear.
7. Styling the Illusion
Remove the band. If you see any shiny excess glue, a dab of alcohol on a cloth can carefully wipe it away. Style your baby hairs (if desired) to further disguise the transition.
Troubleshooting the Illusion: Why Is My Lace Lifting?
Even with the best products, things can go wrong. Here is how to diagnose common issues:
The White Cast
- The Symptom: Your hairline looks chalky or white under bright light.
- The Cause: You likely applied the lace before the glue was fully clear/tacky, or you applied the layers too thickly.
- The Fix: You may need to remove and restart. For minor issues, careful application of a tint spray or makeup that matches your skin tone can help hide the cast.
Early Lifting
- The Symptom: The edges peel up after only a day or two.
- The Cause: Improper skin prep (oils were left on the skin) or high humidity prevented the cure.
- The Fix: focused on the “Purification Prep” step next time. Ensure you are using an adhesive compatible with your skin type (e.g., switch to moisture-resistant glue).
Irritation and Breakouts
- The Symptom: Redness or bumps along the hairline.
- The Cause: A reaction to the latex or acrylates in the glue, or trapped bacteria.
- The Fix: Switch to a water-based, latex-free adhesive and ensure you use a scalp protector.
Pro-Level Care and Removal
Taking the wig off is just as important as putting it on. Never rip a wig off your head; this can tear the delicate lace and damage your natural edges.
Always use a designated lace release spray or an oil-based remover. Saturate the hairline and let it sit for a minute to break the chemical bond. The wig should slide off without resistance. By treating your wig and your skin with care, you ensure that your investment lasts longer and your natural hair remains healthy.
Frequently Asked Questions
Can I swim in my lace front wig?
Yes, but you must use a waterproof, solvent-based adhesive and ensure it has cured for at least 24 hours before getting wet. Water-based glues will re-liquefy in the water.
How long should I leave my wig on?
While some adhesives claim 4-week holds, we recommend removing and cleaning your wig and skin every 1-2 weeks to maintain hygiene and protect your natural hair.
Do I have to use glue?
Not at all. If you are uncomfortable with adhesives, you can look into “glueless” wig constructions that rely on elastic bands and combs for security, though the “melt” may be less imperceptible than with adhesive.
Why is my glue turning yellow?
This often happens with solvent-based glues as they oxidize over time or react with excessive sweat and body oils. Regular cleaning and re-application is the best prevention.
Ready to explore more? Discover our curated collection of premium wigs and care products designed to support your journey to confidence.