We’ve all been there: you unbox a gorgeous new wig, place it perfectly on your head, look in the mirror, and suddenly feel like you’re wearing a heavy, unnatural helmet. If you are experiencing this “helmet-head” effect, take a deep breath. There is absolutely nothing wrong with your wig, and you haven’t made a bad purchase. What you are experiencing is simply the reality of how high-quality wigs are manufactured.
Before you even pick up a pair of shears, however, it is essential to build a baseline understanding of how these hairpieces are constructed. Getting familiar with the anatomy of a perfect wig and mastering hairline density and texture will give you the foundational knowledge needed to safely alter the body of your hairpiece. Once you understand the relationship between front lace, cap construction, and fiber placement, transitioning that bulky piece into a flawless, undetectable style becomes entirely possible to do at home.
The “Helmet Effect” Explained: Understanding the Density Gap
To understand why your wig feels so thick, we have to look at the numbers. Natural human hair typically sits at a density between 90% and 115%. Standard wigs, however, are intentionally manufactured with a density ranging from 130% to 180%.
We call this “The Density Gap.” Manufacturers create wigs with extra volume because it is always easier to remove hair than to add it. This high density allows for incredible styling versatility, giving the wearer enough volume to create elaborate updos or dramatic curls without exposing the underlying wig cap. But for everyday, natural-looking wear, this means thinning out your wig isn’t fixing a defect—it is a routine, professional customization process.
Choosing Your Weapons: The Expert Tool Kit
The first rule of wig customization? Step away from the kitchen scissors. Standard scissors create blunt, harsh lines that look incredibly unnatural. To mimic the tapered, natural growth cycle of human hair, you need the right tools.
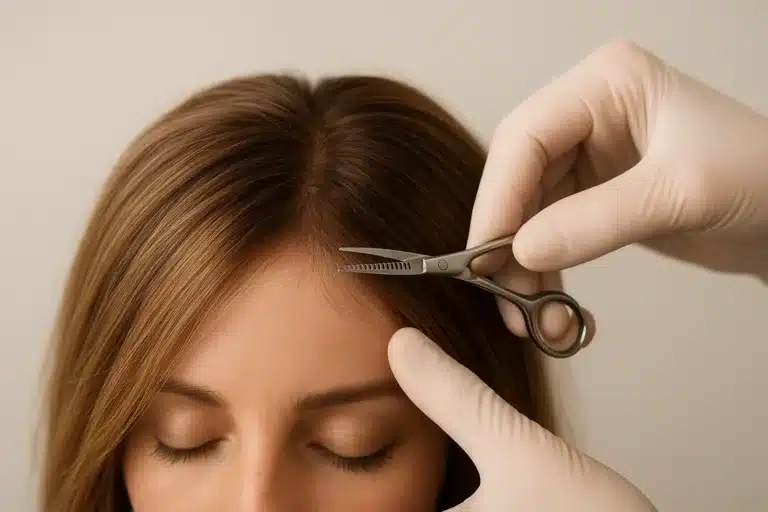
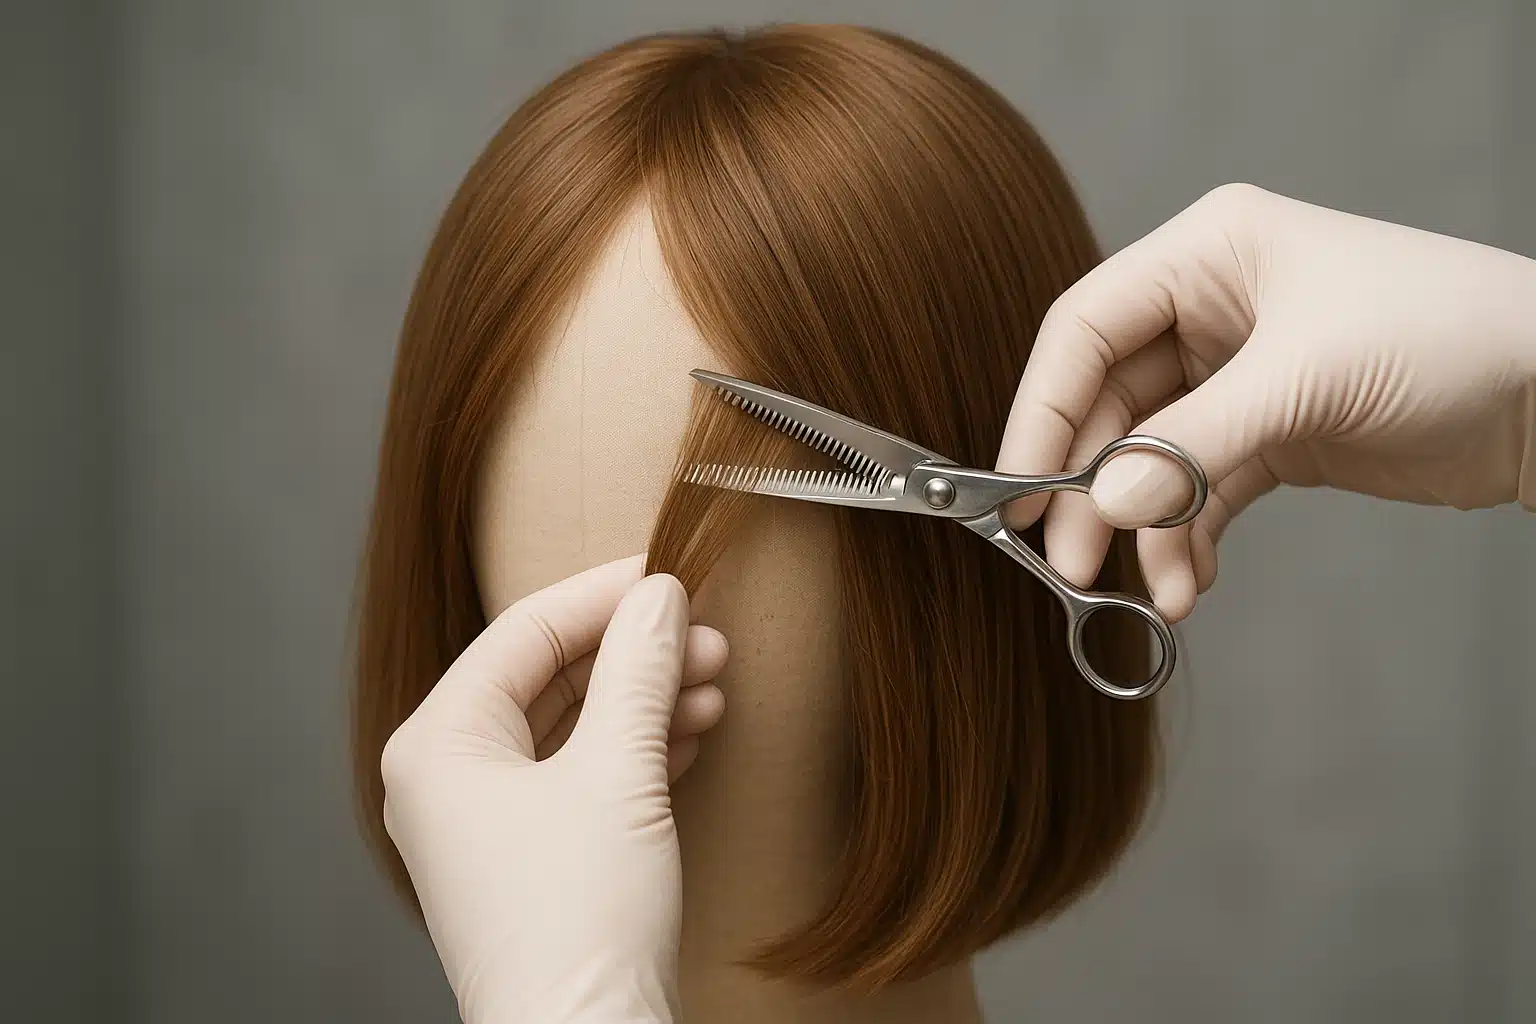
- Thinning Shears: Your best friend for straight and wavy styles. These look like normal scissors, but one blade has “teeth.” They cut only a fraction of the hair at a time, making them relatively safe for beginners. Warning: Always use sharp, high-quality thinning shears. Cheap, dull shears will pull, snap, and permanently damage synthetic fibers.
- Razor Comb: Excellent for feathering ends and sliding through textures for a wispy finish. However, this is a high-risk tool; if you rush, it is very easy to over-shave and create bald spots.
- Seam Ripper: The secret weapon for curly wigs. When standard cutting causes frizz, a seam ripper allows for a fully reversible structural fix by safely removing entire tracks of hair from the cap.
The 3-Zone Mapping Blueprint (Before You Cut)
The biggest fear beginners have is accidentally ruining their wig. To eliminate this fear, we use the 3-Zone Customization Method. Imagine your wig cap is divided into three distinct anatomical territories:
1. The Sacred Canopy Zone
Where it is: The top 1 to 2 inches of hair originating from the part line and crown.The Rule: Strictly off-limits. Do not cut this layer. The canopy acts as a smooth “roof” that hides all the underlying short hairs and tracks beneath it. If you cut the canopy, you will have spiky hairs standing up at the top of your head.
2. The Active Bulking Zone (The Underwood)
Where it is: The middle 60% of the wig, typically around the back of the head (the occipital bone) and the lower sides.The Rule: This is your safe zone. This is where the majority of thinning a wig takes place to reduce that bottom-heavy, bulky shape.
3. The Border Zone (The Perimeter)
Where it is: The front hairline and the delicate areas directly above the ears.The Rule: Proceed with extreme caution. This area requires delicate, single-hair plucking with tweezers rather than shear work to prevent exposing the edge of the wig cap.
Master Customization Tutorials by Hair Type
Hair physics matter. Treating synthetic fibers exactly like natural human hair is a recipe for disaster. Synthetic hair has zero elasticity—it does not drape the same way, and it can stretch or melt under friction.
Track A: The Straight and Wavy Fiber Method (Shears & Glide)
- Prep Based on Fiber: If your wig is synthetic, style it bone-dry under zero tension to prevent stretching. If it is human hair, lightly dampen it and use medium tension.
- Sectioning: Clip away the Sacred Canopy Zone entirely. Pin it up securely so it doesn’t accidentally get snipped.
- The 45-Degree Snip: Taking small, one-inch sections of hair from the Active Bulking Zone, hold your thinning shears at a 45-degree angle. Make a single snip about an inch away from the root, then glide the shears down the hair shaft.
- Comb and Evaluate: Instantly comb out the “shed” (the cut hairs) to evaluate your progress. Never make two cuts in the same spot without combing first.
Track B: The Thick Curly Wig Method (No-Frizz Structural Alteration)
Why scissors fail curly hair: If you use thinning shears on a curly wig, you chop the curls mid-spiral. This destroys the curl clump and results in a massive halo of frizz.
Instead, use the Weft Deconstruction Hack:
- Turn your wig inside out.
- Locate the heavy, bulky area at the back of the head. You will see horizontal rows of hair sewn onto the cap (these are called wefts or tracks).
- Take your seam ripper and carefully snip the thread attaching every third weft in that dense area.
- Gently pull the entire row of hair away. This removes a massive amount of bulk from the root without ever cutting a single curl, keeping your curl pattern beautifully intact and 100% frizz-free.
No-Cut Alternatives: De-Bulking Without Scissors
If you aren’t quite ready to take shears or a seam ripper to your beautiful wig, there are temporary styling techniques to minimize volume.
- The Flat-Braid Foundation: Sometimes the wig isn’t too bulky; your natural hair underneath is. Braiding your natural hair into ultra-flat cornrows can drastically reduce the circumference of your head.
- The Hot Comb & Steam Method: For vertical puffiness at the crown, carefully using a hot comb (on low heat for heat-friendly synthetics) or applying steam can flatten the roots, mimicking a natural scalp lay.
- The De-Shining Formula: High shine makes hair look artificially thick. Lightly dusting the wig with dry shampoo or doing a diluted apple cider vinegar rinse on synthetics reduces light reflection, instantly making the fibers look finer and more realistic.
Emergency Recovery: Troubleshooting Common Mistakes
Mistakes happen, especially when you are learning a new skill. Here is how to fix them:
- “I thinned it too much, and the cap is showing.” Don’t panic. You can camouflage over-thinned spots by shifting your part line slightly or styling the hair with a zigzag part to cross hairs over the sparse area. You can also use a root-concealing powder that matches the hair color to disguise the cap, or as a more permanent fix, sew a spare weft of hair into the gap.
- “I accidentally cut the canopy, and now short hairs are sticking straight up.” Tame those spiky offenders using a hair wax stick. Apply a tiny amount of wax to the short hairs and use the warmth of your hands (or a very low-heat tool) to lay them flat and blend them seamlessly under longer strands.
Frequently Asked Questions (FAQ)
Can I use regular scissors if I am very careful?
It is highly discouraged. Standard scissors create blunt, sharp lines that leave “steps” in the hair. Thinning shears are specifically designed with spaced teeth to remove weight while leaving a soft, blended edge.
How do I know if my wig needs thinning?
Try it on after securing your natural hair as flat as possible. If the hair looks unnaturally wide at the bottom (forming a triangle shape) or if it sits so high on your crown that it looks like it’s floating, it is likely suffering from “The Density Gap” and would benefit from de-bulking.
Should I wash my wig before thinning it?
Yes! Wigs often arrive with a protective factory coating that makes them slightly stiffer. Washing and air-drying your wig allows the fibers to fall into their natural state, giving you a true picture of where the bulk actually lives.
Taking the Next Step in Your Wig Journey
Customizing your wig isn’t just about reducing hair density; it’s about reclaiming your confidence. When a wig fits well, lies flat, and mimics the natural density of biological hair, it stops being a hairpiece and simply becomes your hair.
Take it slow, respect the 3-Zone Mapping Blueprint, and don’t be afraid to practice on an older unit first. With patience and the right techniques, you can transform any high-density piece into a perfectly tailored, completely undetectable style that highlights your unique beauty.