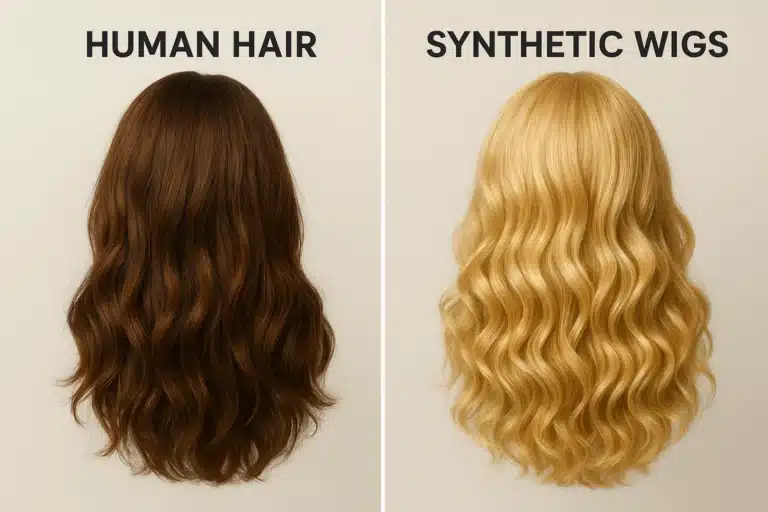
We’ve all been there: you unbox a stunning new wig, carefully place it on your head, and step back to look in the mirror. The hair is gorgeous, but something feels off. Maybe the lace is sliding backward, the fabric is bunching up at the nape of your neck, or there’s an uncomfortable squeeze right at your temples. If you’re experiencing this, you aren’t alone. The reality of the “off-the-shelf” wig market is that standardized, “average” sizing completely ignores the beautiful 3D complexity of the human skull.
The secret to a flawless, natural-looking wear isn’t just about buying the right size—it’s about sculpting the right fit. However, before you even think about picking up a needle and thread, you need to establish a baseline. To achieve a truly bespoke feel, you must first focus on mastering wig fit through precise head measurements and cap sizing. Understanding your exact dimensions prevents common DIY errors and helps you identify whether your cap truly needs altering, or if it just needs adjusting.
Welcome to your comprehensive guide on taking a wig from “almost right” to an absolutely perfect, custom fit.
The Fit Audit: Why Standard Caps Fail
Most standard caps—like a basic Qfitt wig cap or generic beauty supply brand—are constructed with the assumption that every head is perfectly round. But in reality, our heads have unique contours, flat spots, and distinct ear-to-ear ratios.
A common trap beginners fall into is the “Positioning Fallacy.” Often, wearers believe a cap is too small when it is actually just positioned incorrectly or competing with bulky natural hair underneath. Before making any alterations, perform a quick Fit Audit using the 4-Finger Rule.
The 4-Finger Rule: Place four fingers horizontally flat against your forehead, with your bottom finger resting just above your eyebrows. The front hairline of your wig should sit exactly where your top finger rests. Adjusting your wig to this sweet spot immediately resolves about 30% of “poor fit” complaints before any sewing even begins!
Tier 1: Non-Invasive Fixes Before You Sew
If your wig passes the 4-Finger Rule but still feels insecure, don’t reach for the scissors just yet. Try these non-invasive fixes:
The “Bulk Check” and Foundation Basics
Many cases of “Small Cap Syndrome” are actually caused by the hair underneath. Flattening your natural hair is critical. Here is where the great “Stocking Cap vs. Wig Base Cap” debate comes in.
- The Stocking Cap: A standard nylon mesh cap (like a basic Sally’s wig cap) is excellent for compressing natural hair flat against the scalp.
- The Wig Sew-In Cap: This is a structured, thicker base used to build a wig from scratch.
If your wig feels tight, ensure your natural hair is braided flat and tightly compressed with a thin stocking cap, rather than a bulky foundation cap.
Harnessing Hardware and Grips
Before altering the cap, utilize the adjustable straps at the nape. If those aren’t enough, velvet wig grips are a fantastic, non-invasive way to fill in micro-gaps and add friction, keeping the wig securely anchored without adding permanent tension to the delicate lace.
Tier 2: The Structural Trio for DIY Customization
If the foundation is flat, the positioning is correct, but the cap still gapes or slides, it’s time to look at minor DIY structural changes. We call this the Structural Trio.
1. The Elastic Band Method (For Glueless Security)
This is the most viral DIY solution on the internet, and for good reason. Sewing a thick elastic band from ear tab to ear tab across the back of the wig anchors the unit around your occipital bone (the curved bone at the lower back of your skull).
- Why it works: It shifts the tension away from your fragile front hairline and pulls the lace flat against your forehead, providing ultimate glueless security.
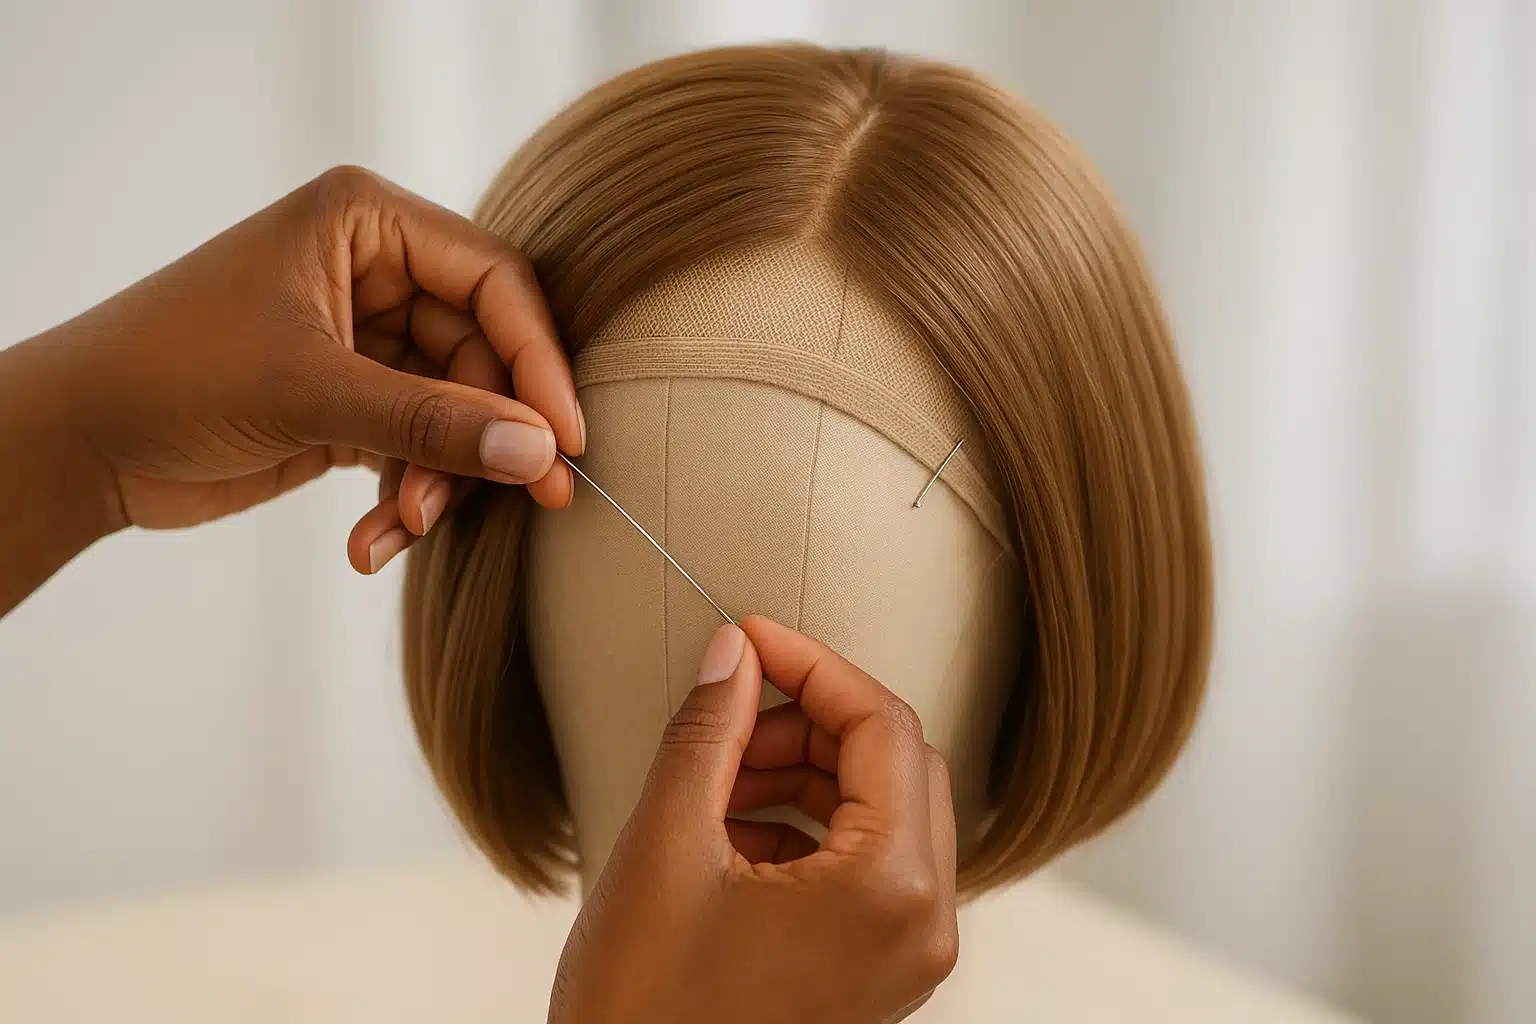
2. The Logic of Darts: “Listening to the Fabric”
If you have a petite head, you might experience gaping pockets of loose fabric at the crown or sides. The solution is sewing a “dart.” A dart is a tailored fold sewn into the fabric to take in the volume and make a flat piece of material curve to your head.
The secret to a perfect dart is “listening to the fabric.” Place the wig on a canvas block (or your head) and look for the “lift points”—the exact spots where the net bubbles up or lifts away from the surface.
- The Technique: Pinch the excess fabric, fold it over, and use the “Two-Pin Trick” (placing one pin at the base of the fold and one at the tip) to map out your line. Always remember: the “triangle pleat” of a dart should always point toward the crown of the head for the most natural shape.
3. The Nape Tuck (Fixing Baggy Back Syndrome)
Sometimes a wig matches your circumference perfectly, but fails at the “Nape” measurement. This results in the back of the wig riding up or feeling baggy. By pinching a small horizontal fold at the very bottom of the nape and sewing it down securely, you can shorten the back of the wig, allowing it to hug your neck naturally.
Tier 3: When to Seek Professional Wig Alterations
While DIY methods are empowering, there is a clear boundary where professional help is the safest route to protect your investment. You should seek a licensed wig specialist when:
- You Need Wefts Removed: If a wig is exceptionally large and darts aren’t enough, downsizing a cap may require removing tracks of hair (wefts) and meticulously reconstructing the cap.
- The Lace is Damaged: Lace is incredibly delicate. If your front lace needs resizing, patching, or ventilated hair added to mask a tear, a professional has the tools to make it invisible.
- You Have a Very Small Wig Cap Size Need: If you require sizing from an average down to an extra-extra-small, structural integrity is at risk. A professional can rebuild the foundation so the ear tabs align perfectly with your anatomy.
Troubleshooting FAQ: Your Wig Fit Questions Answered
Why does my wig give me a headache?
Headaches are usually a sign of a localized tension issue, not necessarily a cap that is too small overall. Check your ear tabs—if they are sitting on the cartilage of your ear rather than right above it, the constant friction will cause headaches. A dart behind the ear tab can lift it into the proper position.
What is the “dissolving wig cap” technique?
This is a common point of confusion! Beginners often think this involves a magical fabric that disappears. In reality, it refers to the “bald cap method,” where a stylist uses adhesive and makeup to melt a thin stocking cap and lace directly into the skin for a seamless, flat install.
Why do I have a “wiggy” ridge at the crown?
If your wig looks bumpy at the top, it is rarely a cap flaw. It is almost always a bulk issue. Ensure your natural hair is parted in the exact same place the wig is parted, and avoid piling long natural hair at the top of your head beneath the cap.
Your Next Steps to Flawless Fit
Your relationship with your wig should be one of confidence and comfort. Navigating hair loss or enhancement is a deeply personal journey, and at Wig Superstore, we believe you deserve a product that makes you feel beautiful and secure.
Don’t be afraid to experiment with these customization techniques. Start with the non-invasive Fit Audit, check your natural hair bulk, and try an elastic band before moving on to darts. The more you understand the anatomy of your wig, the closer you get to a flawless, bespoke fit that feels like it was made just for you.