Imagine walking down a windy street, stepping into a convertible, or diving into a pool without a single second of hesitation. For many wig wearers, this level of freedom feels like a distant dream, overshadowed by the subtle, nagging fear of a slip or a shift. But true confidence isn’t about hoping your hair stays in place—it’s about knowing the science behind why it will.
For those seeking a semi-permanent solution without the mess of liquid glues, extended wear tape is often the “Goldilocks” solution. It bridges the gap between daily removal and weeks of attachment. However, success isn’t just about buying the strongest tape on the market; it is about understanding how that tape interacts with your unique biology. While many advanced wig attachment methods provide security, extended-wear tapes offer a powerful combination of a glue-like hold with the ease of a physical adhesive, making them perfect for long-term confidence.
The Chemistry of Confidence: Understanding Your Tools
Before we discuss application, we need to address a common misconception: that “stronger” is always better. In reality, the “best” tape is the one that matches your skin chemistry and lifestyle.
Extended wear tapes—typically designed to hold for 1 to 4 weeks—are generally acrylic-based. Unlike the gummy, comfortable silicone tapes used for daily wear, acrylic adhesives are designed for endurance. They require a short “curing” time to bond fully with your skin, but once set, they offer a low-profile, high-strength hold that resists heat and humidity.
Decoding the Liner Colors
If you have ever browsed wig supplies, you have likely seen a rainbow of tape liners. These aren’t just branding choices; they are an industry shorthand for strength and use case:
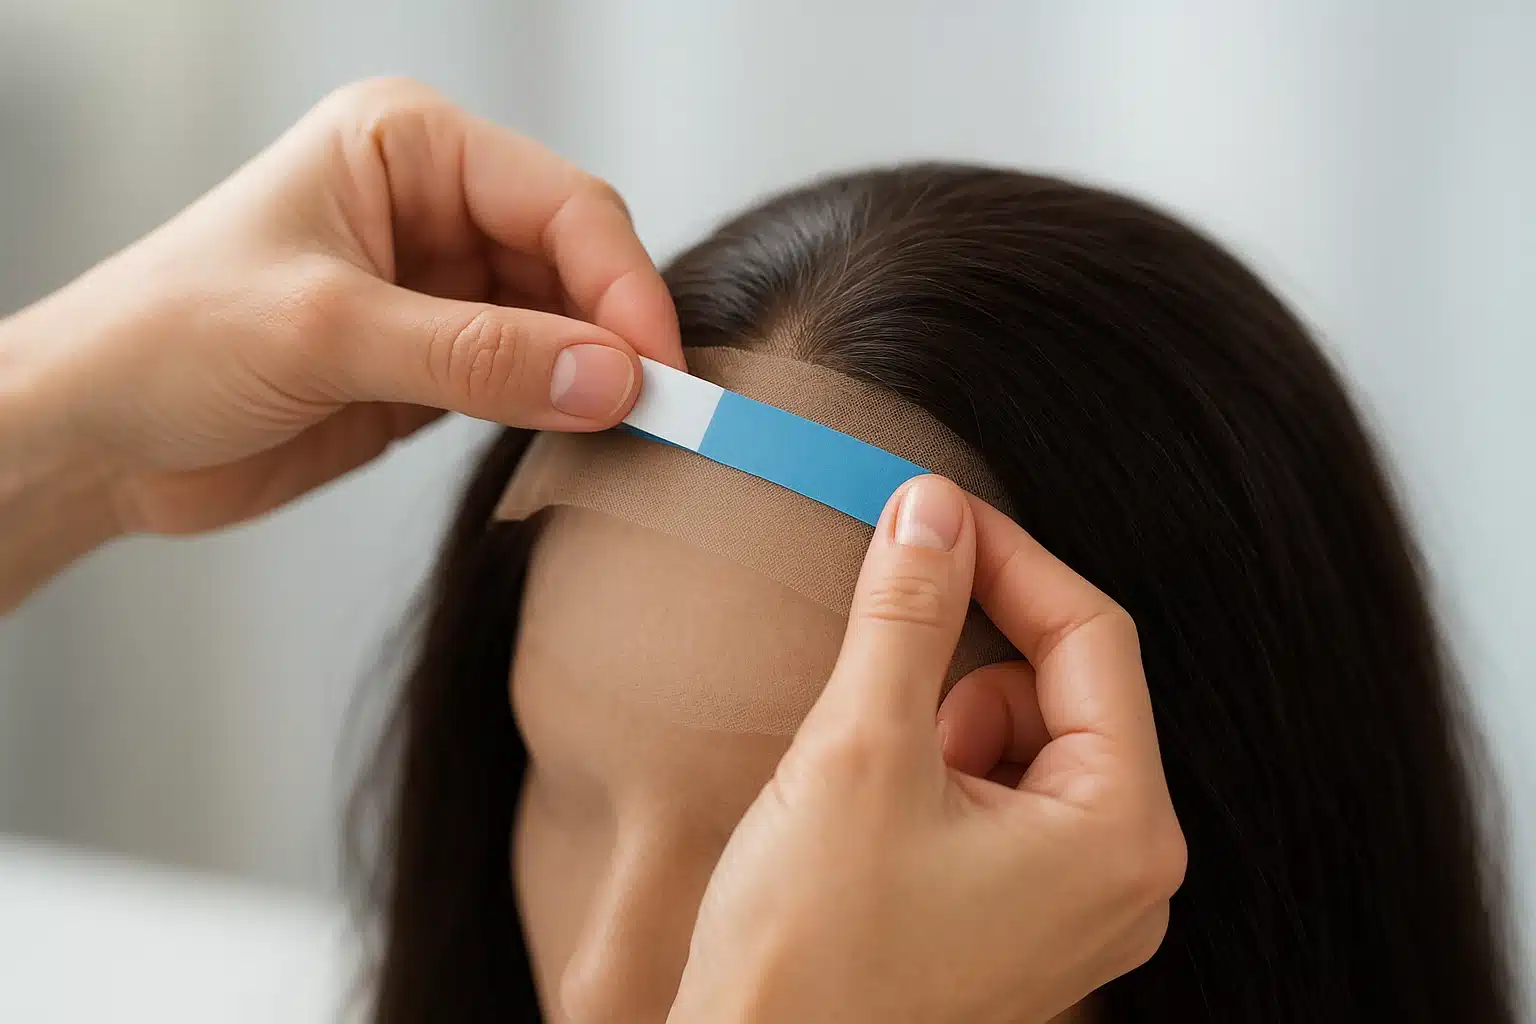
- Blue Liners: Usually signify a “Lace Front” support tape. These provide a dull finish (so they don’t shine through the lace) and offer a hold of 2–4 weeks.
- White Liners: Often indicate a standard “Walker” or “Sensi-Tak” tape. These are generally lower residue and easier to clean up, often used for poly perimeters.
- Red Liners: Typically used for “sensi-bond” or lighter holds, often for a few days to a week, prioritizing comfort over duration.
The Invisible Foundation: Preparation
The number one reason for premature lifting isn’t bad tape—it’s skin oil. Your scalp naturally produces sebum, and even a microscopic layer of oil acts as a barrier, preventing the acrylic adhesive from gripping the skin.
To achieve a 4-week hold, you must create a sterile, dry canvas.
- Exfoliate: Gently exfoliate the hairline area to remove dead skin cells. Tape sticks to skin, not dead flakes.
- The 99% Rule: Most rubbing alcohol is 70% alcohol and 30% water/fillers. For extended wear, you need 99% Isopropyl Alcohol. This evaporates instantly and strips away every trace of oil.
- Scalp Protector: This is your insurance policy. A scalp protector forms a microscopic barrier between the tape and your skin. It improves adhesion for those with active sweat glands and protects sensitive skin from irritation.
The 5-Step Application Framework
Applying tape for long-term wear requires patience. Treat this as a self-care ritual rather than a chore.
1. Measure and Cut
Avoid touching the adhesive side of the tape with your fingers. The oils from your fingertips can neutralize the bond before it even touches your head. Peel one side of the liner back just slightly (the “dog-ear” technique) to handle the tape without touching the sticky surface.
2. Strategic Placement
Where you place the tape is just as important as the tape itself.
- For Lace Systems: Place the tape about 1/8th of an inch behind the hairline of the wig. This prevents the tape edge from being visible and avoids the “sticky edge” attracting dust.
- Mirror Placement: Apply the tape to your scalp (or the wig cap, depending on your preference), ensuring it does not overlap with your biological hair. Tape on biological hair will pull painfully and cause lifting.
3. The Application (The Rolling Method)
When applying the wig, don’t try to stick the whole unit down at once.
- Start at the front center hairline.
- Once the front is secured, gently “roll” the wig back over your head.
- Align the ear tabs last to ensure the unit is centered.
4. Apply Pressure
Acrylic adhesives are pressure-sensitive. Simply placing the wig on your head isn’t enough. Use a flat comb or your fingers to press firmly down on the taped areas for at least 10–15 seconds. This pressure activates the chemical bond.
5. The 24-Hour Rule
This is the hardest part: Do not get the unit wet or sweaty for 24 hours. The molecular bond needs time to cure. If you sweat or shower immediately, moisture will seep under the uncured tape, and the hold will fail within days.
Living with Your Wig: Maintenance and Troubleshooting
Even with a perfect application, life happens. Here is how to handle common issues without removing the whole unit.
The “Edge Lift”
If a small section of the hairline lifts after a few days, resist the urge to stuff more tape under it. instead:
- Clean the skin under the lift with a Q-tip dipped in alcohol.
- Let it dry.
- Apply a tiny dot of water-based touch-up adhesive (like a glue pen) or a small “tab” of fresh tape.
- Press firmly.
The “Itch”
Itching is normal, especially in the first few days or after sweating. Never use a sharp object to scratch. This can break the skin and lead to infection. Instead, gently tap the itchy area with the pad of your finger. If the itch is severe and persistent, it may be a sign of a reaction to the specific tape, and you should remove the unit.
Safe Removal: Protecting Your Investment
Taking the wig off is arguably more critical than putting it on. Ripping tape off like a bandage is a surefire way to tear delicate lace or damage your skin.
Patience is your best solvent.Use a dedicated lace release spray or solvent. Saturate the tape area (through the hair is fine) and wait. And then wait some more. You want the solvent to completely dissolve the bond so the wig slides off with zero resistance. If you hear a ripping sound (like Velcro), you haven’t used enough solvent or waited long enough.
Frequently Asked Questions
Can I swim with extended wear tape?
Yes, but with caveats. Water softens the bond temporarily. If you swim, wear a swim cap when possible. If not, rinse the chlorine/salt out immediately after swimming and do not pull on the wig while it is wet. Allow it to air dry and the bond to re-harden before styling.
How do I know which tape is right for me?
It requires experimentation. We recommend buying “contour strips” (small pre-cut shapes) of 2 or 3 different tape brands. Wear each for a few days to test for hold strength and skin sensitivity before committing to a full roll.
My tape turns into a gooey mess after a week. Why?
This usually happens because body chemistry (oils/sweat) breaks down the acrylic. If this happens quickly, switch to a tape designed for oily skin, or ensure you are using a robust scalp protector before application.
The Journey to Confidence
Finding your perfect attachment method is a journey of trial and discovery. There is no single “magic tape” that works for everyone, but by understanding the science of adhesion and respecting the preparation process, you can achieve a hold that lets you live your life—not just wear it.
Whether you are looking for daily flexibility or monthly security, remember that you are not alone in figuring this out. With patience and the right techniques, your hair will be the last thing on your mind, exactly as it should be.