Imagine staring at a beautiful, high-quality human hair wig, envisioning it transformed into a rich, vibrant new shade. It’s an exciting prospect—a chance to express yourself and reclaim your confidence. But before you mix your developer and dive into the dye, there is a crucial pause button you need to press. Coloring a delicate hairpiece is entirely different from coloring the hair growing naturally from a scalp, and skipping straight to the main event is often the fastest route to a costly, heartbreaking mistake.
That’s where the twin pillars of pre-coloration safety come in: patch testing and strand testing. Before diving into the technicalities of these tests, understanding the fundamentals of mastering wig coloration and highlighting for human hair is essential for ensuring your wig’s longevity and vibrancy. Once you understand the foundational rules of wig dyeing, pre-testing acts as your ultimate insurance policy—protecting both your sensitive skin from unexpected allergic reactions and your precious wig from chemical over-processing.
Let’s break down exactly how to perform these essential steps safely, turning dyeing anxiety into total confidence.
The High Stakes: Biological Safety vs. Chemical Predictability
One of the most common mistakes beginners make is confusing a patch test with a strand test. They are two entirely distinct phases of your pre-flight checklist:
- The Biological Guard (Patch Test): Ensures the chemicals are safe for your body.
- The Chemical Preview (Strand Test): Ensures the chemicals will produce the desired result on your wig.
Understanding this distinction is the difference between achieving a flawless, salon-quality look at home and dealing with skin irritation or damaged hair fibers.
Phase 1: The Biological Guard (Patch Testing)
Even if you have dyed your natural hair for years without issue, a patch test is non-negotiable. Our bodies change, and sensitivities can develop at any time. Furthermore, the skin on our scalp—especially for those experiencing hair loss—can be particularly delicate and reactive.
The 48-Hour Protocol
Dye formulations contain powerful chemicals like PPD (paraphenylenediamine) and Resorcinol, which are notorious for causing contact dermatitis. Even dyes marketed as “natural” or “ammonia-free” often rely on complex chemical compounds to open the hair cuticle.
How to test:
- Mix a tiny, pea-sized amount of your chosen dye and developer.
- Apply it to a small, hidden patch of skin (behind the ear or on the inner elbow are ideal).
- Leave it uncovered and undisturbed for 48 hours.
- If you experience any redness, burning, itching, or swelling, wash it off immediately and do not use the product.
This 48-hour window is the professional gold standard for a reason: allergic reactions can be delayed. Taking the time to wait ensures that wearing your freshly colored wig will be a comfortable, joyful experience.
Phase 2: The Chemical Preview (Strand Testing)
Once your skin is safe, it’s time to protect your investment. A strand test is your “Chemical Preview,” allowing you to see exactly how the hair will react to the dye before committing to the entire unit.
The Porosity Pivot: An Essential “Aha!” Moment
Why can’t you just follow the instructions on the box? Because of a concept we call the Porosity Pivot.
Wig hair, even the highest quality 100% human hair, is technically “dead.” It is no longer connected to a scalp, meaning it doesn’t receive the continuous nourishment of natural sebum (scalp oils). Because of this, wig hair is significantly more porous than biological hair.
The Golden Rule: Highly porous wig hair will absorb color and process chemicals 20% to 30% faster than the hair growing out of your head. A strand test is the only way to determine your exact processing time and prevent over-processing, which can lead to dry, brittle hair.
The “Hidden Nape Loop” Method
Many people skip strand testing because they are terrified of cutting a piece of hair off their wig. The good news? You don’t have to cut anything.
Instead, use the “Hidden Nape Loop” method:
- Turn your wig inside out and locate a small cluster of hair at the very base of the nape (the part that sits against the back of your neck).
- Isolate a few strands—about the width of a shoelace.
- Apply your color mixture to this isolated loop, keeping it away from the lace foundation.
- Time the process carefully, checking every 5 minutes.
- Rinse, dry, and examine the result. Because this section sits underneath the bulk of the hair, any unexpected results will be completely hidden when worn.
The “Seal & Shield” Protocol for Lace
If you are dyeing a lace front or full lace wig, protecting the delicate lace foundation is critical. If dye bleeds onto the lace, it can create permanent, unnatural-looking stains along your hairline.
Before your strand test (and your final dye job), apply a barrier to the lace. You can use traditional petroleum jelly carefully painted onto the lace grid, or utilize the stylist hack of applying a heavy-hold freeze spray (like Got2B) to the inside of the lace. This creates a temporary, washable seal that prevents dye from seeping through the knots.
Case Study: The “Emma Stone” Copper Challenge
Let’s look at a real-world scenario. Imagine you have a beautiful, medium-brown human hair wig, and you want to lift it to a vibrant, “Emma Stone” copper red.
Transitioning to high-pigment shades requires lifting the current color and depositing the new one. If you skip the strand test, you might leave the developer on for the standard 30 minutes, only to rinse it out and find the wig has turned a muddy, unappealing brassy tone because the hair’s porosity absorbed the developer too aggressively.
By utilizing a strand test on the hidden nape loop, you might discover that the wig reaches the perfect copper stage in just 18 minutes. The test didn’t just save your wig; it provided your exact roadmap for success.
Troubleshooting and Recovery: What If It Goes Wrong?
What happens if your strand test fails? A “failed” test is actually a massive success—it means you caught a problem before it ruined your entire wig. Here is a quick Wig Color Result Matrix to help you pivot:
- The strand turned green: The wig likely had underlying warm tones, and you applied an overly “ashy” (blue/green base) dye. You need a dye with a warmer, red/gold base to balance it.
- The strand turned bright orange: Your developer volume was too high, blowing open the cuticle and revealing raw, underlying pigments without depositing enough new color. Drop down to a lower-volume developer.
- The color is too dark: Porous hair absorbs color like a sponge. If a medium brown looks pitch black on your strand test, you need to formulate one to two shades lighter than your desired result.
The Color Oops Recovery Protocol
If your strand test reveals that your wig has been previously treated with stubborn, hidden dyes, you might need to strip the color before proceeding. Can you use sulfur-based color removers like Color Oops on a human hair wig?
Yes, but with extreme caution. Color removers are highly effective at shrinking artificial dye molecules so they can be washed away, but they can be incredibly drying. If you must use a color remover:
- Execute the “Seal & Shield” lace protection protocol flawlessly.
- Apply the remover only to the hair shafts, avoiding the hand-tied knots at the base.
- Follow up with a deep, intensive moisture mask, as stripping color temporarily dehydrates the already vulnerable wig fibers.
Frequently Asked Questions (FAQ)
How do I know for sure my wig is 100% human hair before testing?
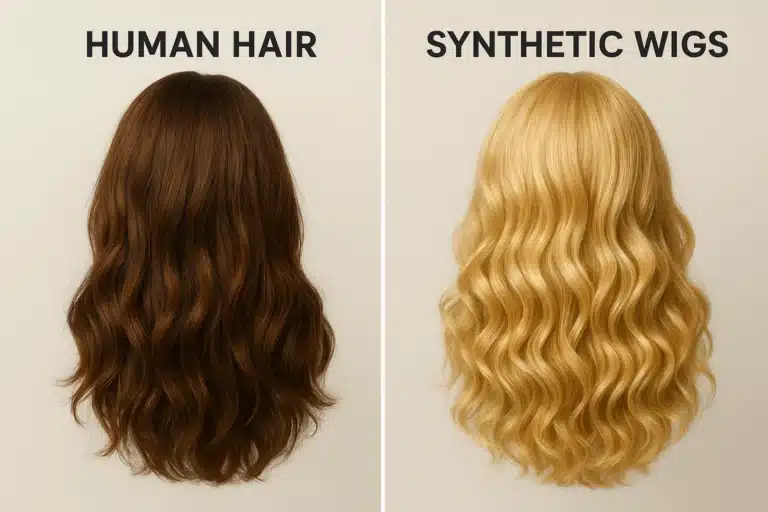
If you aren’t certain of your wig’s origins, perform a quick “Burn Test” before applying any chemicals. Take a single, naturally shed hair from your brush and carefully hold a lighter to it. Human hair will singe, turn to ash, and smell like burning feathers. Synthetic fibers will rapidly melt into a hard, plastic bead and smell like sweet, burning plastic. Never apply chemical hair dye to synthetic hair, as it will destroy the fibers.
Do I need to patch test if I’m using an ammonia-free dye?
Absolutely. “Ammonia-free” simply means the manufacturer used a different alkaline agent to open the hair cuticle. The actual color pigments (which are the most common cause of allergic reactions) are usually exactly the same.
Can I wash my wig immediately before strand testing?
It is best to work on a clean, dry wig that is free of heavy styling products, but avoid vigorously scrubbing the hair right before coloring. A gentle cleanse 24 hours prior ensures the hair cuticle is ready to receive color predictably.
Empowering Your Color Journey
Navigating hair loss or simply changing your look should be an empowering, creative experience. By respecting the biological safety of a patch test and the chemical predictability of a strand test, you remove the guesswork and anxiety from wig coloration.
Treat these steps not as chores, but as the foundational secrets to ensuring your human hair wig remains a vibrant, beautiful reflection of your personal style for years to come. Take your time, protect your lace, and color with confidence!