There is a specific moment of hesitation that every wig wearer knows well. You’re getting ready for a wedding, a formal dinner, or simply a hot summer day, and you instinctively reach up to pull your hair back. Then, you stop. The fear of the “reveal”—an exposed weft, a lifting ear tab, or a harsh, artificial hairline—keeps many of us tethered to wearing our hair down, regardless of the occasion or temperature.
But wearing a wig shouldn’t limit your style; it should expand it. Moving beyond basic loose styles requires a shift in technique, but it is entirely achievable. Whether you are aiming for a casual messy bun or mastering intricate wig styling, updos, braids, and special occasion looks, the secret lies not in the style itself, but in the preparation of the base. By understanding the mechanics of how a wig sits and learning a few professional concealment tricks, you can pull your hair up with absolute confidence.
The Physics of the Updo: Why It Feels Different
To master the updo, you must first understand why it challenges the design of a standard wig. Most wigs are constructed with wefts (rows of hair) sewn in a downward pattern. This ensures the hair lies flat and looks natural when worn loose. When you pull that hair upward, you are effectively fighting against the wig’s construction, which can cause “buckling” at the nape or expose the spaces between the wefts.
Successful updos aren’t about forcing the hair; they are about redirection and camouflage. You aren’t just styling hair; you are sculpting the cap to mimic the natural growth patterns of a biological scalp.
[Insert image of a woman looking in a mirror, holding up a section of hair to reveal the underlying weft structure, illustrating the challenge of “downward” construction.]
The Foundation: Preparation and Placement
Before you pick up a single hair tie, you must secure the perimeter. If your wig shifts while you are styling it, the final look will never feel secure.
The Four-Finger Rule
A common mistake for beginners is pulling the wig down too low on the forehead in an attempt to feel “secure.” This actually distorts the hairline and makes the wig look heavy and artificial.
- The Check: Place four fingers flat against your forehead, starting from your eyebrows. Your wig’s hairline should typically sit just above your top finger.
- The Benefit: This placement aligns with natural hairline averages, ensuring that when hair is pulled back, the proportions of your face remain balanced.
Creating the Anchor
When styling biological hair, the scalp provides the tension. With a wig, you have to create that tension artificially without pulling the cap off your head.
- Section the Crown: Separate the hair at the crown (the top back part of the head).
- Tease the Base: Gently backcomb (tease) the hair right at the root of this section.
- Why this helps: This creates a “cushion” or anchor. When you insert bobby pins or U-pins later, they will grip into this teased hair rather than sliding out against the smooth wig cap.
Concealment Techniques for the Danger Zones
When styling a wig into an updo, there are two primary areas that threaten to ruin the illusion: the hairline (specifically the ear tabs) and the nape of the neck.
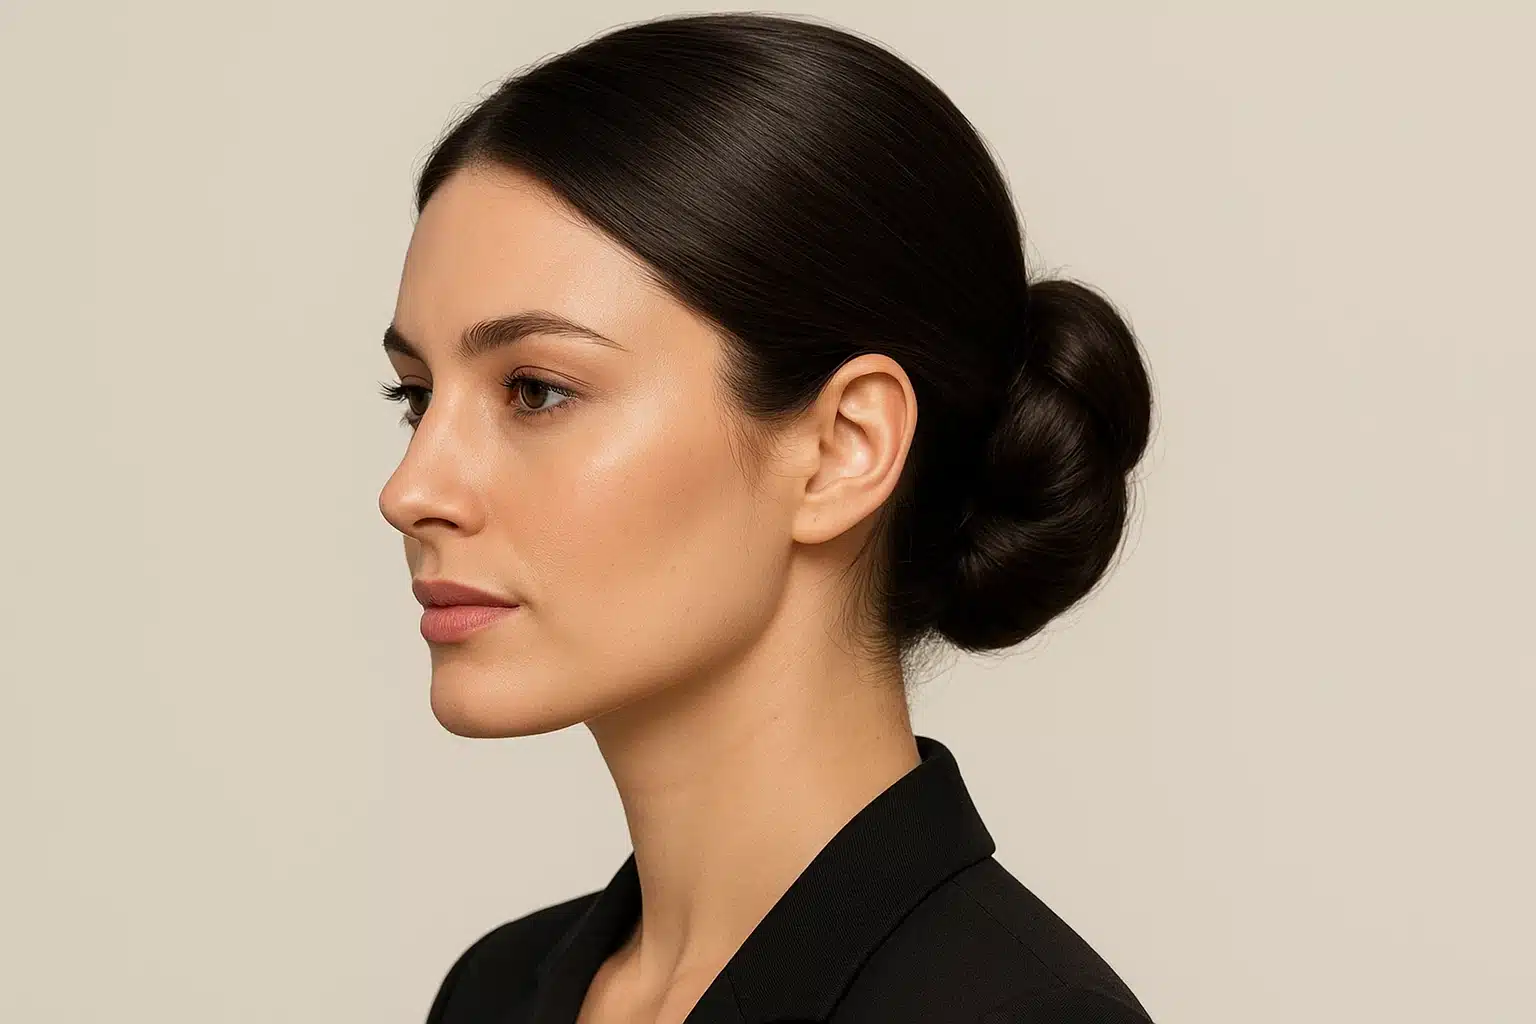
[Insert image of a side view of a wig styling head, highlighting the “danger zones” at the temple/ear tab and the nape of the neck with arrows.]
1. The Nape: Preventing the Lift
The nape is the hardest area to conceal because looking down or turning your head naturally stretches the skin, often causing the back of the wig to lift.
- Leave it Loose: Never pull the hair at the nape strictly tight. Instead, gently sweep it upward, allowing a little slack.
- The Cross-Pin Method: If you have a lace front wig or one with a standard nape, take two bobby pins and cross them in an ‘X’ shape over the bottom-most weft of hair, pinning it securely to your own biological hair or wig grip cap underneath.
- The Tendril Trick: Pull out small, wispy strands of hair at the very bottom of the neckline. Curling these slightly creates a “distraction” that softens the edge of the wig cap, making the transition invisible to the eye.
2. The Ear Tabs: Keeping it Flat
If your wig has thick ear tabs, they can protrude when hair is pulled back.
- Use Spirit Gum or Tape: For formal updos that need to last all night, a small dot of wig tape or water-soluble adhesive on the ear tabs is essential. It keeps the tab flush against the skin.
- Coverage Styling: Instead of pulling hair straight back from the ears, sweep it down and over the top of the ear before pulling it back. This “drapes” the hair over the edge of the cap.
[Insert image showing the “draping” technique: a close-up of hair being swept loosely over the ear tab before being pinned back, concealing the edge.]
Creating the Style: Tension and Texture
Now that your base is secure, you can build the style. The key phrase here is “Surface Styling.”
When you create a bun or a chignon, try not to pull all the hair tight from the root. Instead, secure the bulk of the hair into a low or mid-pony (depending on your cap construction—high ponies generally require 360-lace wigs). Once the pony is secured, use your fingers to gently tug and loosen the hair at the crown and sides.
This technique, often called “pinch and pull,” adds volume and breaks up the uniform, helmet-like appearance that can happen with synthetic wigs. It makes the hair look like it is growing from the scalp, offering a softer, more romantic silhouette.
Troubleshooting Common Updo Issues
Problem: The “Helmet Head” Look
- Cause: Pulling the hair back too tightly and smoothly, emphasizing the round shape of the wig cap.
- Solution: Disturb the perfection. Use a rat-tail comb to lift the roots at the crown. Pull out face-framing layers. Real hair is rarely perfectly smooth; adding texture adds realism.
Problem: Wefts Showing in the Back
- Cause: Separating the hair in a straight line.
- Solution: When sectioning hair for half-up styles or pigtails, use a “Zig-Zag” part. By parting the hair in a jagged line, you ensure that the hair from the top layer naturally falls over and covers the weft lines of the layer below.
Frequently Asked Questions
Can I do a high ponytail with a standard synthetic wig?
Generally, standard wefted caps are best suited for low to mid-height updos (at or below the ear line). A very high ponytail usually requires a “360 lace” wig or a specific cap designed for updos, as the wefts at the nape are designed to lay flat and will show if flipped completely upward.
Do I need to wash my wig after using hairspray for an updo?
Not necessarily. If you use a water-soluble wig spray, you can often gently brush it out using a wide-tooth comb, starting from the ends and working up. However, if you used heavy teasing (backcombing), you should wash and condition the wig to safely detangle the fibers without breakage.
Why does my wig give me a headache when I put it up?
This is usually a sign of incorrect tension distribution. If the only thing holding your wig on is the tightness of the ponytail, it will pull on the cap and cause pain. Rely on your internal combs, a wig grip band, or bobby pins for stability so the hairstyle itself can remain relatively loose.
The Next Step in Your Styling Journey
Mastering the wig updo is a milestone. It marks the transition from simply wearing a wig to truly styling one. Start with a low, messy bun—it is the most forgiving style and allows you to practice nape concealment without high stakes. As you get comfortable with the weight and movement of the wig, you can graduate to French twists and intricate braids.
Remember, the goal is not perfection, but realism. A few loose strands and a soft hairline are often the difference between a wig that looks like a hairpiece and one that looks like your hair.