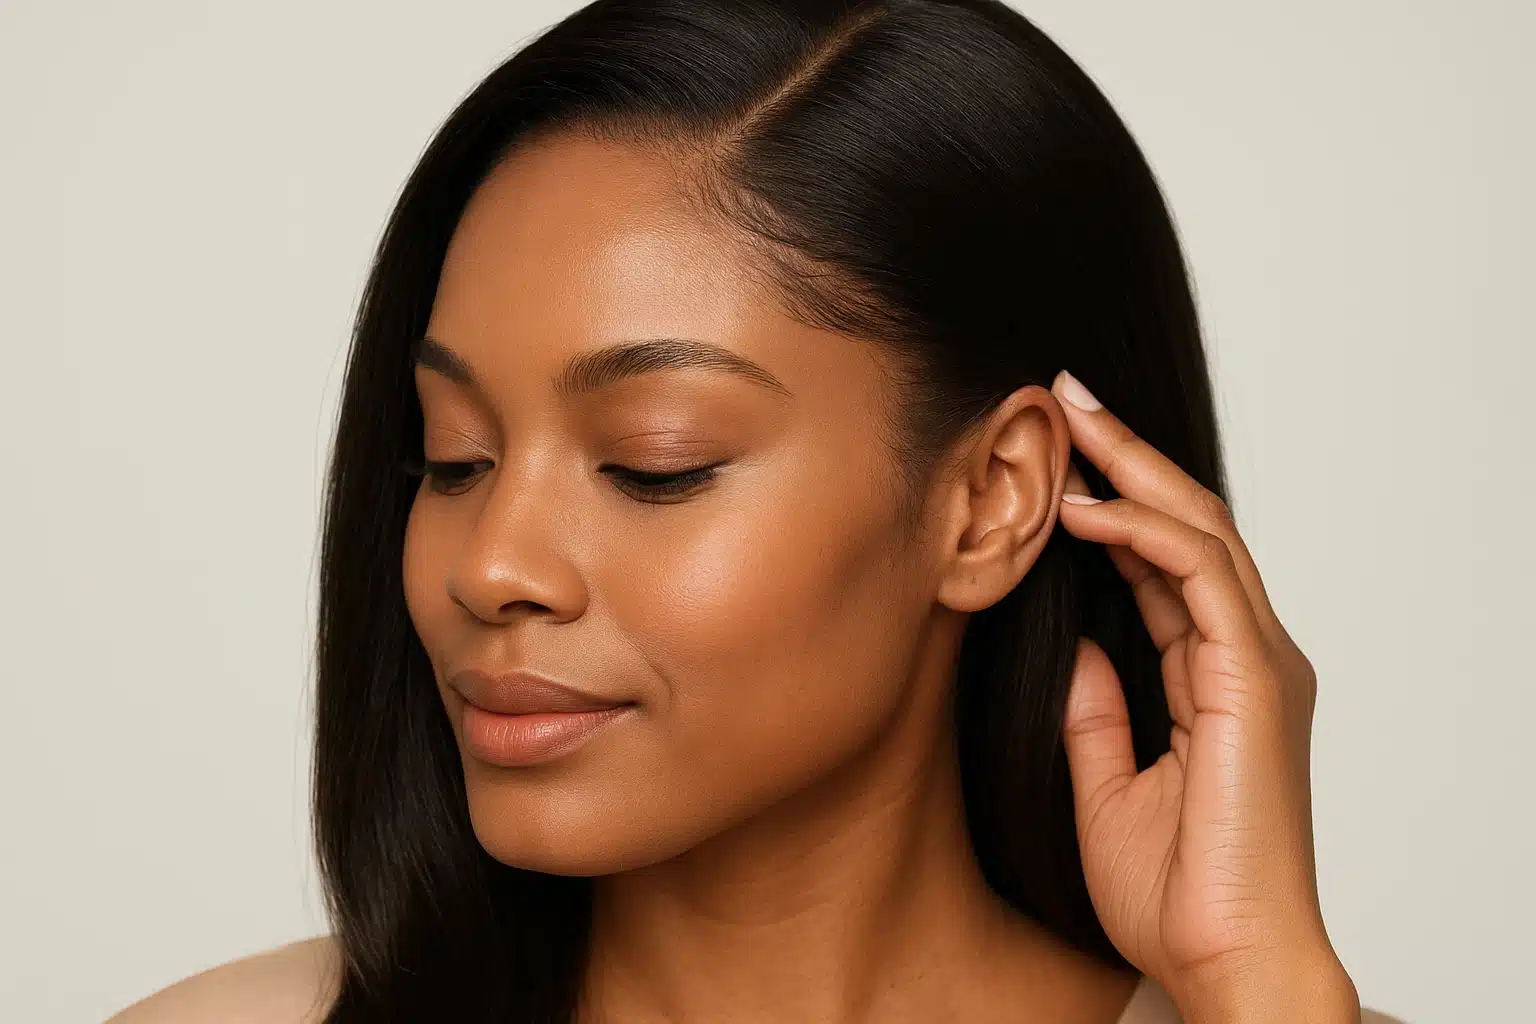
You know that moment of hesitation. You’re getting ready to leave the house, and your wig looks fantastic in the mirror. The part is crisp, the volume is perfect, and the shine is natural. But then, you go to tuck a strand of hair behind your ear, and you freeze. It’s the one area that often gives the secret away: the transition from the wig to your skin at the temple and sideburn area.
For many wig wearers, this is the final frontier of confidence. While we spend hours obsessing over the part line, the sideburns are actually critical for framing the face and grounding the look in reality. Achieving that undetectable look isn’t just about the quality of the hair; it’s about mastering Seamless Wig Blending & Realistic Hairline Techniques that transform a standard unit into your custom signature style. Whether you are looking to soften a square jawline or simply want the freedom to wear a ponytail, understanding the “why” and “how” of temple blending is your next step in wig mastery.
The Anatomy of an Undetectable Hairline
Before we dive into customization, it is helpful to understand why factory wigs often look a bit “heavy” around the ears. Manufacturers create wigs with density—plenty of hair to ensure coverage and longevity. However, natural hair growth patterns are rarely dense right at the hairline.
In a natural hairline, the hair at the temples and sideburns (often called the “perimeter”) is finer, wispier, and more irregular than the hair at the crown. When you put on a fresh wig, you are often met with a distinct “wall of hair” at the ear tabs. This creates a hard line that can look artificial and makes the wig difficult to blend with your skin.
To fix this, we focus on three elements:
- Density Reduction: Removing bulk so the hair looks like it’s growing out of the skin, not sitting on top of it.
- Texture Matching: Creating “baby hairs” or finer strands that mimic new growth.
- Shape Strategy: Sculpting the sideburns to complement your specific face shape.
The Face Shape Framework: Your Strategic Blueprint
Most tutorials show you how to pluck a hairline, but they rarely explain why you should shape it a certain way. This is where the Face Shape Framework comes in. Just as you choose a haircut to flatter your features, you should customize your wig’s sideburns to balance your facial structure.
Round and Square Faces: The Goal is Elongation
If you have a round or square face, your goal is likely to create vertical lines that soften the jawline and lengthen the face.
- The Strategy: Avoid thick, blunt sideburns that stop right at the ear, as these widen the face. Instead, opt for a tapered, wispy sideburn that extends slightly lower, pointing toward the jawline.
- The Technique: When styling, keep the baby hairs near the temple minimal and sleek. Allow a few longer, wispy strands to fall vertically in front of the ear. This draws the eye down and creates a slimming effect.
Heart and Oval Faces: The Goal is Framing
Heart and oval faces often have a wider forehead and a narrower chin. Here, you have more freedom to play with density and softness.
- The Strategy: You can pull off a slightly fuller, more natural sideburn look. The goal is to minimize the width of the forehead at the temples.
- The Technique: Create a soft curve of baby hairs along the temple area to “round out” the hairline. This softens the transition from the forehead to the ear, adding a romantic, feminine touch that balances a pointed chin.
Pro Tip: If you are unsure of your shape or how to start, checking a comprehensive wig styling face shape guide can provide the foundational knowledge you need before you pick up the tweezers.
Core Techniques for Seamless Blending
Once you have identified your strategy based on your face shape, you can move on to the practical application. These techniques apply whether you are wearing a synthetic piece or a premium human hair lace front wigs.
1. The Art of Plucking (Graduated Density)
Plucking is the process of removing individual hairs from the lace to reduce density. The secret is “graduated density.”
- Zone 1 (The Edge): The very edge of the hairline should be the thinnest.
- Zone 2 (The Transition): A slightly thicker area that bridges the gap to the main body of the hair.
- How to do it: Using high-quality tweezers, pluck one hair at a time, moving back and forth along the hairline to avoid creating bald spots. Always pluck the hair away from the face. Caution: It is always better to under-pluck than over-pluck. You can always remove more later.
2. Lace Tinting and Adhesion
Even the best plucking won’t matter if the lace itself is visible.
- Tinting: Lace often comes in a neutral shade that may not match your skin tone. Use a lace tint spray or a powder foundation that matches your skin to color the underside of the lace (the part touching your skin). This helps the lace wig mesh disappear against your complexion.
- Melting: When applying your adhesive or gel, use a melting band (an elastic band wrapped around the hairline) for 10-15 minutes while it dries. This presses the lace into the skin for a seamless finish.
3. Creating and Styling Baby Hairs
“Baby hairs” are the fine, short hairs found at the hairline.
- The Cut: Section off a very thin layer of hair at the temples/sideburns. Using a razor (not scissors, as scissors create blunt ends), trim these hairs to varying lengths, generally between 0.5 to 1 inch. The razor creates a tapered, natural end.
- The Style: Use a small edge brush and a tiny amount of styling gel to swoop these hairs. For a natural look, keep the swoops soft and undefined. For a more glamorous look, you can define the curls more sharply.
Troubleshooting Common Blending Issues
Even with the best techniques, challenges arise. Here is how to handle the most common blending obstacles.
The “Lace Lift” at the Temples
The temple area is a high-movement zone. When you chew, talk, or smile, your temples move, which can cause lace to lift.
- Solution: Ensure your ear tabs (the structured side pieces of the wig) are bent inward to hug your head. If the wig has metal stays in the ear tabs, gently mold them to the curve of your temple. For extra security, use a strong-hold gel or a small dot of wig adhesive specifically at the ear tab points.
Hiding Dark Bio-Hair
If your natural hair (bio-hair) is dark and thick, and you are wearing a lighter wig, the sideburns can give you away.
- Solution: The “Low Sideburn” method. Don’t try to cover your sideburns completely if they are bulky. Instead, shave or trim your bio-sideburns, or use a strong gel to slick them back tightly behind your ear. Alternatively, use a root touch-up spray on the wig’s lace at the sideburn area to darken the roots of the wig, creating a shadow that helps blend your dark bio-hair with the wig.
Frequently Asked Questions
Can I cut the ear tabs off my wig?
Generally, you should not cut the structure of the ear tabs off, as they contain the stays that keep the wig flat against your temples. However, you can trim the excess lace extending beyond the ear tab. Always cut the lace in a jagged, irregular line rather than a straight line to make it harder for the eye to detect.
Do I have to create baby hairs?
Absolutely not. While baby hairs are popular for masking the lace edge, a “clean” hairline is also a classic look. If you prefer no baby hairs, focus heavily on the “plucking” step to ensure the hairline is graduated and wispy enough to look natural without the extra swoops.
My wig cap is showing near my ears. What do I do?
This usually means the wig is either too small or not positioned correctly. First, try adjusting the nape straps to loosen the wig. If the fit is correct, ensure you are wearing a wig cap that matches your skin tone, not the wig color, so it blends in if the hair shifts.
The Path to Confidence
Mastering the sideburn and temple area is what separates a standard install from a professional-looking style. It takes patience and a bit of practice, but the result is the freedom to tuck your hair, wear updos, and move with total confidence. Start with small adjustments—perhaps just tinting the lace or bending the ear tabs—and as you get more comfortable, experiment with plucking and shaping to find the look that is uniquely yours.


