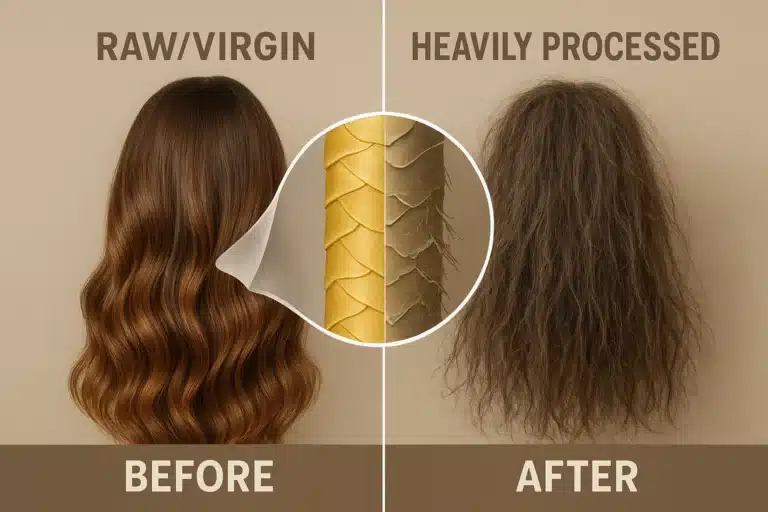
There is a specific kind of anxiety that comes with wearing a wig that doesn’t fit quite right. It’s that subtle, nagging fear that if you turn your head too quickly or catch a sudden gust of wind, your hair might shift. If you are wearing a Noriko wig, you are likely enjoying one of the most durable and stylish synthetic options on the market, but you may also be noticing that the cap feels surprisingly “roomy” or voluminous compared to other brands.
You aren’t imagining things, and you certainly aren’t alone. While Noriko is celebrated for its machine-made durability and salon-finish style, the cap construction can present unique sizing challenges. Before you assume you bought the wrong size or start altering your piece, it is worth understanding the baseline features of this brand. A complete guide to Noriko wigs can help you distinguish between a style that needs adjustment and one that simply features a different structural design. Once you are confident the wig is the right choice for you, achieving that secure, tailored fit is easier than you might think.
The Fit Diagnostic: Is It Size or Is It Volume?
Before you reach for a needle and thread, it is vital to perform a “fit diagnostic.” One of the most common misconceptions among Noriko wearers is confusing circumference with volume.
Noriko wigs often utilize “Permatease”—a crimped fiber at the root designed to create permanent lift and volume without the need for styling products. This structural volume can sometimes feel like bulk, tricking you into thinking the wig cap is too big for your head.
The Pinch Test
To determine if you actually need to reduce the cap size, put your wig on and perform the pinch test:
- Check the Nape: Place your hand at the back of your neck. Can you pinch more than an inch of excess fabric at the nape?
- Check the Ears: Is the wig resting over your ears rather than above them?
- Check the Crown: Press down gently on the top. Is there a significant gap of air between the cap and your scalp, or is it just the fluffy Permatease fibers you are feeling?
If you have excess fabric at the nape or ears, you have a sizing issue. If the cap fits snugly against the skull but simply looks big, you are dealing with volume, which requires a different approach.
Level 1: Non-Destructive Adjustments
If your diagnostic suggests the fit is only slightly loose, you can often solve the problem without making any permanent changes to the wig structure.
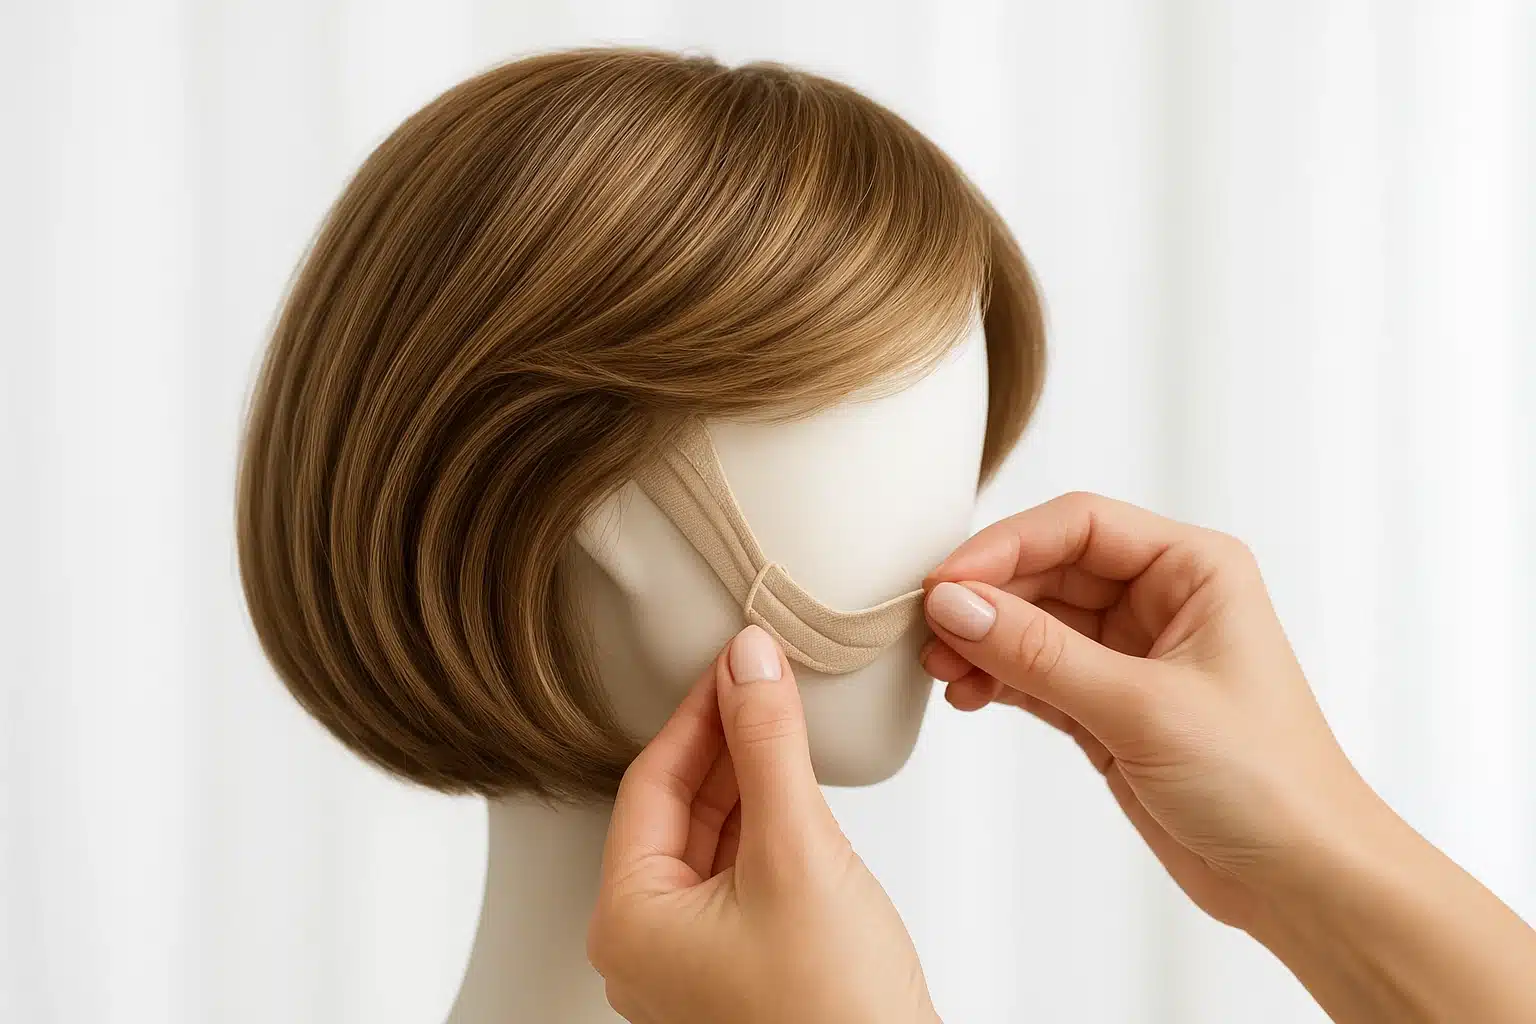
Mastering the Velcro Tabs
Most Noriko caps come with adjustable velcro tabs at the nape. It is tempting to cinch these as tight as possible, but be careful. Over-tightening these tabs can cause the fabric at the nape to bunch up, creating an unnatural “bump” at the back of the head. Adjust them incrementally, checking the mirror to ensure the nape remains flat against your neck.
The “Cold Water Compression” Trick
If the issue is volume (Permatease) rather than circumference, try this industry secret before altering the cap. Dampen the root area of the wig slightly with cold water and use your hands to press the volume down flat. Tie a silk scarf tightly around the crown and let the wig air dry overnight. This compresses the Permatease, reducing the “poof” and making the wig feel significantly more secure and lower-profile on your head.
Level 2: The “Aha” Placement Technique
Sometimes, a wig feels loose not because it’s too big, but because it’s sitting in the wrong spot. Two simple adjustments can transform how a Noriko wig feels.
The Four-Finger Rule
Many beginners wear their wigs too far forward, which forces the nape up and makes the wig feel unstable.
- Place four fingers flat against your forehead, starting at your eyebrows.
- Your wig’s hairline should start where your top finger ends.
- If the wig is lower than this, slide it back. You will likely feel the nape settle securely into the curve of your neck.
Contouring the Ear Tabs
Noriko wigs feature “stays” inside the ear tabs—small, flexible pieces of metal encased in fabric. These are not meant to sit flat. You should gently bend these stays inward so they curve around your temple. This acts like a clamp, hugging your head and preventing the wig from sliding, without altering the size at all.
Level 3: The Custom DIY Tucking Method
If you have performed the pinch test and confirmed the cap is truly too large, and the velcro tabs aren’t enough, it is time for a custom adjustment. You do not need to be a professional seamstress to do this; you just need a needle, thread, and patience.
This method involves sewing small “tucks” into the open wefting of the cap. This is superior to cutting the elastic because it is reversible—if you make a mistake, you simply snip the thread.
Anatomy of a Noriko Cap: Where Not to Sew
Before you stitch, look inside your wig. You will likely see a solid section of lace or fabric at the very top—this is often the “Flower Net” or a similar closed top design. Do not sew here. Sewing into the solid top will create visible lumps and distort the style.
Focus your efforts on the back and sides where the wig is constructed of “wefts” (strips of hair sewn onto elastic ribbons).
Step-by-Step Tucking
1. Vertical Tucks for Circumference (The “Too Loose” Fix)If the wig is loose around your head:
- Locate the area behind the ears on the inside of the cap.
- Pinch the elastic ribbon between two wefts to create a small fold.
- Sew a few stitches through this fold to hold it in place.
- Repeat this on the other side to keep the wig symmetrical. This effectively shortens the distance from ear to ear around the back.
2. Horizontal Tucks for Depth (The “Baggy Nape” Fix)If the wig feels baggy at the bottom or hangs too low:
- Locate the wefting near the nape.
- Create a horizontal fold by pulling two weft rows closer together.
- Stitch them together. This lifts the nape and removes the “bagginess” at the neck.
Frequently Asked Questions
Can I just cut the elastic band to make it smaller?
It is highly recommended that you do not cut the elastic chassis of a wig. Once the structural integrity is cut, the wig can unravel or lose its shape permanently. The tucking method described above is safer because it is reversible.
Will sewing the cap ruin the hair pattern?
As long as you are sewing into the elastic ribbons inside the cap and not catching the hair fibers in your thread, the style will remain unaffected. Always pull the hair away from the inside of the cap before passing the needle through.
Why do Noriko wigs fit differently than other brands?
Noriko focuses on a “ready-to-wear” durability that often utilizes a slightly more substantial cap structure to support the Permatease volume. This creates a longer lifespan for the wig but can feel different if you are used to ultra-light, hand-tied caps.
Confidence Comes From Security
Adjusting your wig is a rite of passage. It marks the transition from simply wearing a product to owning your look. By understanding the unique mechanics of your Noriko wig—from the Permatease roots to the flexible ear stays—you can curate a fit that feels like it was made specifically for you.
Take your time with these adjustments. Start with the non-destructive placement changes, and only move to sewing when you are certain of where the extra space lies. When your wig fits securely, you stop thinking about it, and that is when you truly start to shine.