There is a singular, breath-holding moment in every stylist’s journey when the scissors first touch the fiber of a pristine wig. Unlike biological hair, which forgives mistakes with time and regrowth, a wig offers no second chances. This finality is exactly why precision cutting is considered the “final boss” of wig styling. It requires a shift in mindset from simply “cutting hair” to understanding the complex engineering of wig architecture.
For those ready to move beyond standard trims into the realm of avant-garde looks, the key lies in preparation and understanding the unique physics of synthetic and human hair alternatives. Before you attempt a dramatic asymmetrical bob or a daring undercut, you must master the foundational rules of advanced wig cutting & layering techniques to ensure a truly custom style that looks intentional, not accidental.
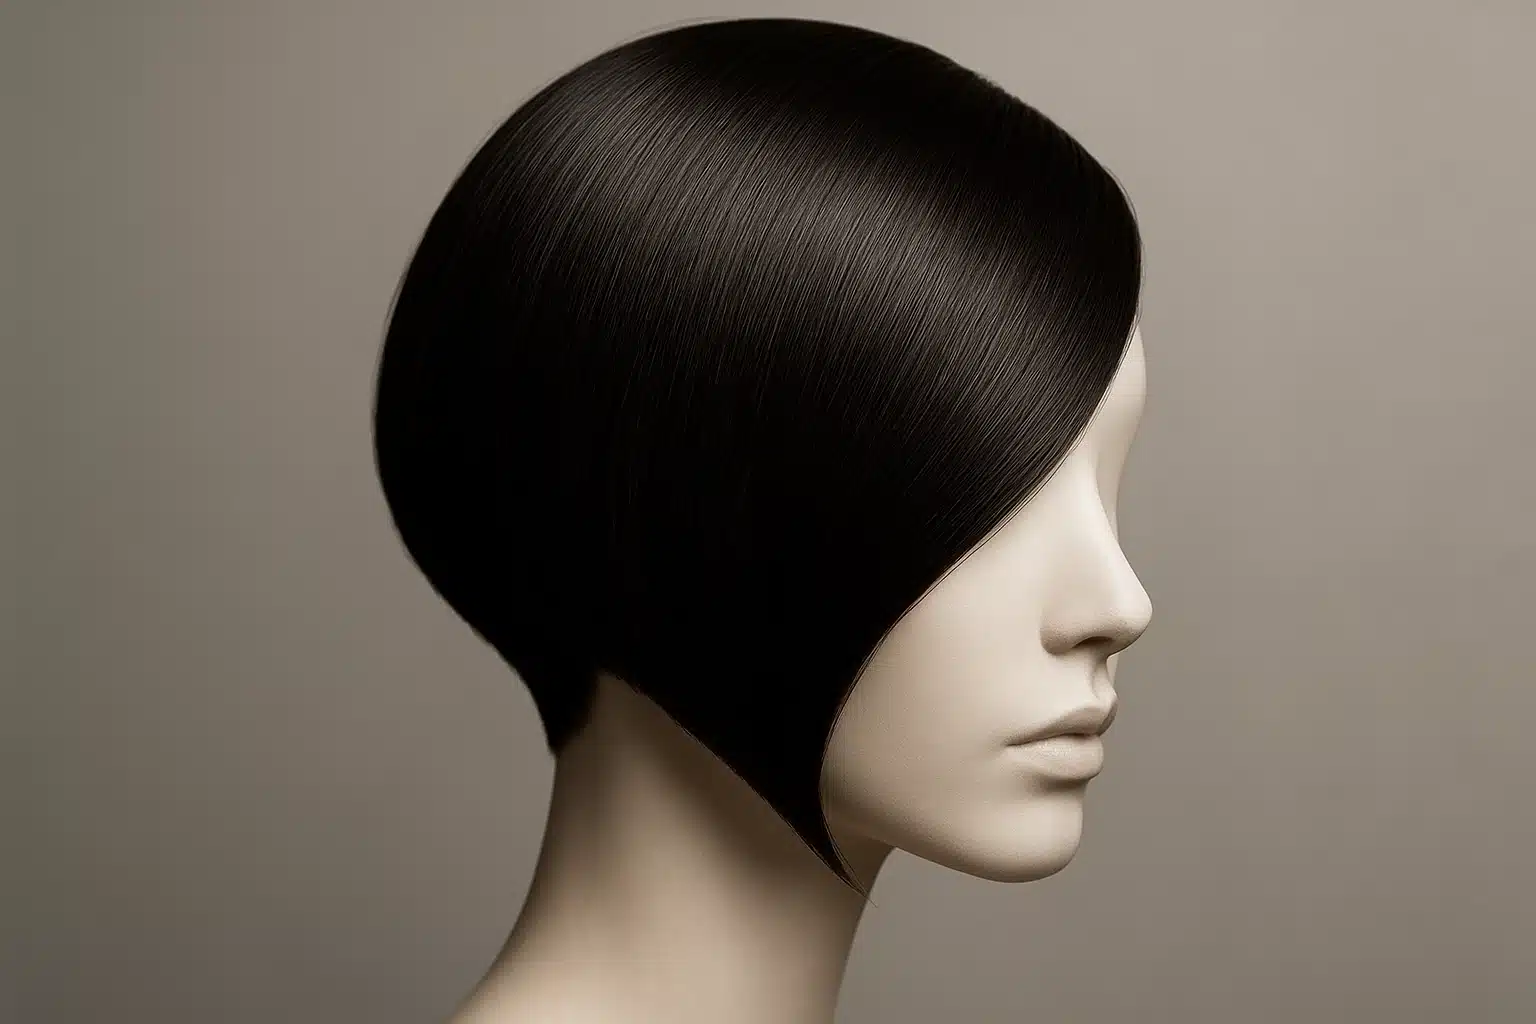
Beyond the Scissors: Understanding Wig Architecture
When you cut biological hair, you are cutting a material rooted in a scalp that provides consistent tension and heat. When you cut a wig, you are cutting fiber tied or sewn onto a constructed cap. This difference changes everything about how the hair falls, reacts to tension, and settles after a cut.
One of the most common mistakes beginners make is treating the wig cap as a solid surface. In reality, standard wigs are constructed of wefts—rows of hair sewn onto strips of elastic or lace. If you cut too short or too deep without mapping these structures, you risk exposing the “skeleton” of the wig. To achieve a seamless undercut or a sharp asymmetrical line, you must first learn to navigate the “danger zones” where hair density is too sparse to hide the cap beneath.
The “Danger Zones”: Navigating Wefts and Caps
Creating an undercut on a wefted wig requires surgical precision. On a human head, you can buzz the nape entirely. On a wig, doing so effectively destroys the unit. You must identify the “safe zones”—typically the bottom 1-2 inches of the nape where the wefts are closest together—and distinguish them from the “kid chain” areas (the wider gaps between wefts higher up the head).
To create the illusion of a shaved undercut without exposing the cap construction:
- Sectioning is Survival: Isolate the top canopy of hair that will cover your undercut.
- The “Shingle” Method: Instead of shaving down to the “scalp,” cut the wefted hair into overlapping shingles. Leave the hair on the bottom weft slightly longer than the weft above it. This creates a cascading effect that mimics a fade while keeping the weft material hidden.
The “Forward-Tilt” Technique
A secret known to master wig stylists is the geometry of the mannequin head. When cutting the nape or creating the sharp angle of an asymmetrical bob, gravity is often your enemy.
If you cut a wig while it is sitting perfectly upright, the hair at the nape will often look jagged once the wig is worn and the client looks down. To counter this, utilize the Forward-Tilt Technique:
- Tilt the mannequin head forward (chin to chest).
- Comb the nape hair thoroughly to expose any hidden long strands that usually get tucked away.
- Cut your baseline in this position.
When the head returns to an upright position, you will have created a natural, soft graduation that hugs the neck rather than sticking out—a crucial detail for high-quality synthetic fibers that lack the natural weight of human hair.
Crafting the Asymmetrical Bob
The asymmetrical bob is a study in tension control. Because wig fiber doesn’t have a root system, pulling the hair too tight between your fingers while cutting will result in the fiber “snapping back” shorter than you intended once released.
The 1-Inch Safety Rule
Synthetic fiber tends to puff out after being bluntly cut because it lacks the heavy oils of bio hair to weigh it down. Always cut your initial guideline one inch longer than your target length. You can always remove more, but you cannot put it back.
Once you have established your perimeter, you will likely notice the “mushroom effect”—where the blunt cut creates an unnatural triangle shape. To fix this, you must learn how to reduce bulk in synthetic wigs using specific internal layering methods that preserve the external line while collapsing the volume.
The 45-Degree Thinning Rule
To blend your asymmetrical angles without leaving chop marks:
- Use high-quality thinning shears (avoid the cheap craft store variety that shreds fiber).
- Hold the shears vertically, parallel to the hair strand.
- Cut at a 45-degree angle deep within the style, never at the very ends.
This technique mimics the natural tapering of biological hair, encouraging the synthetic fiber to lay flat against the cheekbones and neck.
Sourcing the Right Canvas
Even the most precise cutting techniques cannot save a low-quality wig. The density of the fiber, the construction of the cap, and the quality of the synthetic material all play a role in how well a wig accepts a cut. An avant-garde style requires a high-quality base that offers enough density to withstand thinning and layering without looking sparse.
For those seeking inspiration or guidance on where to purchase a wig suitable for such a dramatic cut, understanding where to go for expert advice, such as a guide to the best wig stores in Houston, can be incredibly helpful. Whether you shop locally or online, look for reputable brands that prioritize cap construction, as this is the foundation upon which your style will be built.
Frequently Asked Questions
Can I use regular styling clippers on a synthetic wig?
Technically yes, but proceed with extreme caution. Metal clipper blades heat up quickly due to friction. On heat-friendly synthetic hair, this is manageable; on standard synthetic hair, hot blades can singe or “frizz” the ends of the fiber. It is often safer to use a razor comb or shears for the initial bulk removal.
How do I stop the wig cap from showing in the back?
If you have cut an undercut and the wefts are visible, you may have cut too short for that specific wig’s density. A “quick fix” is to use a root touch-up spray or fabric marker that matches the hair color to darken the weft material, making it recede visually.
Why does my asymmetrical bob look choppy?
Choppiness usually comes from cutting horizontally across the fiber. Switch to “point cutting”—cutting vertically into the ends of the hair. This softens the blunt line and allows the fibers to mesh together for a smoother silhouette.
The Path to Mastery
Mastering the art of the wig cut is a journey of patience and geometry. It is about seeing the wig not just as a hairpiece, but as a three-dimensional structure that can be sculpted. By respecting the architecture of the cap and understanding the unique properties of the fiber, you can transform a standard unit into a bespoke masterpiece that reflects your personal style and confidence.
Remember, every expert stylist started with a single snip. Take your time, map your cut, and trust the process.


