There is a common misconception among wig wearers that intricate styling is off-limits. You might admire a complex braid on Pinterest and immediately think, “That would never work with my wig; the cap would show,” or “The hair is too slippery to hold that shape.” It’s a valid concern, but it often keeps wig wearers stuck in a styling rut, wearing the same loose style day after day. The truth is, with the right technique, wigs are actually better suited for certain styles than biological hair because they maintain volume and consistency.
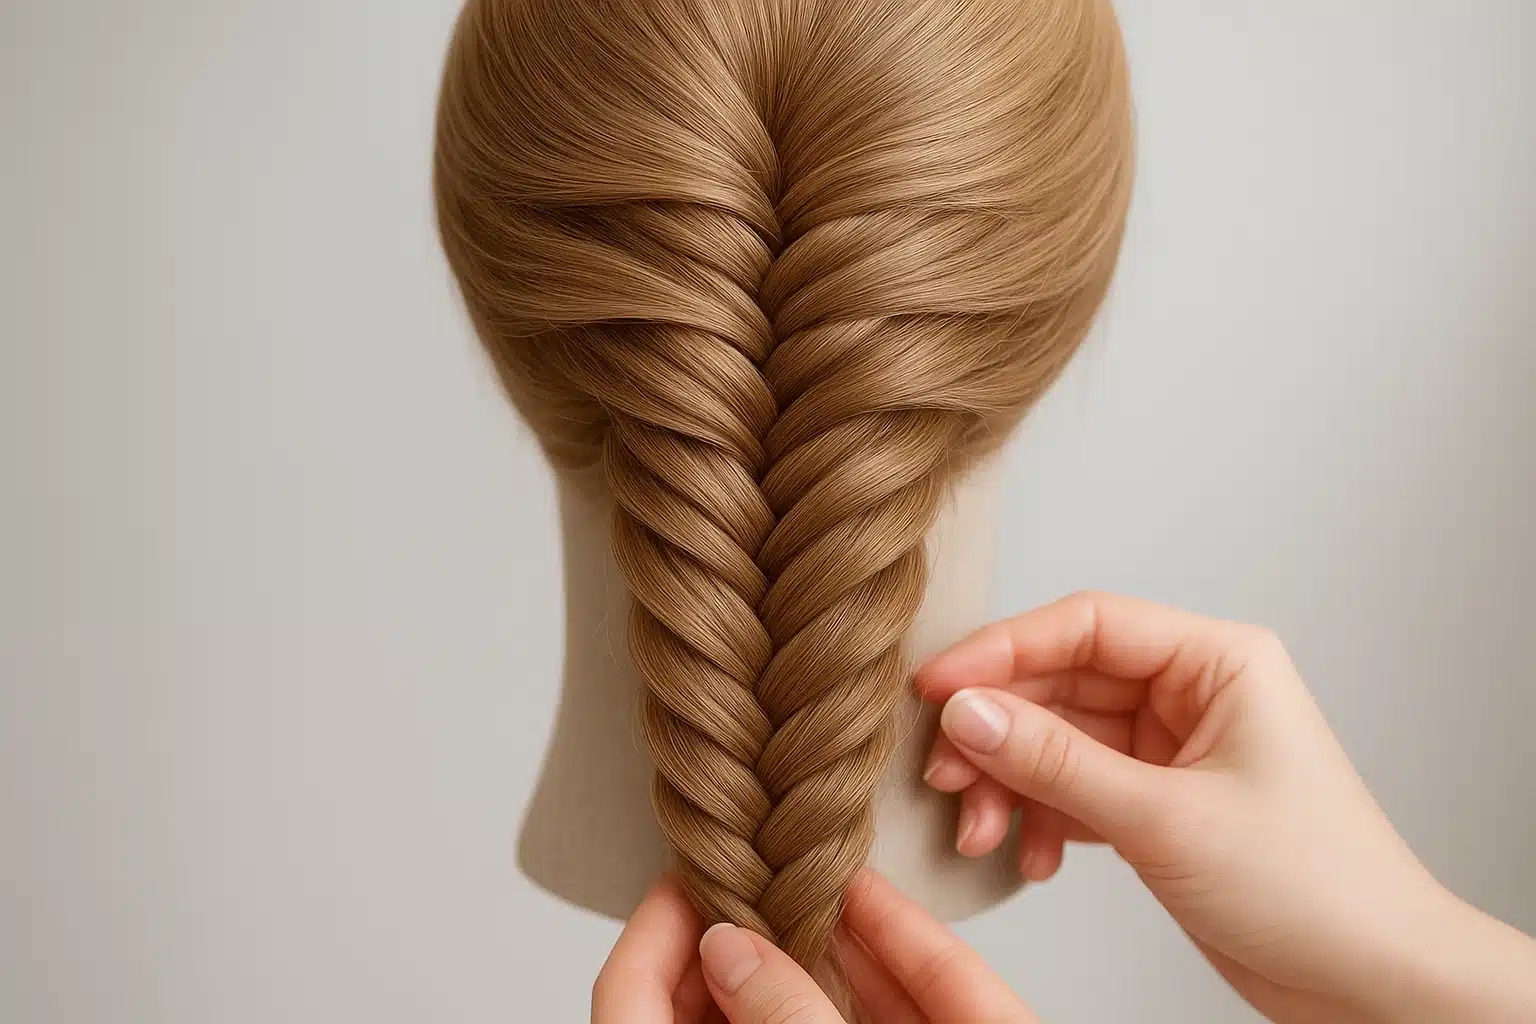
One of the most versatile skills you can add to your repertoire is the fishtail braid. Unlike a standard three-strand braid, the fishtail creates a dense, herringbone pattern that naturally conceals wig wefts while offering an elegant, high-effort appearance. Whether you are preparing for a wedding or just want to elevate your daily look, mastering this technique opens the door to Intricate Wig Styling: Updos, Braids & Special Occasion Looks. By understanding how to manage tension and texture specifically for wig fibers, you can achieve a flawless finish that looks professionally done.
The Wig-Specific Toolkit: Preparation is Key
The primary reason braids fail on wigs isn’t a lack of skill; it’s a lack of friction. Synthetic fibers, and even processed human hair wigs, often lack the natural oils and texture that biological hair uses to “grip” itself. To fishtail successfully, you must first create a foundation that mimics that grip.
1. Stabilization
Attempting to fishtail braid a wig while it is on your head is difficult and often leads to loose, messy results because you cannot get the necessary leverage.
- The Setup: Place your wig on a canvas block head or a styrofoam head.
- The Anchor: Secure the wig firmly using T-pins. Place one pin through the reinforced ear tabs on each side, one at the nape, and one at the top crown. Tip: Never pin through the delicate lace front or monofilament top, as this can tear the material.
2. Texture Manipulation
If your wig feels “too soft,” the braid will unravel. You need to dirty it up—strategically.
- For Synthetic Hair: Use a wig-safe dry shampoo or a specialized texture spray. Lightly mist the lengths of the hair to add grit. This friction prevents the strands from sliding out of the braid.
- For Human Hair Wigs: A light working hairspray or texturizing powder works wonders to provide the “stickiness” needed for a tight braid.
Step-by-Step: Constructing the Perfect Braid
The fishtail braid looks complex, but it is actually mechanically simpler than a French braid. It involves only two sections of hair, not three.
Step 1: The Initial Division
Comb through the wig thoroughly to remove any tangles. Divide the hair into two large, equal sections straight down the middle. Hold the left section in your left hand and the right section in your right hand.
- Wig-Wearer Note: If you are doing a side braid, sweep all hair to one side before dividing. Ensure you aren’t exposing the wefts near the ear tab when you sweep the hair over.
Step 2: The Crossover Motion
The mantra for a fishtail braid is: Outer edge to inner fold.
- Take a thin strand of hair from the very outside of the left section.
- Pull it across the front of the left section and join it to the inside of the right section.
- Now, take a thin strand from the very outside of the right section.
- Pull it across the front of the right section and join it to the inside of the left section.
Step 3: Managing Tension
This is the most critical step for wig styling. After every single crossover, pull the two large sections away from each other to tighten the stitch.
- Why it matters: On a wig, loose braiding leads to gaps where the wig cap might peek through. High tension ensures the hair sits densely against itself, creating a solid “fabric” of hair that hides the underlying structure.
Step 4: Consistency is Quality
Continue the pattern—outside left to inside right, outside right to inside left—until you reach the ends.
- The Golden Rule: The smaller the strand you cross over, the more intricate and “fishtail-like” the braid will look. If you grab large chunks, it will look like a confused standard braid. Aim for strands no wider than a pencil.
Step 5: Securing the Ends
Secure the bottom with a clear elastic band. Do not use a large, bulky scrunchie, as it detracts from the elegance of the braid.
The Art of “Pancaking”: Volume Without Exposure
If you look at professional photos of braids, they rarely look tight and narrow; they look voluminous and bohemian. This is achieved through “pancaking”—gently pulling the braid apart to flatten and widen it. However, pancaking a wig requires a “weft-aware” technique.
How to Pancake Safely:Start at the bottom of the braid and work your way up. Hold the elastic with one hand for stability. With the other hand, gently pinch the outermost edges of the loops and pull outward.
The “Weft-Aware” Difference:
- Do not pull from the center of the braid. This can create holes that expose the wig cap or tracks.
- Do not pull the hair near the root or the nape too aggressively. Keep the loosening focused on the mid-lengths and ends of the braid. This maintains the structural integrity at the base (hiding the cap) while giving you volume through the length.
Troubleshooting Common Wig Braiding Issues
Even with the steps above, you may run into challenges. Here is how to solve them.
“My braid keeps twisting or rotating.”
This usually happens because one hand is pulling harder than the other, or your initial two sections weren’t equal. To fix this, pause every few inches and check your tension. Ensure you are pulling the sections outward equally, not twisting your wrists.
“I can see the wig cap at the back of my head.”
This is common with low ponytails or braids on wigs. To prevent this, keep the braid loose at the very nape of the neck before tightening it down the length. Alternatively, leave a few tendrils loose at the nape to provide coverage over the bottom hairline.
“The ends of my synthetic wig look frizzy after braiding.”
Synthetic fiber has memory. If you braid it tightly and leave it for days, it may retain a crimped texture. To fix this after taking the braid out, use a steamer (if the fiber is heat-friendly) or a wig-safe conditioning spray and a wide-tooth comb to reset the fiber.
Frequently Asked Questions
Can I do a French Fishtail (starting from the top) on a wig?
Yes, but it is advanced. You must be extremely careful when adding hair from the scalp not to pull so tight that you lift the edge of the wig or expose the wefts between tracks. It is best to start with a standard side fishtail before attempting a French variation.
Will braiding damage my synthetic wig?
Generally, no. In fact, braiding can be a protective style that prevents tangling at the nape of the neck, which is the high-friction area where synthetic wigs mat the most. Just ensure you aren’t pulling so tight that you stretch the fibers permanently.
What if my wig has layers?
Layers can be tricky as they pop out of the braid. Keep a texturizing spray or pomade on your fingertips while you braid to “glue” the shorter layers into the crossover strands. If they still pop out, embrace the messy look—it adds to the boho aesthetic.
Expanding Your Styling Horizons
Mastering the fishtail braid is a breakthrough moment for many wig wearers. It shifts your mindset from “covering up hair loss” to “expressing personal style.” Once you understand the mechanics of tension and texture manipulation, you can begin to experiment with other styles, such as Dutch braids, halos, and updos.
Remember, the goal is not just to wear a wig, but to wear it with confidence. The more comfortable you become with manipulating the fiber, the more the wig ceases to be a replacement and becomes a true accessory. Take your time, trust the process, and enjoy the sophistication of your new look.


