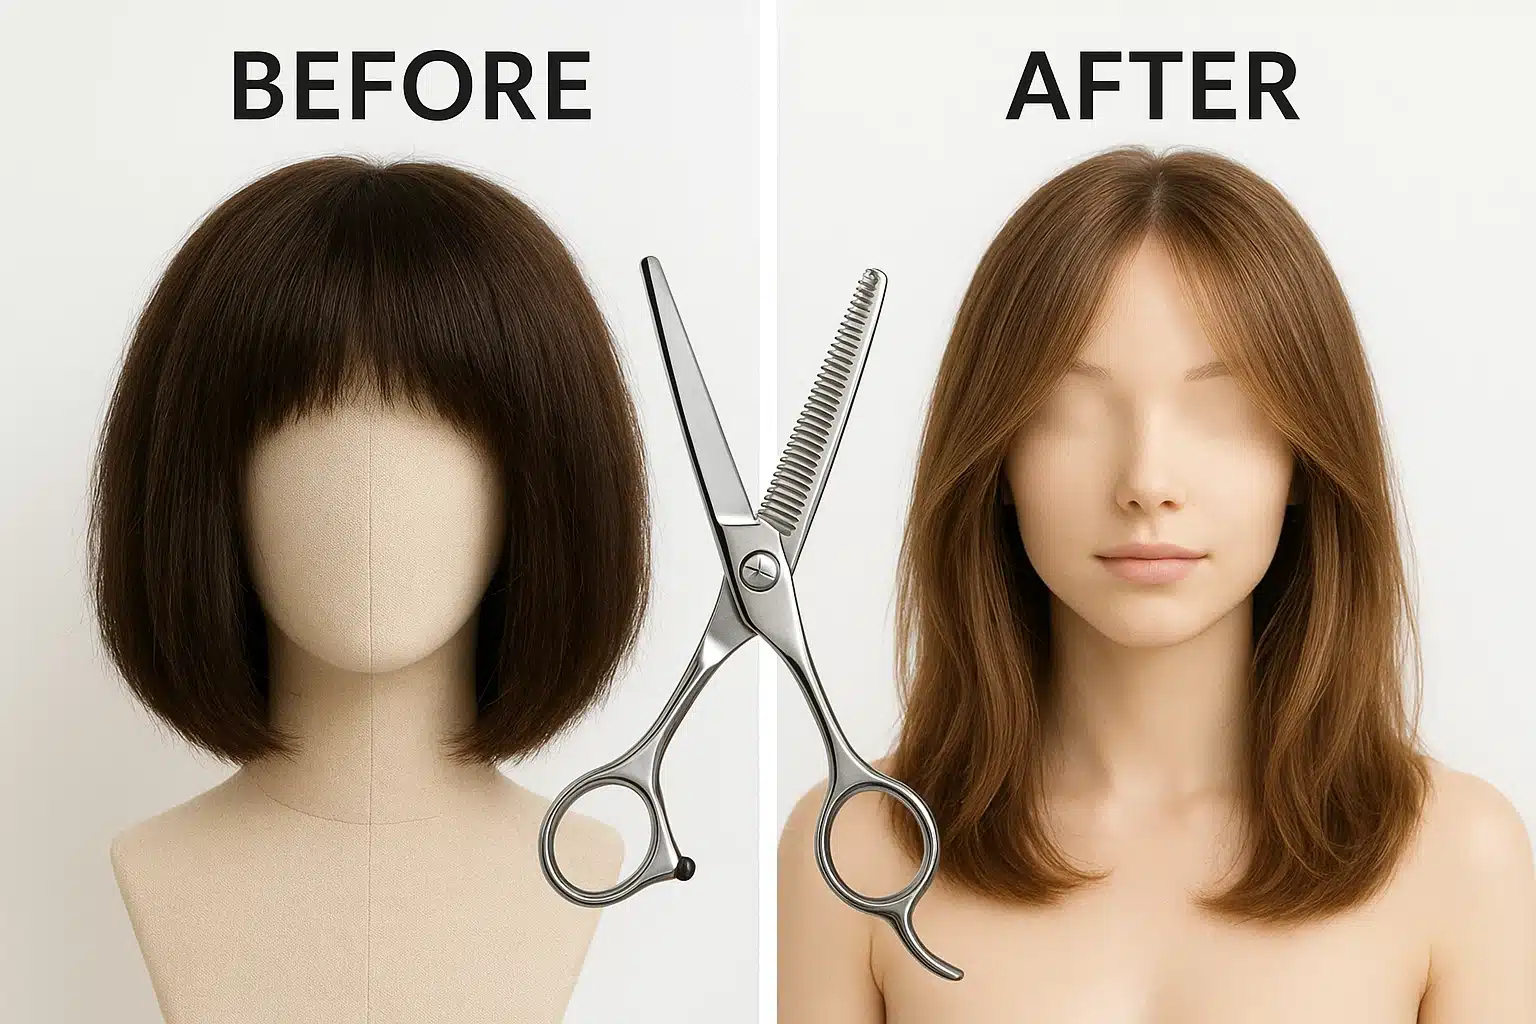
We’ve all been there. You eagerly await the arrival of a beautiful new style, unbox it, give it a shake, and put it on—only to feel like the hair is wearing you rather than the other way around. It looks too perfect, too thick, or perhaps a bit like a mushroom. This is what the wig community affectionately (and sometimes frustratedly) calls “helmet head.”
While modern synthetic wigs are marvels of convenience, manufacturers often design them with 120-150% density to ensure the cap is completely hidden. For many wearers, this is simply too much hair. Achieving a realistic density is often the final, critical step in Advanced Synthetic Wig Transformation & Re-Texturing, turning a standard piece into something that feels uniquely yours. The good news? With the right approach, you can customize that density right at home.
The “Why”: Understanding Permatease
Before you pick up a comb or shears, it is vital to understand the architecture of your wig. That “frizzy” texture you see at the root of many synthetic wigs isn’t a defect; it’s a feature called permatease.
Permatease consists of shorter, crimped fibers placed at the base of the wefts. It serves two architectural purposes:
- Concealment: It creates an opaque layer that prevents the wig cap and wefts from showing through the hair.
- Volume: It provides permanent lift and structure, ensuring the style doesn’t fall flat instantly (think of it as permanent backcombing or teasing).
However, when a wig combines heavy density plus aggressive permatease, the result can look unnatural. The goal of de-bulking isn’t to remove the permatease entirely—doing so would expose the wig cap—but to strategically reduce the weight of the hair lengths so the permatease can do its job without looking overwhelming.
The Toolkit: Why Kitchen Scissors Are the Enemy
The single most common mistake beginners make is taking a pair of standard household scissors to their wig. This is a recipe for disaster.
Standard scissors cut a solid, blunt line. If you cut into a wig with them, you will create visible “steps” or shelves in the hair that are nearly impossible to blend out. To safely reduce bulk, you need Thinning Shears.
Thinning Shears vs. Regular Scissors
- Regular Scissors: Two sharp blades that cut 100% of the hair captured between them. Great for length, terrible for density.
- Thinning Shears: One straight blade and one “toothed” blade (looking like a comb). These only cut a percentage (usually 15-20%) of the hair strands with each snip, allowing the remaining hair to blend seamlessly.
Step-by-Step: The Strategic Thinning Method
Safety is paramount here. You can always cut more hair off, but you cannot put it back. Follow this “under-layer” approach to ensure your modifications remain subtle and natural.
1. Preparation and Sectioning
Place your wig on a canvas block or Styrofoam head and pin it securely. Using clips, separate the top layer of hair (the “crown” area) and the hair immediately framing the face.
- Pro Tip: Never use thinning shears on the very top layer (the canopy) or the hairline. Short, spikey hairs here will stick up and be visible. We only want to thin the “underneath” hair.
2. The “Zone” Strategy
Work in horizontal sections, starting from the bottom near the nape and moving up. You are looking for the “bulk zones”—usually behind the ears and the mid-back section where synthetic fiber tends to clump.
3. The Cutting Technique
Take a one-inch section of hair. Hold it away from the head. You will make your cuts using the thinning shears about 2 to 3 inches away from the root (avoid cutting directly at the knot/root to prevent prickly stubble).
- The Rule of One: Close the shears once, then open them and gently pull the loose hair out with your fingers or a comb.
- Assess: Drop the hair and see how it lies. Does it feel lighter? If not, do one more snip in a slightly different spot on the same strand.
4. Point Cutting for Ends
If the ends of the wig look too heavy or blunt, you can use a technique called “point cutting.” Using sharp styling scissors, hold the ends of the hair vertically and cut into the hair parallel to the strands, rather than across them. This “shatters” the blunt line, softening the edge and helping the wig move more naturally.
Post-Modification Care
Once you have removed the excess weight, the fibers may be a bit unsettled. A quick wash or a light steaming (if your wig is heat-friendly) can help the remaining fibers lay flat and integrate with the new cut.
Remember that altering the density changes how the hair reacts to movement. Proper wig maintenance and understanding how to style your newly layered piece are essential to keeping the fiber healthy. Without the excess weight, your wig will have more movement, so keep a wide-tooth comb handy to keep it looking polished.
Frequently Asked Questions
Can I use this method on a curly wig?
Proceed with extreme caution. Curly synthetic fibers are heat-set into a spring pattern. When you thin them, the shorter hairs may “spring” out or create frizz rather than lying flat. If you must thin a curly wig, do so very sparingly and only at the very bottom nape area.
Will steaming remove the bulk without cutting?
Steaming is a non-invasive way to flatten permatease, but it doesn’t remove the actual density of the fiber. It compresses the volume. We recommend trying to steam the root area first to see if that solves your “poofy” problem before you commit to cutting any hair.
How do I know when to stop?
Stop before you think you are finished. Take the wig off the block, shake it out, and put it on your head. Look at it in natural lighting. It is very easy to get “scissor happy” and over-thin, which can leave the ends looking stringy.
What if I make a mistake?
If you used thinning shears and focused on the under-layers as instructed, mistakes are usually easily hidden by the top layer of hair. This is the safety net of the “inside-out” thinning method. If you cut the top layer, it is much harder to hide.
The Path to Natural Hair
Modifying your wig can feel intimidating, but it is also empowering. Understanding that “too much hair” is a common starting point—not a permanent condition—allows you to take ownership of your style. Start with steam, upgrade to thinning shears if needed, and always prioritize the health of the fiber. With patience, you can turn that “helmet” into a hairstyle that looks and moves just like biological hair.


