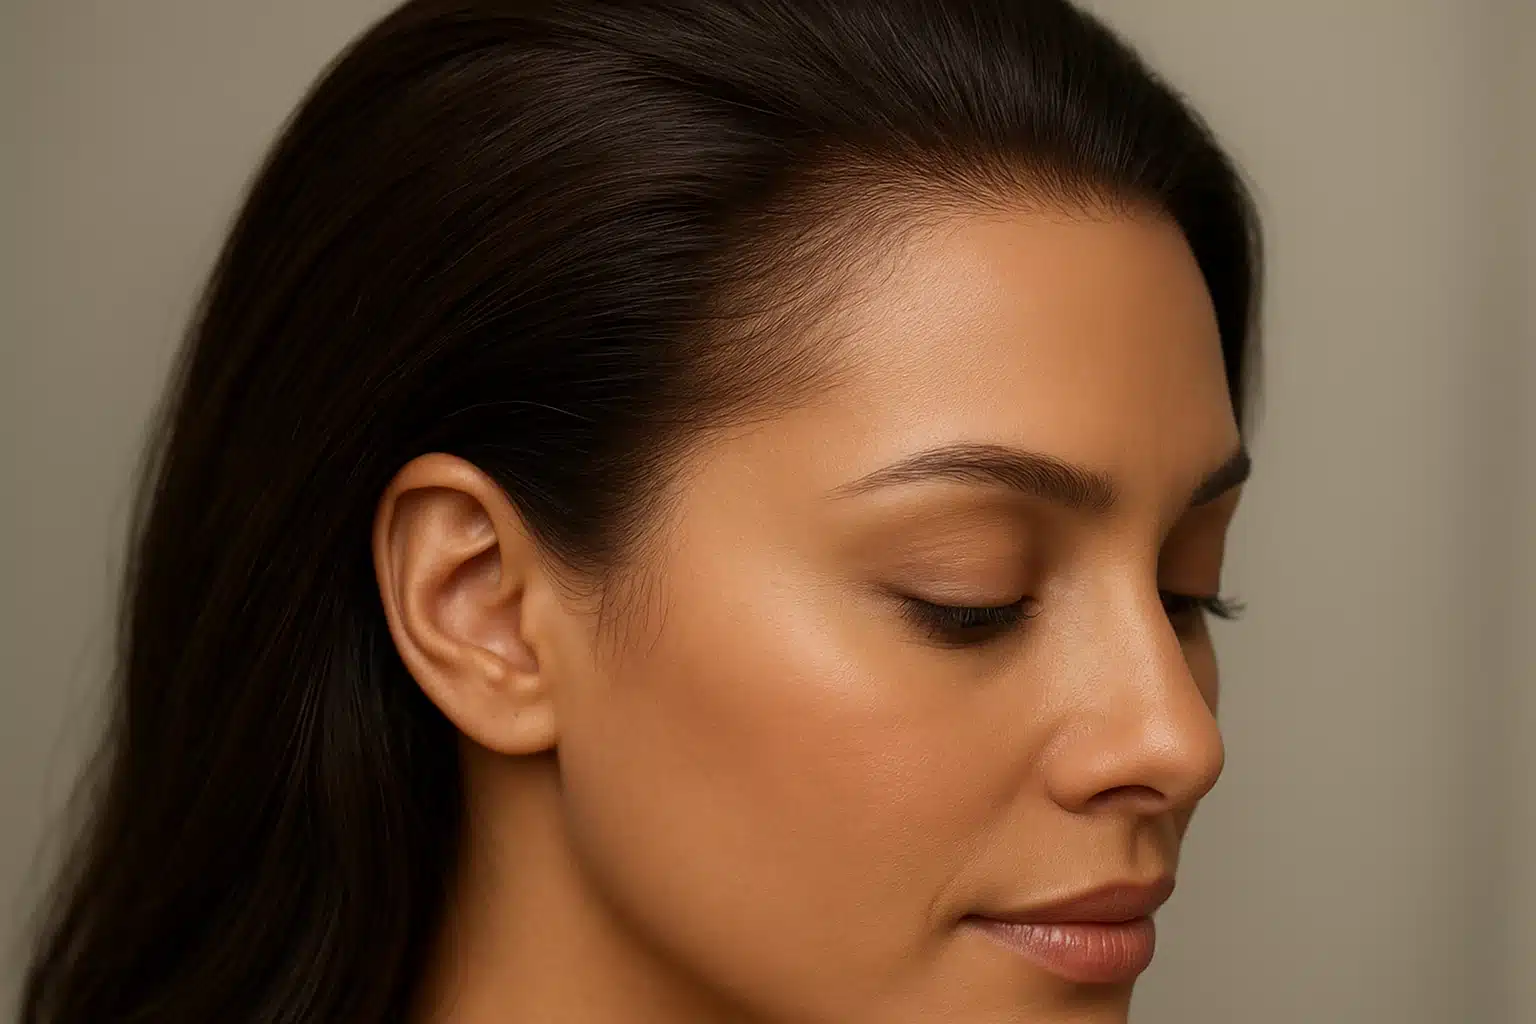
Imagine spending an hour carefully preparing your hair and makeup, only to step into the natural daylight and see it—a distinct, glossy, sometimes white-tinged line right where your hairline is supposed to be.
If you’ve experienced this, take a deep breath. You are entirely normal, and you are definitely not alone.
In the world of alternative hair, there is a massive gap between the quick, miraculous 60-second video tutorials you see online and the actual science of making a wig look like it’s growing directly from your scalp. At Wig Superstore, with nearly two decades of experience helping individuals navigate hair loss with dignity and confidence, we know that achieving an undetectable hairline isn’t about magic. It’s about understanding the chemistry of the bond and the mechanics of the “melt.”
Let’s dive beyond the surface-level advice and explore the definitive scientific protocol for securing lace front wigs, ensuring your hair looks stunningly real, no matter the weather.
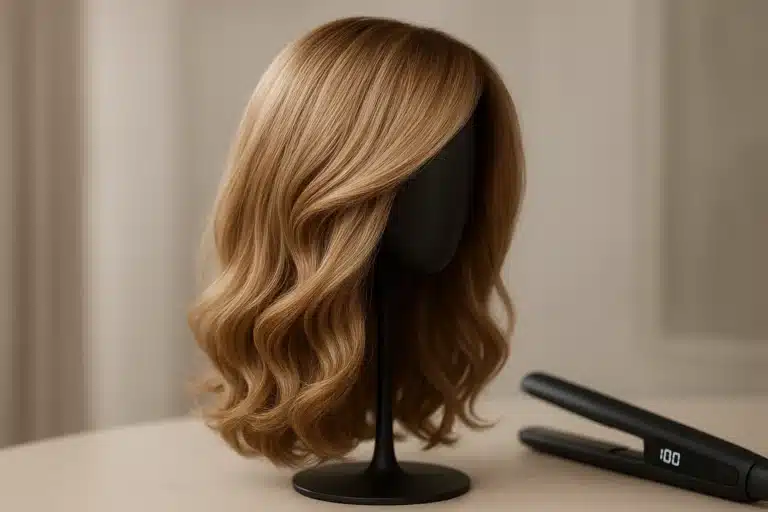
The Foundation: Understanding Lace Denier and Light Refraction
Before we even look at adhesives, we have to talk about the canvas: the lace itself.
A common misconception is that all lace is created equal. In reality, how seamlessly a wig blends into your skin comes down to “denier” (the thickness of the threads) and how that material refracts light.
- Swiss Lace: Durable, reliable, and slightly thicker. It’s excellent for everyday wear but requires a bit more effort to blend seamlessly into the skin.
- Transparent Lace: Regular lace that has been manufactured without pigment. It’s great for lighter skin tones but can sometimes leave a chalky appearance on darker complexions if not tinted properly.
- HD Lace: The gold standard for a flawless melt. HD (High Definition) lace is ultra-thin and practically invisible when placed against the skin. Because it’s so fine, it allows your natural complexion to shine through, minimizing light reflection. If you’ve ever searched for sensationnel cloud 9 what lace to understand the hype behind premium synthetics, you’re looking at the magic of thinner denier lace.
The Jagged Edge Secret
A crucial pro-tip: Stop cutting your lace in a straight line. Nature doesn’t create perfectly straight hairlines. When trimming your lace, use small, jagged, irregular cuts. A straight line catches the eye and reflects light; a jagged edge diffuses it, making the boundary instantly harder to detect.
The Chemistry of the Bond: Finding Your Perfect Match
Most beginner guides treat “wig glue” as a single, universal category. But just as you wouldn’t use the same skincare products for dry skin as you would for oily skin, your adhesive needs to match your unique body chemistry and environment.
The “Periodic Table” of Adhesives
- Water-Based Adhesives (The Beginner’s Best Friend):These are the most common white glues you see in tutorials. They are generally gentle, dry clear, and are easy to remove. However, their kryptonite is water and heavy sweat. If you have an active lifestyle or live in a humid climate, water-based glues may lift prematurely.
- Silicone-Based Adhesives (The Humidity Hero):Silicone creates a highly flexible, water-resistant bond. If you live in a humid, coastal area or sweat heavily, silicone adhesives are exceptional. They move naturally with your skin’s micro-expressions.
- Acrylic-Based Adhesives (The Heavy-Duty Hold):Often used in professional and performance settings, acrylic adhesives offer an incredibly strong, long-lasting bond. They hold up beautifully in dry heat.
A Note on Scalp Health: Hair loss journeys are deeply personal, and your skin’s health is our utmost priority. If you suffer from conditions like seborrheic dermatitis, eczema, or simply have a highly reactive scalp, standard adhesives can cause flare-ups. Always opt for a hypoallergenic hair glue specifically formulated to protect your skin’s delicate moisture barrier while providing a secure hold.
The Pro-Prep Protocol: Setting the Stage
A flawless melt actually begins before you even open your adhesive. The skin around your hairline naturally produces sebum (oil) and sweat, creating an acidic environment. If you apply glue directly to oily skin, the chemical bond will fail.
Proper lace front wig care starts with prep. Simply wiping your forehead with a towel isn’t enough. Use 91% isopropyl alcohol on a cotton pad to gently remove surface oils. Follow this immediately with a skin protector—a specialized barrier spray that balances your skin’s pH and prevents the adhesive from seeping into your pores.
The 3-Layer Mastery and The “Tacky” Benchmark
The number one mistake beginners make? Applying the lace while the glue is still wet.
Think of wig adhesive not as a traditional “glue,” but as a pressure-sensitive tape that you are painting on. To activate its sticking power, the solvents in the liquid must evaporate.
The Rule of Threes:
- Apply a paper-thin layer of adhesive just in front of your natural hairline.
- Wait for the Tacky Benchmark. If you are using a water-based glue, it will transition from cloudy/white to completely clear. If using a blue-tinted glue, it will transition from blue to clear.
- Once clear and tacky (sticky to the touch but doesn’t transfer to your finger), apply the second thin layer. Wait again.
- Apply the third thin layer.
By building up thin layers, you create a microscopic “velcro” effect that holds the lace securely without causing the glue to squish through the holes of the lace.
The “Melt” Phase: Making the Boundary Disappear
You’ve applied the lace. It’s stuck. But you can still see the mesh. Now it’s time for the “Melt.”
Melting is a combination of heat, specialized solvents, and mechanical compression. After laying the lace onto the tacky adhesive, lightly press it in with a comb. Next, apply a melting spray (a gentle, fast-drying holding spray) directly over the hairline.
Immediately wrap the hairline tightly with a wide elastic “melt band” for 10 to 15 minutes. This compression forces the lace down into the adhesive while the melting spray temporarily softens the lace fibers, causing them to visually fuse with your skin. When you remove the band, the lace should be undetectable.
Troubleshooting & Maintenance: Solving the Toughest Mysteries
Even with the best techniques, atmospheric factors can interfere with your hold. Let’s solve the two most common search mysteries in the wig community.
The “White Cast” Mystery
Have you ever had a flawless install look perfect on day one, only to turn into a white, crusty mess by day three? This is usually not the glue failing; it is moisture trapping. When layers of adhesive are applied too thickly, the bottom layer never fully cures. When you sweat, or when humidity rises, that moisture gets trapped between the uncured glue layers, causing a white, milky appearance. The fix? Thinner layers and ensuring each layer is 100% clear before adding the next.
The “Cotton Ball” Confusion
If you’ve researched wig maintenance, you may have stumbled across bizarre advice about “wigs and cotton balls.” Let’s clear this up: this usually refers to the removal process!
Never rip a glued lace front off your head. Doing so damages the delicate lace and your natural edges. The safest removal method involves soaking a cotton ball in 91% rubbing alcohol or a specialized citrus adhesive remover, and gently rubbing it along the hairline. The alcohol safely breaks the chemical cross-linking of the adhesive, allowing the wig to slide off effortlessly. Learning proper removal is a critical wig maintenance step to ensure the longevity of your investment.
Frequently Asked Questions
Q: How long will a bonded lace front actually stay on?
A: Depending on your adhesive choice, skin chemistry, and environment, a secure bond can last anywhere from 1 to 4 weeks. However, for the health of your skin and natural hair, we generally recommend removing, cleaning, and reinstalling every 1 to 2 weeks.
Q: Can I swim or work out in a glued lace front?
A: Yes, provided you use the correct adhesive and understand how water impacts your daily wig care routine. Silicone and acrylic-based adhesives are best for high-moisture situations. Always allow the wig to air dry completely after heavy sweating or swimming before pulling on the hair.
Q: Do I have to use glue to wear a lace front wig?
A: Absolutely not! If adhesives feel too overwhelming, many high-quality lace front wigs can be worn completely glueless using adjustable straps, wig clips, or a velvet wig grip.
Your Next Steps Toward Confidence
Mastering the science of a seamless lace front takes a little patience, but the resulting confidence is well worth the effort. By understanding your lace type, choosing the right adhesive for your unique skin chemistry, and respecting the “tacky” curing process, you can achieve professional-level realism at home.
At Wig Superstore, we believe that education is the ultimate tool for empowerment. Whether you are navigating medical hair loss or simply looking to protect your natural hair with a gorgeous new style, we are here to support your journey. Explore our expansive collection of premium wigs and essential care products today, and take the first step toward a flawless, confident new you.