There is a distinct power in a bob. It is a style that signals confidence, precision, and a timeless sense of chic. For wig wearers, however, the journey to the perfect bob often feels fraught with risk. Unlike biological hair, which forgives a slip of the scissors with the promise of regrowth, a wig requires a steady hand and a strategic mind. Whether you are a DIY enthusiast looking to customize an out-of-the-box style or a wearer wanting to better communicate your vision to a stylist, understanding the architecture of a cut is the first step toward confidence.
While the bob may seem simple, it is actually one of the most technical cuts to master because there is nowhere to hide errors. A great bob relies on geometry, tension, and the specific behavior of the hair fiber. Before you pick up your shears, it is vital to understand the structural differences that turn a simple haircut into a personalized statement. For those ready to explore the broader world of customization beyond just bobs, your guide to advanced wig cutting & layering for a truly custom style offers an excellent roadmap for understanding texture and movement across all lengths.
The Foundation: Anatomy of the Three Classic Bobs
To the untrained eye, a “short haircut” is just a short haircut. But in the world of wig styling, the angle of the blade determines everything. Understanding the three primary variations is essential for choosing a style that complements your face shape and lifestyle.
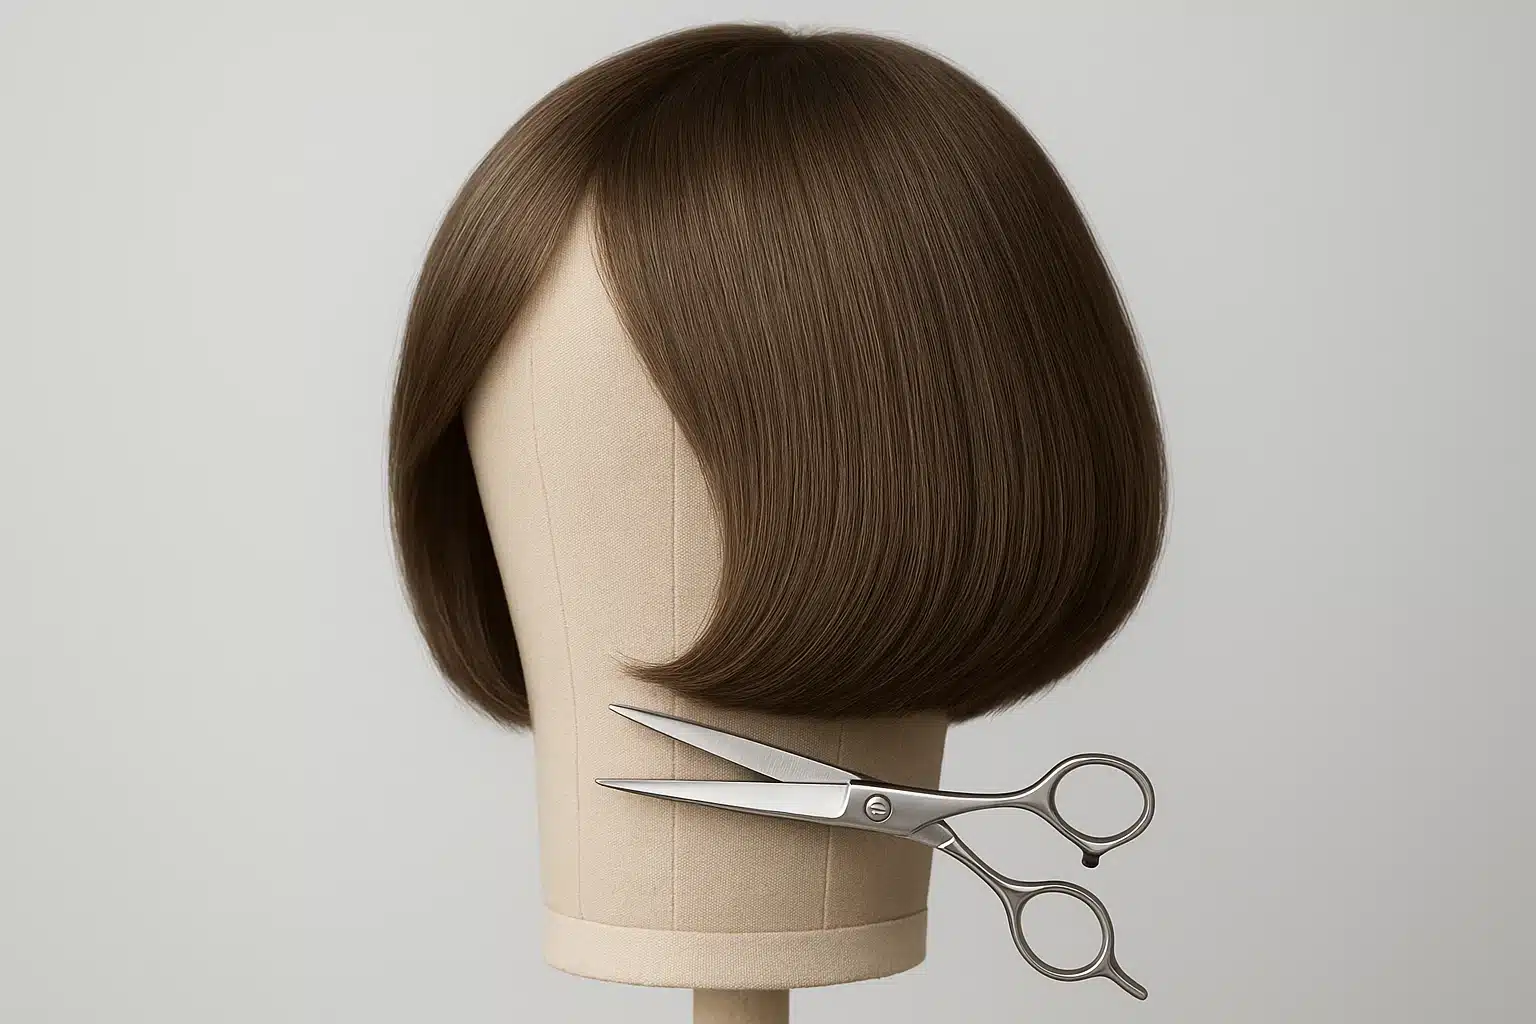
The Blunt Cut
This is the “power bob.” It is characterized by a solid, heavy line at the bottom with zero layers. All the hair falls to a single length.
- The Vibe: Modern, crisp, and architectural.
- The Mechanics: This requires cutting with “zero elevation,” meaning the hair is combed straight down against the neck/back before cutting.
- Best For: Fine hair fibers that need to look thicker, or anyone wanting a dramatic, high-fashion profile.
The Graduated Bob (The Stack)
Graduation is all about building weight and volume. If you look at the back of the wig and see a curved, rounded silhouette that tapers toward the nape, that is graduation.
- The Vibe: Soft, voluminous, and classic.
- The Mechanics: The hair is cut at an angle (usually 45 degrees). The layers at the nape are shorter, and they get progressively longer as you move up the head, creating a “stacked” effect that supports the hair above it.
- Best For: Creating a beautiful head shape and adding lift to the crown without using styling products.
The Angled Bob (The A-Line)
This is a game of geometry. The hair is shorter in the back and dramatically longer in the front, creating a diagonal line along the jaw.
- The Vibe: Edgy, elongating, and slimming.
- The Mechanics: This relies on “over-direction,” pulling the hair toward the back before cutting to preserve length in the front.
- Best For: Elongating rounder face shapes and adding a sense of movement to straight fibers.
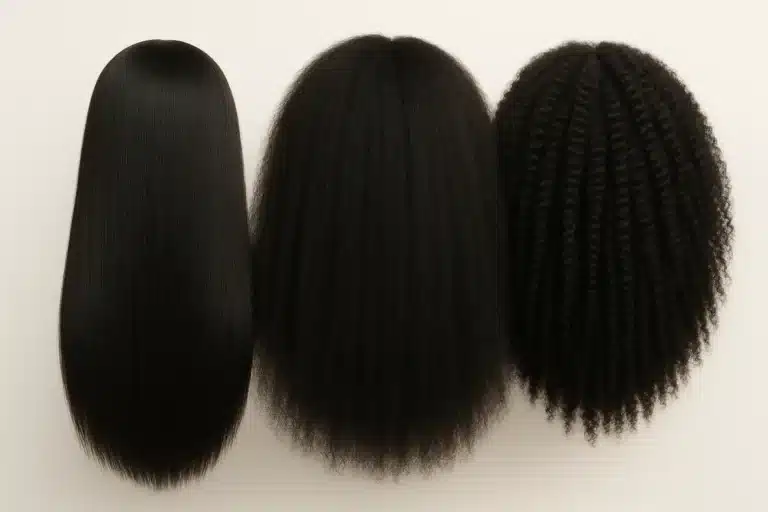
The Critical Variable: Synthetic vs. Human Hair
Perhaps the most overlooked factor in cutting wigs is the material itself. A technique that works beautifully on human hair can be disastrous on synthetic fiber.
Human Hair Wigs: These behave similarly to biological hair. They have a cuticle (usually), they stretch slightly when wet, and they lay flat. You can use standard texturizing techniques like “slide cutting” (sliding open shears down the hair shaft) without damaging the ends.
Synthetic Wigs: Think of synthetic fiber as a very fine fabric or plastic.
- The Dull Factor: Synthetic hair is tougher than human hair and will dull standard shears roughly three times faster. Always use a designated pair of shears for your synthetic pieces—never your fabric or kitchen scissors.
- No “Memory” Reset: If you cut a cowlick into human hair, you can blow-dry it out. If you cut synthetic hair while it is bent or kinked, that shape is permanent until steam-treated.
- The Slip: Synthetic hair is slippery. It pushes away from the scissors. Professional stylists often use serrated shears (micro-teeth on the blade) to grip the fiber and prevent it from sliding, ensuring a straight line.
Step-by-Step: Navigating the Cut
1. The Setup
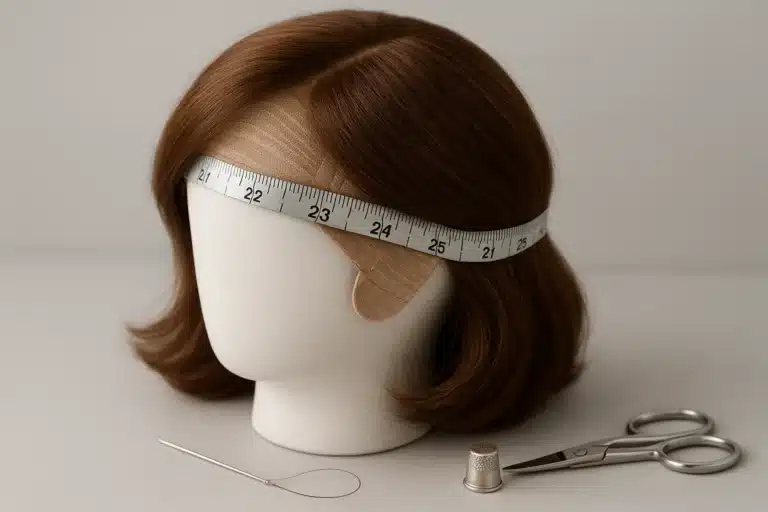
Never cut a wig while it is on a generic styrofoam head alone. The head size is likely smaller than yours, meaning the bob will end up too short in the back when you put it on.
- Secure it: Pin the wig securely to a canvas block head that matches your circumference.
- Dry Cut Only: Always cut synthetic wigs dry. Wet hair stretches, and since synthetic hair doesn’t shrink back when dry, cutting it wet will result in uneven, unpredictable lengths.
2. Creating the Perimeter (The Guide)
For a Blunt Cut, establish your length at the center back.
- Pro Tip: Have the “head” look down (chin to chest). This exposes the under-layer at the nape. If you cut with the head upright, when you look down later, the bottom hairs will stick out like a tail.
- Technique: Cut the under-layer slightly shorter than the top layers. This allows the top hair to curve under naturally, avoiding that dreaded “bell shape” where the wig flips out at the bottom.
3. Adding Dimension (Graduation or Angles)
For an Angled Bob, you are working with diagonals.
- Sectioning: Divide the hair down the center back.
- Finger Angle: Instead of holding your fingers horizontal (parallel to the floor), angle your fingers down toward the collarbone. The steepness of your finger angle determines the drama of the bob.
- The Connection: Connect the back length to the front length in a smooth, diagonal line. Avoid “sawing” at the hair; use long, confident snips.
4. Texturizing and Softening
A fresh cut on a wig can look “wiggy” because the ends are too blunt and perfect.
- Point Cutting: Hold your scissors vertically and snip small “V” shapes into the ends of the hair. This shatters the blunt line and helps the hair move naturally.
- Thinning Shears: If the bob looks too triangular (poofy at the bottom), use thinning shears on the bottom two inches only. This removes weight without removing length, allowing the hair to lay flat against the neck.
Matching the Bob to the Face Shape
The magic of a bob is that it can be tailored to balance your features. It isn’t just about the hair; it’s about the optical illusion it creates.
- Round Faces: Opt for a Long Angled Bob. The length in the front draws the eye down, elongating the face. Avoid chin-length blunt cuts, which can accentuate roundness.
- Square Faces: A Graduated Bob with soft, textured ends works best. The roundness of the graduation softens the jawline. Avoid sharp, geometric lines near the jaw.
- Heart Faces: A Chin-Length Blunt Bob is ideal. Heart shapes are wider at the brow and narrow at the chin; a blunt cut adds necessary width at the jawline to create balance.
- Oval Faces: You have the winning ticket—almost any bob variation, from a micro-bob to a heavy lob (long bob), will suit you.
Frequently Asked Questions
Q: Can I use a razor on a synthetic wig?
A: Use extreme caution. A razor works by scraping the hair cuticle. Since synthetic hair has no cuticle, a razor can shred the fiber, causing it to frizz and tangle prematurely. For synthetic bobs, point cutting with shears is a safer way to add texture.
Q: I cut my bob too short. Is it ruined?
A: Not necessarily. If it feels too short, try styling it with a different part or adding waves (if heat-friendly). Sometimes, “too short” is just “shock.” Give yourself two days to adjust to the new silhouette.
Q: Why does one side always look longer than the other?
A: This is usually due to head posture. If your head (or the wig block) is tilted even slightly while cutting, the result will be uneven. Ensure the wig is perfectly level before you make your first snip. Checking your work in a mirror frequently helps catch this early.
Q: How do I stop the back of the bob from matting?
A: Bobs, especially graduated ones, rub against the collar and neck (the “friction zone”). To prevent matting, lightly spray the nape area with a silicone-based wig spray to reduce friction, and comb it out gently after every wear.
Continuing Your Education
Mastering the bob is a milestone in any wig wearer’s journey. It represents a shift from simply “wearing” hair to “owning” your style. Remember, the goal is not perfection on the first try, but progression. Start by trimming an old wig to practice your angles and tension before taking shears to your newest piece.
As you become more comfortable with the weight and movement of different fibers, you’ll find that the ability to customize your wig offers a sense of freedom that is hard to replicate. Whether you choose the sharp authority of a blunt cut or the soft elegance of a graduated stack, you are crafting an image that is uniquely yours.