You’ve likely experienced the “Uncanny Valley” of wig wearing. You have customized the front hairline to perfection, bleached the knots, and laid the lace with the precision of a surgeon. Yet, when you turn your head or look in the side mirror, something feels slightly… off. The hair might sit too heavily behind the ears, or the nape might lift awkwardly away from your neck like a stiff collar.
This is the final frontier of wig customization: the perimeter. While the front hairline gets all the glory, the nape and sideburns are the unsung heroes of a truly natural look. These areas are high-friction zones that determine how the hair moves, settles, and interacts with your skin. Mastering the transition between your wig and your natural silhouette is the secret to total confidence. For a broader look at customizing your piece, we recommend reading our guide on Your Guide to Advanced Wig Cutting & Layering for a Truly Custom Style, but today, we are zooming in on the intricate details of the back and sides.
Beyond the Front: Why the Perimeter Matters
The primary reason wigs can look “wiggy” from the side or back isn’t usually the quality of the hair; it’s the density and the physics. In a biological head of hair, the hairline around the nape and ears is naturally finer and sparser than the hair at the crown. It grows in a specific direction and lies flat against the skin.
Wigs, however, are often manufactured with consistent density throughout. When this uniform thickness hits the delicate areas around your ears and neck, it creates bulk. This bulk causes two specific mechanical problems:
- The “Helmet” Effect: Thick sideburns obscure the natural contour of the jaw and ear, creating a heavy, artificial frame.
- Nape Lifting: When hair at the nape is too thick, friction against your collar or skin causes the wig cap to push upward and outward, rather than hugging the neck.
The Vocabulary of Customization
Before you pick up your shears, it is vital to understand the difference between the three core techniques used in perimeter detailing. Using the wrong technique here can ruin the lace or the weft structure.
Tapering vs. Feathering vs. Thinning
- Tapering: This refers to a gradual change in length. When tapering a nape, you are cutting the hair shorter at the bottom and gradually longer as you move up. This mimics natural growth patterns where new hair at the hairline is shortest.
- Feathering: This is about texture, not just length. Feathering creates soft, wispy ends that look like they grew that way, rather than having a blunt, fresh-cut line. This is crucial for sideburns.
- Thinning: This removes bulk without necessarily changing the overall length. Thinning shears are used to remove a percentage of the hair, allowing the remaining hair to lay flatter against the head.
Mastering the Nape: Solving Lift and Friction
The nape is the most mobile part of your wig. It rubs against clothing, chairs, and skin oils. If the nape is too thick, it acts like a lever, pushing the wig up every time you look down.
The “Hug” Technique
To get the nape to hug the neck, you must reduce the weight.
- Sectioning: Clip the bulk of the hair up, leaving only the bottom inch of hair at the nape exposed.
- Vertical Thinning: Using thinning shears, make vertical cuts into this bottom section. Never cut horizontally across, as this creates a shelf.
- The Razor Finish: For the absolute edges, use a razor comb to gently feather the tips. This removes the blunt “line” of the wig, allowing the hair to taper invisibly into your skin.
Combating the Tangle
Friction causes heat and static, leading to the dreaded “bird’s nest” at the nape. By thinning this area, you reduce the surface area available for friction. If you have neglected this area and are already dealing with matting, learning how to fix a ratty wig is your first step before attempting further customization.
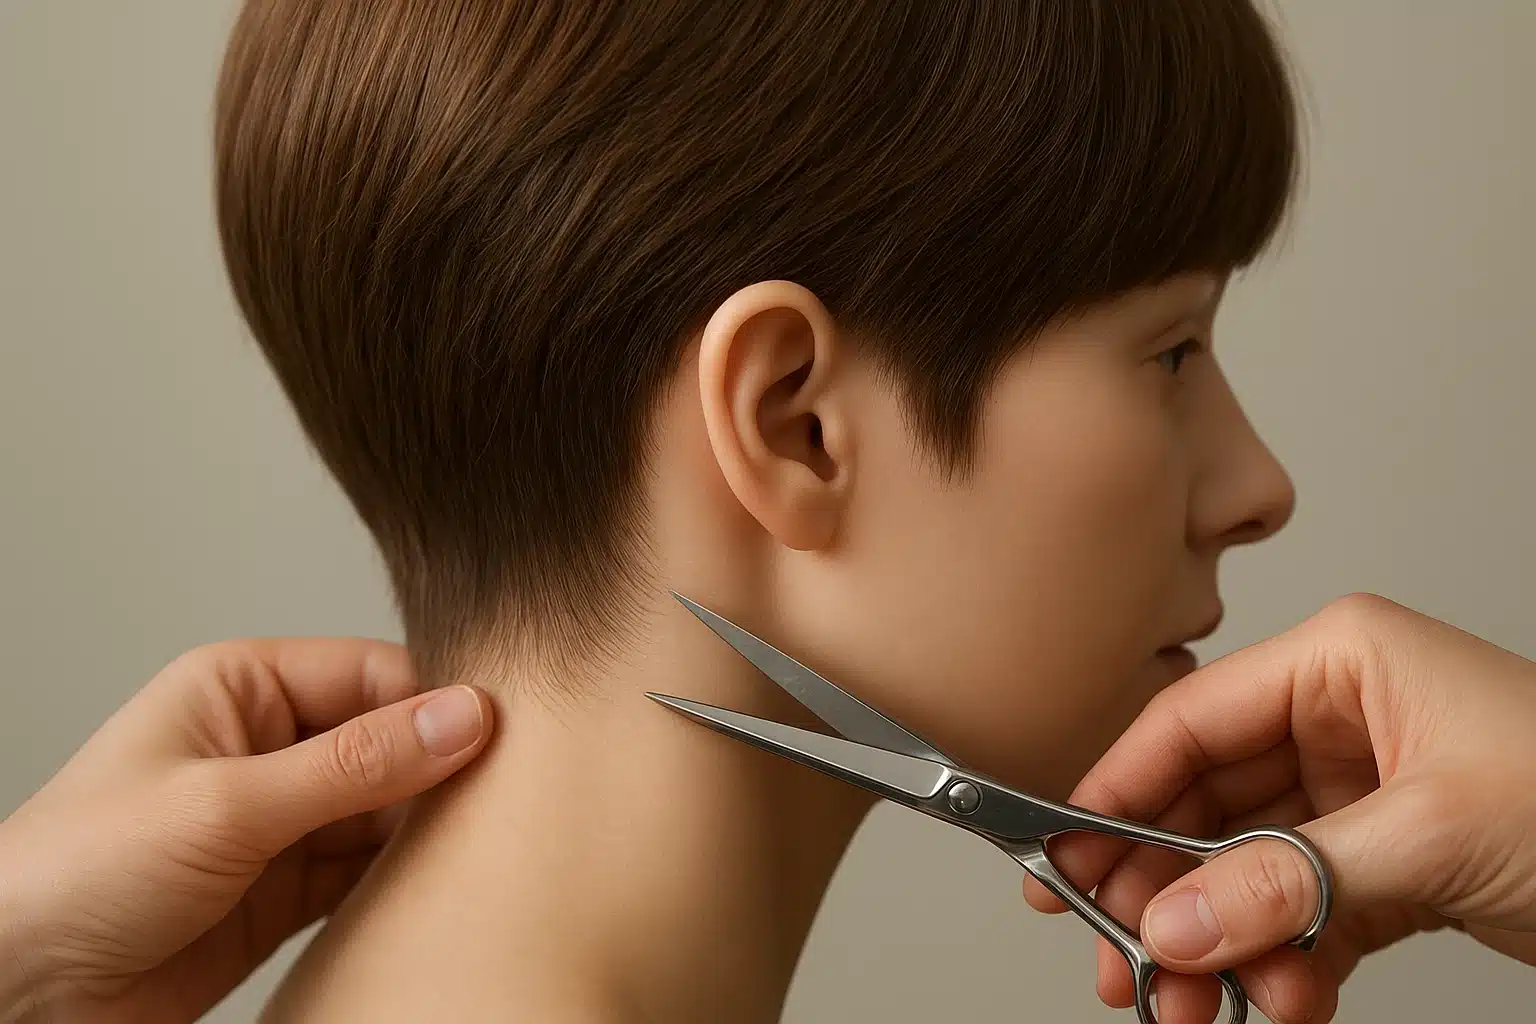
The Art of the Sideburn: Anchoring Your Look
Nothing gives away a wig faster than sideburns that possess no shape or that completely cover the ear. Natural sideburns are wispy and often much lighter in density than the rest of the head.
Sculpting the Ear Tabs
Many wigs come with ear tabs that are customizable.
- The C-Curve: Don’t cut a straight line. Use small, sharp scissors to cut a shallow “C” shape around where your ear sits. This allows the ear tab to lay flat against the temple rather than buckling over the top of the ear.
- Wire Adjustment: If your wig has metal stays in the ear tabs, bend them slightly inward toward your face. This mechanical tension helps keep the lace flush against the skin.
Blending for Realism
If you have biological hair at your temples, blending it with the wig sideburns is the gold standard for realism.
- The Tuck Test: Pull a few strands of your natural hair out from under the wig cap.
- Product Matching: Use a tiny amount of pomade or edge control on both your biological hair and the wig fibers to marry them together.
- Feathering the Wig Fiber: Use a razor to feather the wig’s sideburn hair so it matches the length of your natural sideburns. The goal is for the two textures to “shake hands,” not for one to cover the other.
Troubleshooting Common Friction Points
Even with a great cut, daily wear brings challenges. Here is how to handle the most common issues.
The “Gap” with Glasses
Problem: The arms of your glasses push the ear tabs out, creating a visible gap.Solution: You need to remove bulk from behind the ear tab, not just on top of it. Lift the top layer of hair on the ear tab and use thinning shears on the underside. This creates a “pocket” for the glasses arm to rest in without displacing the outer hair.
The High Ponytail Reveal
Problem: When lifting the hair for an updo, the bottom edge of the wig cap shows.Solution: This requires the “baby hair” technique at the nape. Pull a very thin perimeter of hair out from the nape (about 2-3mm deep). Cut these hairs short (1-2 inches). When you pull the rest of the hair up, these short hairs will naturally fall down to cover the edge of the cap, mimicking the stray hairs found on a natural hairline.
Frequently Asked Questions
Can I use regular craft scissors to shape my wig?
It is highly discouraged. Regular scissors can crush the hair shaft (especially on synthetic wigs) leading to frayed ends that tangle easily. Always use sharp styling shears or a specialized razor comb designed for hair.
My wig rides up in the back throughout the day. Is it the cut or the size?
It could be both. If the wig is too small, it will slide up. However, if the size is correct, it is likely that the hair at the nape is too heavy. Thinning the nape area reduces the weight that pulls the wig backward and upward.
How do I stop my sideburns from curling outward?
This often happens with heat-friendly synthetic wigs due to friction. You can use a steamer to redirect the fiber. Pin the wig to a canvas block head, smooth the sideburn flat with a comb, and apply steam to “reset” the direction of the fiber so it lays against the cheek.
Should I cut the lace around the ears?
Yes, but carefully. Many standard wigs come with excess lace or material at the ear tabs. Trimming this back allows the wig to sit lower and closer to the head. Always cut small amounts at a time and try the wig on in between cuts.
The Path to Confidence
Customizing the nape and sideburns transforms a wig from something you wear into something that feels like part of you. It shifts the experience from constantly checking mirrors to forgetting you are wearing a wig at all.
Remember, customization is a subtractive process—you can always cut more, but you can’t add it back. If you are new to this, start with minimal thinning and feathering. As you wear the piece and see how it moves, you can make further adjustments. This attention to detail is what elevates your style from standard to signature.


