There is a specific moment of anticipation that every wig wearer knows. You’ve spent hours researching styles, comparing colors, and waiting for the delivery. Finally, the box arrives. You lift the wig out, put it on, and look in the mirror—only to feel a twinge of hesitation. It looks… perfect. almost too perfect.
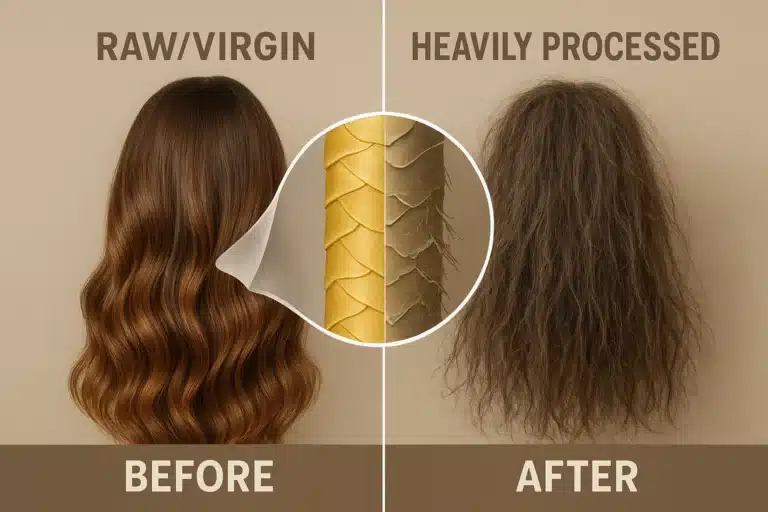
This is the most common hurdle for new wig wearers. Out of the box, synthetic hair often suffers from “cold set”—it has been sitting stationary in packaging, resulting in a flat, uniform appearance that can feel unnatural. The secret that industry insiders know is that high-quality wigs, like those in the Orchid Collection, are designed to be a starting point, not a finished sculpture.
For a deeper look at these specific constructions, see Your Complete Guide to Revlon Wigs: A Deep Dive into the Orchid Collection, which details how the Orchid line’s base design influences your styling options. Once you understand the foundation, the next step is mastering the art of personalization. You don’t need a cosmetology license to make a wig look like your hair; you just need to know the “safe zones” of customization.
Here is how to transform your new piece from a product in a box to a hairstyle that feels like you.
The “Waking” Ritual
Before you even think about putting the wig on, you have to break the factory mold. Beginners often treat their new wigs like fragile glass sculptures, afraid that touching them will ruin the style. The reality is quite the opposite.
When you first remove your Rene of Paris or Revlon wig from the box, the fibers are compressed. To release the style, you need to perform the “Waking Ritual.”
- Turn it upside down: Hold the wig by the nape area (the back of the neck).
- The Shake: Give it a vigorous shake. Don’t be shy here. This introduces air into the wefts and separates the fibers.
- The Finger Comb: Gently run your fingers through the hair to loosen the “clumps” caused by packaging.
This simple action disrupts the uniform pattern of the machine production and instantly adds volume and movement. It transforms the fiber from a flat sheet into dynamic hair.
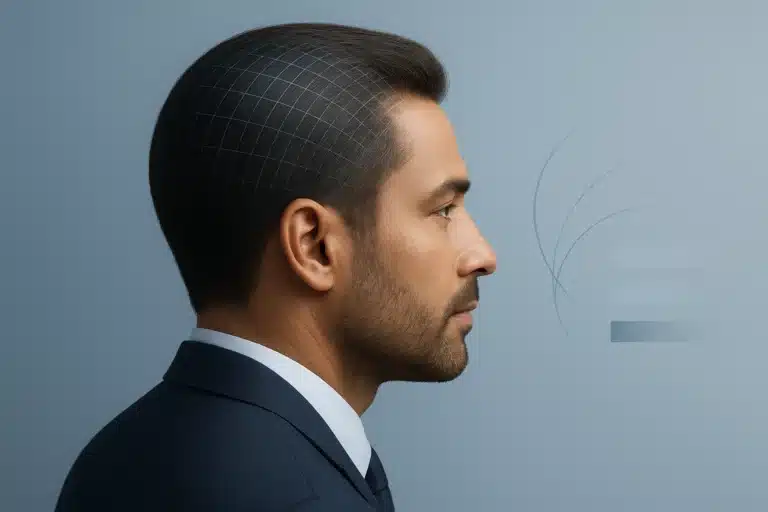
The Art of Placement: The 4-Finger Rule
One of the biggest giveaways of a wig isn’t the hair itself—it’s the placement. If a wig sits too low on the forehead, it shortens your face and creates an unnatural hairline. If it sits too high, it looks like it’s slipping.
To find your “Golden Ratio” of placement, use the Four-Finger Rule:
- Place your four fingers horizontally against your forehead, with your pinky resting on your eyebrows.
- Your natural hairline (and where the wig should start) is generally where your index finger lands.
- Check the Ear Tabs: Once the hairline is placed, feel for the triangular ear tabs on the sides. These should be perfectly level with each other and sit flush against your temples, not over your ears.
If the ear tabs are uneven, your wig is crooked. Adjusting this alignment is the quickest way to take a wig from “awkward” to “invisible.”
Banishing the “New Wig” Shine
Synthetic fibers, specifically the high-quality Kanekalon used in many Revlon styles, are non-porous. Unlike human hair, which has texture that scatters light, synthetic fiber has a smooth surface that reflects light uniformly. This can result in a “glossy” look that some find artificial, especially under harsh indoor lighting.
You don’t need to wash the wig immediately to fix this. Instead, try these “de-shining” techniques:
- Dry Shampoo: A light mist of dry shampoo is the industry standard for reducing shine. The powder adheres to the fiber, mimicking the texture of natural hair and scattering light.
- The “Talc” Method: If you are sensitive to scents, a small amount of baby powder or talc dusted on your hands and clapped through the hair works similarly.
Pro Tip: Be mindful of “Life-Like” fibers versus standard synthetic. Revlon’s finer fibers are inherently less shiny than older synthetic generations, so spray sparingly. You can always add more, but it is harder to remove excess powder without washing.
Customizing the Part: The Illusion of Scalp
If you have purchased a monofilament top wig (where hairs are individually tied to a mesh base), you have the ability to change the part. However, synthetic hair has a “memory”—it wants to snap back to its original direction.
To train a new part without damaging the fiber, use Steam Training:
- Define the Part: Comb the hair into the new direction you desire.
- Apply Heat (Carefully): Rub your hands together vigorously to create friction heat and press them onto the part, or use a handheld steamer (held 10 inches away).
- The Cool Down: Hold the hair in place until it cools. Synthetic fiber sets as it cools, not while it heats.
The Concealer Trick
To make the part look like a true scalp, take a small angled brush and dab a tiny amount of foundation or concealer (matching your skin tone) along the parting line. This blends the mesh with your skin, creating a seamless transition.
The “Safe Zones” for Trimming
Search trends show that many wig wearers are desperate to cut their wigs but are terrified of the “point of no return.” This fear is valid—synthetic hair does not grow back. However, you can customize your wig if you stick to the Safety Zones.
Safe to Cut:
- The Bangs: If the fringe is too long, it can be trimmed. Never cut straight across in a blunt line—this looks heavy and fake. Instead, use the “point cutting” technique (cutting vertically into the ends of the hair) to create a soft, shattered edge.
- Face-Framing Layers: You can create “wispy bits” around the temples to mimic baby hairs. This softens the transition between the wig and your skin.
The Danger Zone:
- The Length: Avoid trying to turn a long wig into a bob yourself. This requires structural knowledge of the wefts. If you cut too bluntly, the hair will lay like a pyramid. Leave major length changes to a professional stylist who specializes in alternative hair.
Heat Styling: Know Your Fiber
Before you bring a curling iron near your wig, you must confirm the fiber type.
- Standard Synthetic: These fibers cannot tolerate heat tools. They will melt or frizz instantly. Styling relies on steam and “cold setting.”
- Heat-Friendly (HD) Fiber: These can withstand heat up to roughly 350°F (check your specific manufacturer’s instructions).
If you are using heat on an HD wig, remember that the style locks in during the cooling phase. If you curl a strand, you must pin it in the curl shape until it is completely cool. Dropping it while hot will cause the curl to fall out immediately.
Frequently Asked Questions
What is the difference between a U-Part and a Monofilament top?
This is a common confusion. A Monofilament top is a full wig with a sheer mesh section that mimics a scalp, allowing you to part the hair in different directions. A U-Part wig is actually a hairpiece with a U-shaped opening at the top, designed for you to pull your own biological hair through to blend with the wig. Most Revlon and Rene of Paris styles are full wigs (Monofilament or Basic Cap), not U-Parts.
Why does the top of my wig look “poofy”?
If your wig doesn’t have a monofilament top, it likely uses a technique called Permatease. This is short, crimped hair at the root designed to hide the cap and provide permanent volume. It’s not a defect; it’s a feature! If you prefer a flatter look, opt for a full monofilament top in your next style.
Can I use regular hairspray on my wig?
No. Standard hairspray contains alcohols and chemicals that can degrade synthetic fibers over time, turning them brittle and hazy. Always use products specifically formulated for synthetic hair to maintain the integrity of the fiber.
***
Mastering these small adjustments shifts the dynamic from “wearing a wig” to “having a hairstyle.” It takes a little practice, but the confidence of knowing your hair looks natural and personalized is worth the effort. You are not just wearing a product; you are curating your own image.