If you have ever excitedly unboxed a gorgeous new wig, slipped it on, and immediately felt that something was “off,” you are not alone.
Most of the wig industry operates on a standard “Average” sizing model, designed to fit a 21.5-inch head circumference. But human heads don’t come in a one-size-fits-all mold. If you fall into the 10% of individuals who need a petite or large fit, standard adjustable straps simply won’t cut it. Trying to force an average cap to fit your unique dimensions can lead to riding up at the nape, uncomfortable pressure headaches, or unnatural bulging at the crown.
At Wig Superstore, we believe that you shouldn’t have to compromise on comfort to feel beautiful. Rene of Paris offers some of the most stunning, high-quality wigs on the market—but unlocking their true potential often requires a bit of personalization.
This guide is your advanced customization manual. We are taking you beyond the basic Velcro and hook straps to explore structural, mechanical modifications. Whether you need to shrink an Amore double-monofilament cap or expand a Noriko style, here is how you can achieve the perfect, secure fit.
The Fit Assessment: Beyond the Standard Circumference
Before picking up a needle and thread, we need to understand exactly where the fit is failing. Most beginners only measure the circumference of their head, but a truly customized fit relies on two additional measurements:
- Ear-to-Ear: Measured over the top of your head from the top of one ear to the other. If a wig is too large here, it will overlap your ears or sit uncomfortably on your cartilage.
- Front-to-Nape: Measured from your natural front hairline to the base of your neck. If this is too long, the wig will bunch up at the back of your neck when you look up.
Standard adjustable straps at the nape of a wig typically only allow for about a 1-inch variance in circumference. They do nothing to fix ear-to-ear or front-to-nape issues. When you stretch beyond that 1-inch limit, you need advanced modifications.
Understanding Your Rene of Paris Canvas
Not all Rene of Paris wigs are constructed the same way. Knowing the architecture of your specific cap is crucial before attempting any alterations.
- Hi-Fashion (Machine Made): These caps feature open wefting, making them the most modification-friendly. The spaces between the hair wefts make it incredibly easy to fold and sew without adding bulk.
- Amore (Double Monofilament): Famous for their comfort and realistic scalp appearance, these caps require more delicate handling. Because the top is hand-tied into a delicate, double-layered material, you should never cut or aggressively sew into the crown.
- Noriko: Known for durable, voluminous styles, Noriko caps often blend standard wefting with partial monofilament features, offering a great middle-ground for customizations.
If you are new to cap construction, we highly recommend brushing up on the different types of wig caps before making any structural changes to your piece.
The “Safe Zones” Map
When customizing, stick to the “Cold Zones.” These are the areas around the lower back (nape) and the lower sides (behind the ears). You can safely fold, dart, and sew in these areas without altering the visible hairstyle or causing the wig to shed.
Never cut or sew into the Monofilament Top or Lace Front. Altering these delicate “Hot Zones” will cause irreversible shedding and ruin the realistic hairline.
The Petite Transformation: Shrinking Your Wig Safely
If you frequently search for the best wigs for small heads, you know the struggle of excess cap material. Here is how to seamlessly shrink an average Rene of Paris cap.
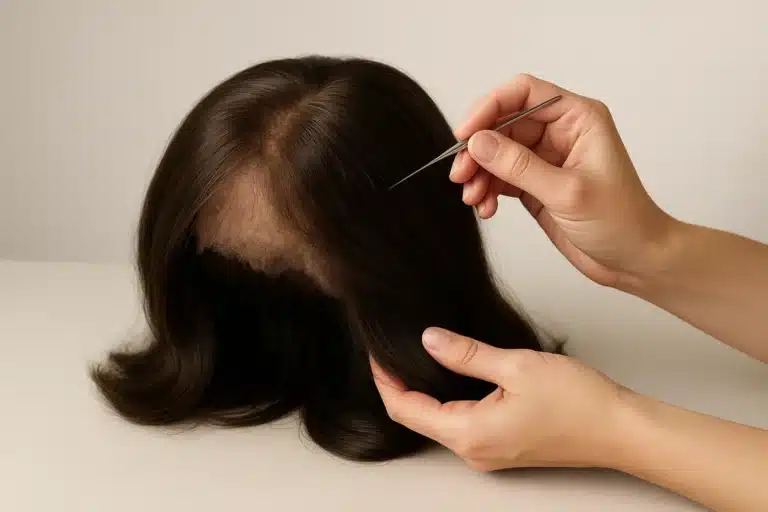
The Darting Technique and The “Silhouette Rule”
Darting involves folding over a small section of the cap’s wefting and sewing it flat to permanently reduce the cap’s size. The biggest fear beginners have is that darting will make the wig look “lumpy.”
To avoid this, follow the Silhouette Rule: Always distribute your darts symmetrically.
- Need to remove 1 inch of circumference? Don’t sew one giant 1-inch fold at the back. Instead, sew two 0.5-inch darts on either side of the nape.
- Need to fix a baggy crown? Sew two small darts near the temples (in the wefted section, safely away from the lace front).
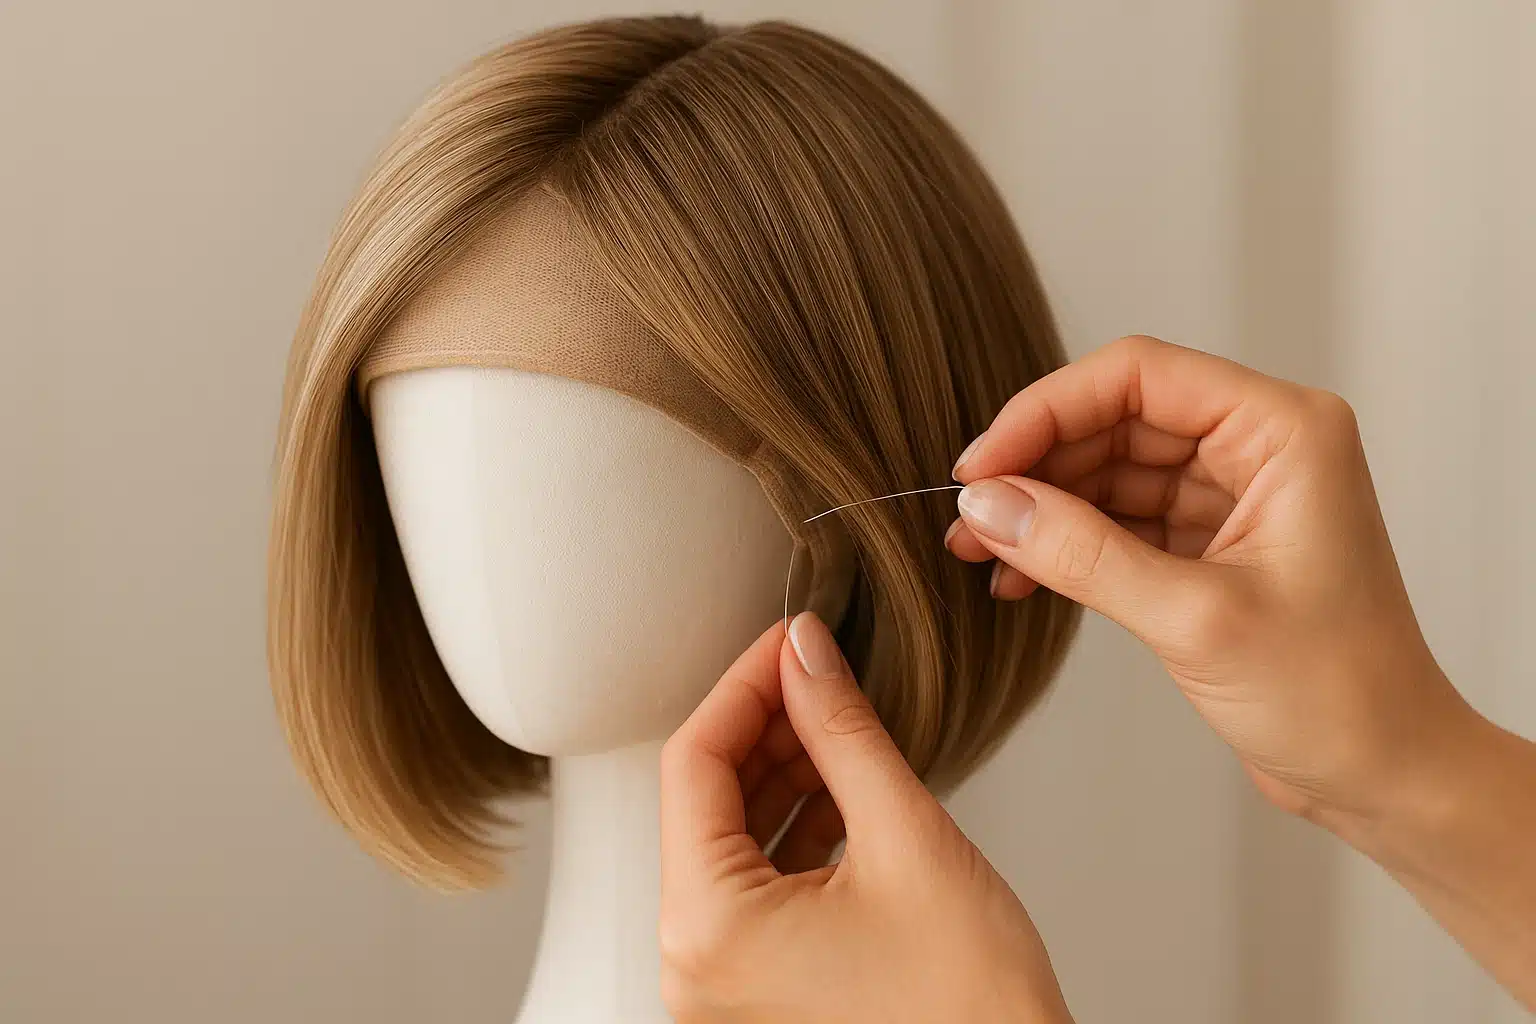
Securing the Lace Front
If your wig is slightly too large, the delicate lace front might ripple or lift instead of laying flat against your forehead. Because you cannot sew darts into lace without ruining it, the best solution is to create a high-friction anchor. Wearing a velvet wig grip underneath your cap will grab the lace front from the inside, pulling it taut and creating seamless tension without a single stitch.
The Large Head Expansion: Giving Yourself Room to Breathe
Expanding a wig is slightly more advanced than shrinking one, as it requires adding material to relieve tension.
The Elastic Insert
If your wig gives you a headache after an hour of wear, it is likely too tight in the circumference. You can safely add up to 1.5 inches of stretch by modifying the “stay-down” band at the nape.
- Locate the solid elastic band that runs along the bottom edge of the nape.
- Carefully snip this band right in the middle (ensuring you do not cut any hair wefts).
- Cut a 1 to 1.5-inch piece of plush sewing elastic.
- Sew this new piece of elastic between the two ends you just cut, effectively lengthening the band.
Relieving Crown Tension
For styles meant to have big, glamorous hair, a tight cap can flatten the volume. By carefully snipping the vertical connector strings between the wefts in the crown area (without cutting the wefts that hold the hair!), you can give the cap more lateral stretch, creating a customized, roomy fit.
The “Wig Hat” Conversion
If you have an older Rene of Paris wig that you love but find too small for all-day wear, consider converting it into a “wig hat.” By entirely removing the crown material and sewing the remaining sides and back into the brim of a comfortable baseball cap or beanie, you create the ultimate grab-and-go solution for large head sizes.
Technical Focus: Ear Tabs and Glasses
One of the most common complaints about wig fitting is ear tab pain, especially for glasses wearers. Inside the ear tabs of your Rene of Paris wig are small, flexible metal stays designed to keep the hair contouring your cheekbones.
When a wig is slightly too large (or your face is petite), these metal stays can dig into the top of your ears or push your glasses askew. Furthermore, if you’re struggling with a proper wig fitting sideburns gap, adjusting these tabs is the key.
How to reposition them:
- Feel the inside of the ear tab to locate the small pocket holding the metal stay.
- Make a tiny incision on the inside fabric of the cap (never the outside hair-bearing side).
- Slide the metal stay out.
- You can carefully trim the metal stay by 1/4 inch using wire cutters, file the sharp edge smooth, and slip it back into the pocket. Sew the tiny incision closed. This instantly relieves cartilage pressure while maintaining the cap’s structure.
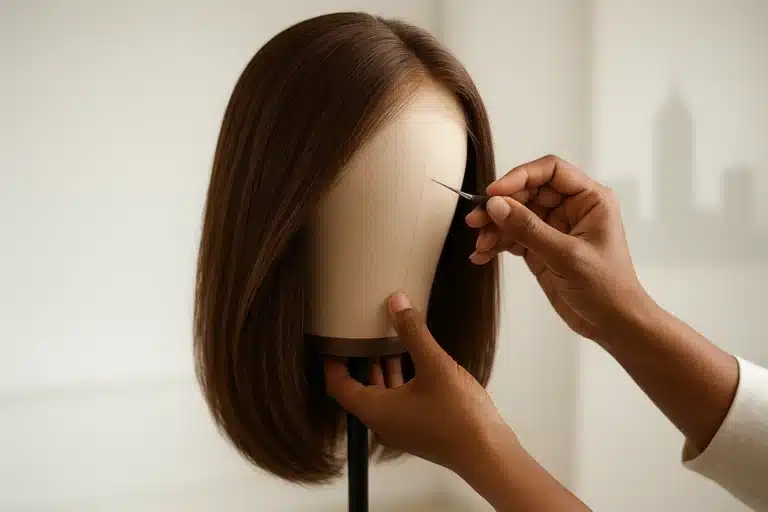
Essential Tools and Mistake Avoidance
When performing advanced customizations, standard household sewing kits won’t cut it. To execute these techniques flawlessly, you will need:
- Curved Upholstery Needles: These allow you to sew smoothly against the curve of the wig cap without catching surrounding hair.
- Clear Monofilament Thread: This ensures your stitches remain entirely invisible, regardless of the wig’s color.
Expert Tip: The Temporary Tacking MethodNever commit to a permanent stitch right away. Use a basic basting stitch (long, easily removable stitches) to temporarily “tack” your modifications in place. Try the wig on. Check the fit. If it feels right, go back over it with tight, permanent stitches.
Whether you are modifying high-end human hair or stunning, natural looking wigs made of synthetic fibers, patience is your best tool.
Frequently Asked Questions (FAQ)
Will altering my wig void the manufacturer’s warranty?
Yes. Structural modifications, including cutting elastic bands or sewing darts, will typically void the manufacturer’s return policy and warranty. We highly recommend only customizing a wig once you are certain you are keeping it.
Can I shrink the circumference of a lace front wig?
Yes, but the modifications must happen in the back and sides. You can sew darts into the wefted sections at the nape or temples to pull the cap tighter. Never attempt to cut or fold the actual lace material at the front.
How do I wash a wig that has been heavily customized?
Care for it exactly as you normally would, but be gentler when scrubbing the interior cap so you don’t snag your custom stitches. Following standard synthetic wig care routines will keep the hair fibers healthy, while gentle handling ensures your structural changes remain secure.
How do I know if my wig is too small or just needs to be broken in?
If a wig feels comfortably snug, it will stretch slightly and mold to your head over a few weeks. However, if it physically slides back on your forehead, pops off at the nape, or causes a pressure headache within 30 minutes, it is structurally too small and requires modification (like the elastic insert method).
Stepping Into Your Perfect Fit
Finding the perfect wig is an emotional, empowering journey. When you invest in a beautiful Rene of Paris piece, you deserve a fit that feels like it was custom-made for you. By moving beyond standard adjustable straps and utilizing darting, elastic inserts, and ear tab modifications, you can transform a great wig into your perfect wig.
At Wig Superstore, our nearly two decades of industry expertise are rooted in one simple truth: you deserve compassionate care and total confidence in your hair. If you are ready to explore your options or want to start with a cap style best suited to your unique measurements, browse our extensive collection and embrace a fit without compromise.