Picture this: your beautifully packaged Rene of Paris wig has just arrived. You carefully lift it from the box, admire the vibrant color, and gently place it on your head. You look in the mirror, waiting for that rush of confidence, but instead, your eyes immediately lock onto the hairline. It doesn’t look like you. It looks… like a wig.
If you’ve ever felt that sinking feeling, take a deep breath. You are not alone, and you haven’t done anything wrong.
Whether you are navigating the emotional journey of hair loss or simply stepping into the world of alternative hair for the first time, there is a common misconception that a “lace front” guarantees an instantly undetectable hairline right out of the box. The truth? A lace front doesn’t mean automatic realism; it means potential realism.
Rene of Paris (often abbreviated as RoP) creates some of the most stunning, high-quality wigs on the market through collections like Amore, Noriko, and Orchid. But bridging the gap between a gorgeous “out-of-the-box” piece and a customized, ultra-realistic look requires a few insider techniques.
Grab your favorite cup of coffee. We’re going to walk through the exact steps, advanced tricks, and subtle customizations needed to melt that lace into your skin and unlock the true potential of your Rene of Paris wig.
The “Lace Front” Myth: Why Your Wig Needs a Final Touch
When browsing wig catalogs, you’ll often see terms like “ready-to-wear” and “pre-trimmed lace.” While Rene of Paris utilizes innovative “Hairline Fusion Technology”—a specialized welded lace that is incredibly durable and holds its shape beautifully—”pre-trimmed” should be viewed as a starting point, not the finish line.
Everyone’s forehead shape, hairline height, and facial structure are completely unique. Relying entirely on the factory cut is like buying a designer suit and skipping the tailor. To achieve a look so natural it fools even your closest friends, you have to customize it to your specific anatomy.
With the usage of synthetic wigs projected to grow by an astounding 31% in the coming years, mastering synthetic-specific hairline care is more valuable than ever. Let’s dive into the step-by-step masterclass.
Stage 1: The Placement (Mastering the 4-Finger Rule)
Before a single scissor touches your lace, you must determine exactly where the wig should sit. A common “wiggy” telltale sign is a hairline that sits too low on the forehead, closing off the face and screaming artificiality.
The Solution: The 4-Finger Rule.
- Place your index finger horizontally right above your natural brow bone.
- Stack your middle, ring, and pinky fingers above it.
- The very edge of your wig’s hairline should sit exactly where your top finger rests.
This universally flattering measurement mimics a natural hairline placement. It also ensures the ear tabs align correctly with your temples, helping you avoid that frustrating proper wig fitting sideburns gap that happens when a piece is pulled too far forward or backward.
Stage 2: The Cut (Why You Must Abandon the Straight Line)
Many wearers are terrified to trim their Rene of Paris lace because of the brand’s pre-trimmed edges. “What if I ruin a $200+ investment?” This fear usually leads to leaving too much lace, which catches the light and reveals the wig.
If you have a smaller forehead or simply need to adjust the factory cut, you will need to trim. But here is the golden rule: Never cut in a straight line.
A straight line across your forehead creates a harsh shadow. Look at a natural hairline in the mirror—it’s irregular, staggered, and somewhat random. To mimic this, you need to use the Zigzag Method (also known as pinking the edges).
Using small, sharp embroidery scissors, make tiny, irregular zigzag cuts along the edge of the lace, staying incredibly close to the hairline. While a bold zigzag hairstyle might be a fun, edgy fashion statement, when it comes to lace, zigzags are purely about stealth. The jagged edge breaks up the light, rendering the lace practically invisible against your skin.
Stage 3: The “Scalp Melt” (Erasing the Evidence)
Even with a perfect zigzag cut, welded lace needs a little help to completely vanish. This is where the “melt” comes in.
The Makeup Hack
The easiest way to blend the transition from lace to skin is through cosmetics. If you are wondering how to blend a wig with makeup, the secret lies in powder, not liquid. Dab a pressed powder that perfectly matches your skin tone directly onto the lace border using a fluffy eyeshadow brush. This dulls the shine of the synthetic lace and blurs the knots.
The Scarf Method for Synthetic Fibers
Once your wig is secured (using a gentle wig grip, silicone tape, or adhesive), lay the front edges down by wrapping a silk or satin scarf tightly around your hairline. Leave it on for 10-15 minutes while you do your makeup. The warmth of your body combined with the pressure of the scarf literally “melts” the lace flush against your forehead, eliminating any lifting edges.
Stage 4: Bio-Hair Blending and Synthetic Logic
If you have biological hair along your front hairline, use it to your advantage! Pull out just 1/4 inch of your own natural hair at the very front and blend it over the lace. This creates an optical illusion that makes it impossible to tell where you end and the wig begins.
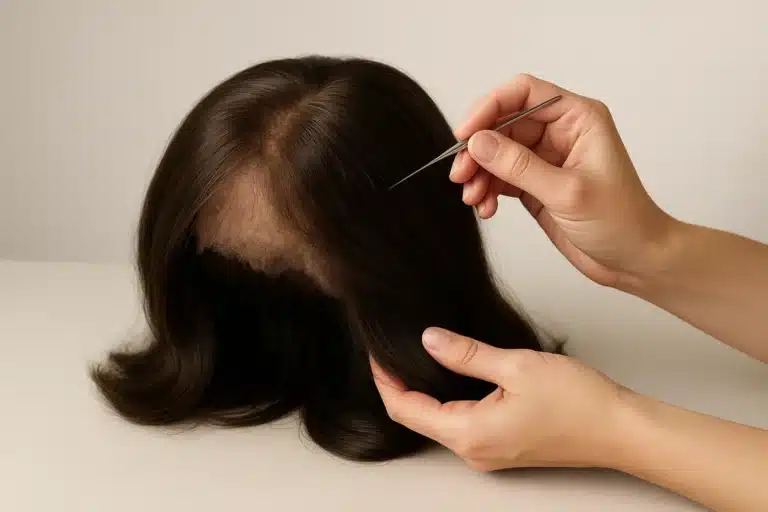
Plucking: The “Safe-Zone” Map
You may have seen online tutorials of stylists aggressively plucking the hairlines of human hair wigs to thin them out. Proceed with extreme caution on synthetic pieces.
Unlike human hair, synthetic knots are tightly secured, and aggressive plucking can rip the delicate welded lace of your Rene of Paris wig. If you must thin the hairline, stick strictly to the “Safe-Zone”—the very first row of hairs. Pluck one hair at a time, spacing them out randomly to avoid creating bald patches.
Understanding Heat-Friendly vs. Standard Fibers
If you want to create swooping baby hairs, you must know what fiber you are working with. The Orchid collection, for example, features many heat friendly synthetic wigs that allow you to gently use a low-heat flat iron (around 250°F – 275°F) to train the front hairs to lay flat. Standard synthetic fibers from the Amore or Noriko lines will melt under styling tools, so rely on steam or simply friction and styling paste to coax those baby hairs into place.
Troubleshooting Common Realism Roadblocks
Even with perfect preparation, you might run into a few daily hiccups.
- Lace Ripple: If your lace is buckling or rippling in the center of your forehead, it’s too tight. Before applying any glue or tape, do the Pinch Test. Place the wig on your head and gently pinch the lace in the center. If it buckles easily, you may need to adjust the sizing straps at the nape of your neck to give the front a bit more slack.
- Forehead Itch: Welded lace is durable but can sometimes feel scratchy to sensitive scalps. Protect your skin by applying a layer of scalp protector spray or a thin silicone barrier cream right where the lace sits.
- Stiff Lace Build-up: Over time, makeup and adhesives will build up on the lace, making it visible again. Proper lace front wig care requires gently cleaning the lace edge with 99% isopropyl alcohol or a specialized wig adhesive remover after every few wears to keep the mesh transparent and breathable.
The Invisible Hairline Checklist
Before you walk out the door, run through this quick 5-point check:
- The 4-Finger Check: Is the hairline sitting correctly above my brow bone?
- The Shadow Check: Are there any harsh straight lines casting shadows? (If yes, trim a tiny zigzag).
- The Blend Check: Is the lace color matched to my skin with powder?
- The Flush Check: Is the lace sitting completely flat against my forehead without rippling?
- The Confidence Check: Do I feel comfortable and secure?
Frequently Asked Questions (FAQ)
Are you supposed to trim the lace on a Rene of Paris wig?
Rene of Paris wigs come with pre-trimmed lace, meaning they are cut close to the hairline at the factory. However, because everyone’s forehead is different, you absolutely can—and often should—trim it further if there is excess lace showing on your specific face shape. Just remember to use the zigzag method!
Can I pluck a synthetic RoP hairline?
Yes, but it is high-risk. Synthetic fibers do not behave like human hair. If you choose to pluck to thin out a dense hairline, only pluck from the very front “Safe-Zone” edge, taking one single hair at a time to prevent tearing the welded lace.
How do I tame flyaways on standard synthetic wigs without heat?
If your wig isn’t heat-friendly, do not use hot tools! Instead, rub a tiny amount of wig-safe styling paste or pomade between your fingertips and gently smooth the flyaways down. You can also tie a silk scarf around the hairline for 10 minutes to train the fibers to lay flat.
Taking the Next Step
Transforming a beautifully crafted wig into an undetectable extension of yourself is an art form, but it’s an incredibly rewarding one. By understanding the anatomy of your Rene of Paris piece and mastering these simple customization techniques, you reclaim control over your look and your confidence.
At Wig Superstore, we understand that alternative hair is deeply personal. We’ve spent nearly two decades curating the highest quality products because we believe that everyone deserves to look in the mirror and love the person looking back.
Ready to put these skills to the test? Explore our extensive collections and discover the piece that will become your new canvas. If you ever need guidance, our compassionate team is always here to help you navigate your journey.