Imagine spending hours selecting the perfect style, only to feel that anxiety-inducing slip or lift at your hairline halfway through the day. It’s a common frustration that many assume is a fault of the glue or the wig itself. However, the secret to all-day confidence rarely lies in using “stronger” glue; it lies in the invisible work you do before the wig ever touches your head.
Think of your scalp as a living canvas. Just as a painter wouldn’t apply a masterpiece to a dusty, oily surface, you cannot expect high-performance adhesion on a scalp that hasn’t been properly prepped. Establishing a routine grounded in “skin chemistry” doesn’t just improve hold—it protects your skin from irritation and extends the life of your hairpiece. In this guide, we will walk you through the science of the foundation, ensuring your experience aligns with the insights found in the Ultimate Guide to Wig Adhesives: Finding Your Perfect Hold.
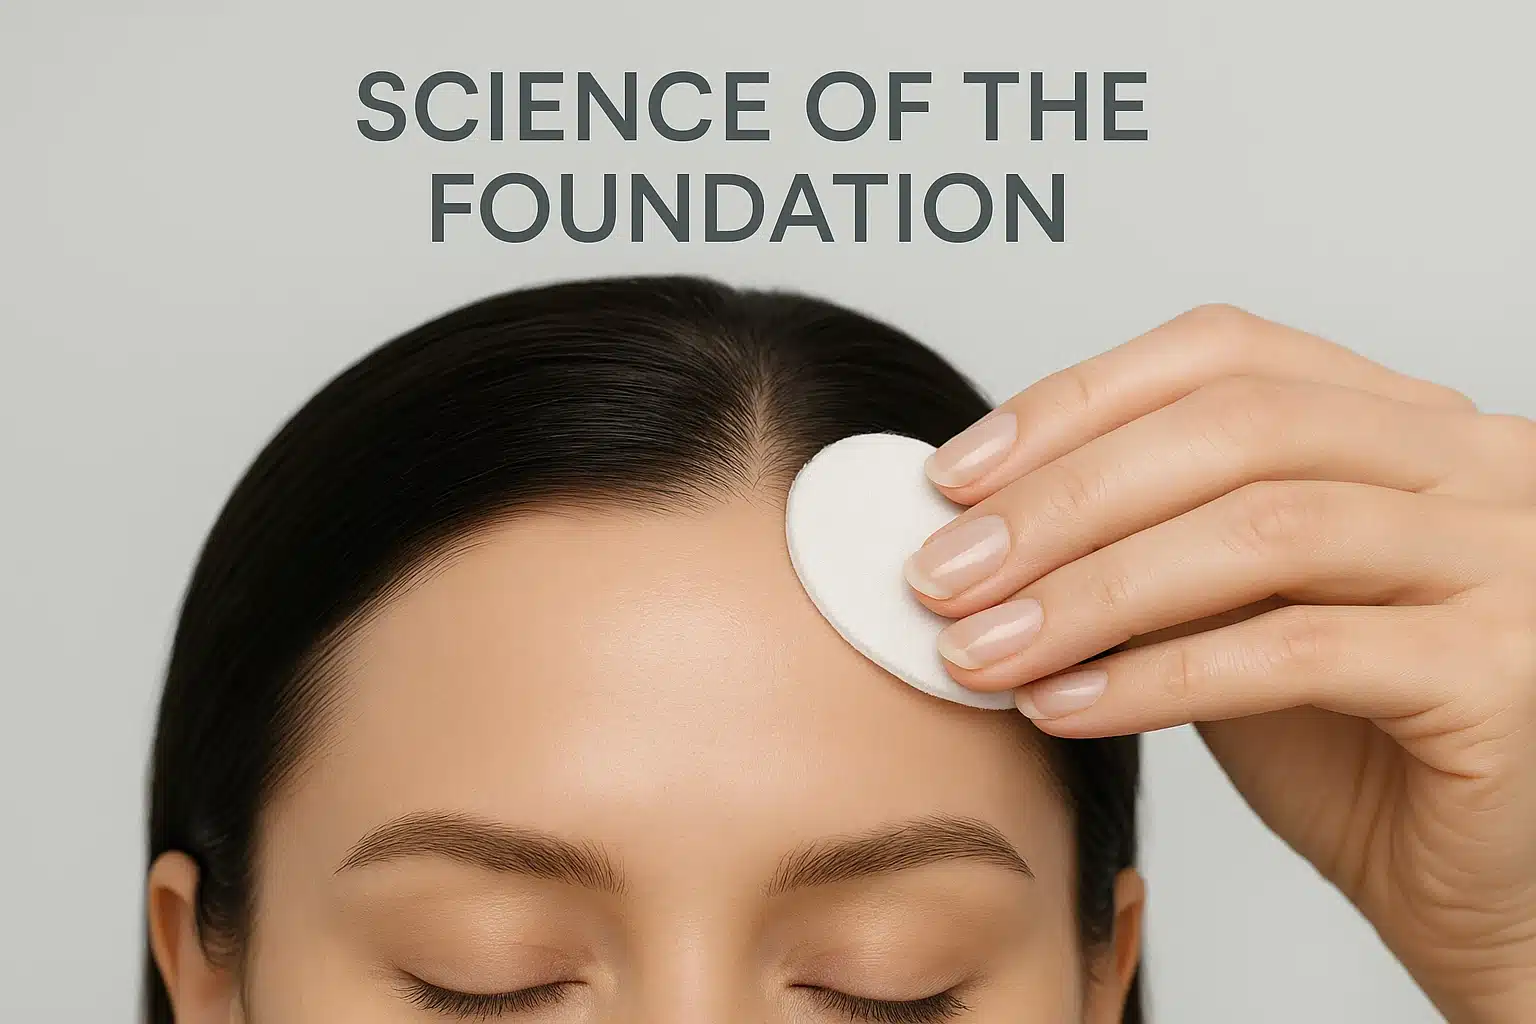
The Science of the Foundation: Why “Clean” Isn’t Enough
Many beginners make the mistake of washing their face or scalp with standard soap and assuming they are ready for application. However, to achieve a professional-grade hold, we need to look deeper at what is happening on the surface of your skin.
Your scalp naturally produces sebum (oils) and perspiration. In the world of adhesion chemistry, these oils act as “plasticizers.” That might sound technical, but think of plasticizers as kryptonite for your adhesive bond—they soften the glue, turning it from a secure anchor into a slippery substance. To prevent this, we utilize a “Scalp-to-Style” protocol that addresses both the mechanical surface (flatness) and the chemical surface (pH balance).
Step 1: The Mechanical Foundation (Flattening the Curve)
Before we touch a drop of cleanser, we must address the physical shape of your head. A natural-looking wig relies on a completely flat base. If your biological hair is bunched underneath, it creates tension points where the wig wants to pull away from the skin, particularly at the temples.
The “Flat Base” Technique
For those with biological hair, the goal is to redistribute bulk away from the hairline.
- For Short Hair: Gel or mold the hair flat against the scalp in a circular pattern.
- For Long Hair: Avoid piling hair on top of the head (which creates a cone shape). Instead, utilize flat wrapping or multiple small braids (cornrows) that distribute the volume evenly toward the nape of the neck.
Step 2: The “Double Cleanse” Method
Once the hair is secured, we move to the skin. This is where the “Double Cleanse” method transforms your results. A single wipe often just moves oil around rather than removing it.
- The Solvent Phase: If you have worn a wig recently, use an adhesive remover to ensure every microscopic trace of old residue is gone.
- The Deep Cleanse: Wash the hairline area with a cleanser specifically designed to strip oils without depositing moisturizers (avoid standard shampoos with “silky” or “moisturizing” on the label, as these leave a film).
Step 3: Toning and pH Balancing
This is the “Aha moment” for many wearers. Even after cleaning, your skin has a specific pH level that might not be compatible with your adhesive. Furthermore, tap water can leave mineral deposits.
To bridge the gap between medical-grade skin health and styling, use 99% Isopropyl Alcohol on a lint-free wipe across the hairline. This serves two purposes:
- It acts as a drying agent, removing any lingering moisture.
- It creates the pristine, sterile environment required for maximum bond time.
Note: If you have extremely dry or sensitive skin, you may want to alternate this with Witch Hazel, though alcohol remains the gold standard for long-wear adhesion.
Step 4: The Barrier Layer (The Primer)
Now that the scalp is clean and toned, we must protect it. Applying adhesive directly to the skin can lead to irritation over time, and your body’s natural sweat can eventually break through the glue.
This is where a scalp protector or barrier spray becomes essential. Think of this product as a breathable “primer” similar to what you might use under makeup. It creates a microscopic shield that:
- Prevents the adhesive from sinking into your pores.
- Blocks sweat and oils from rising up and attacking the bond.
- Improves comfort for those needing wig glue for sensitive skin.
The Tacky-Touch Test: Apply your scalp protector and wait. It is only ready when it feels dry to the touch but slightly tacky—usually after 1-2 minutes. This “tack” gives the adhesive something immediate to grab onto.
Step 5: The 4-Finger Rule
With your scalp prepped, where exactly should the wig sit? A common mistake is placing the wig too low, which shrinks the forehead and looks unnatural.
Use the 4-Finger Rule: Place four fingers flat on your forehead, starting from the bridge of your nose. Your wig’s hairline should technically start just above your top finger. This measurement generally aligns with natural proportions, ensuring your carefully prepped scalp is utilized effectively.
Troubleshooting: Why Bonds Fail
Even with great prep, environmental factors play a role. If you find your edges lifting after just a day or two, consider these factors:
- Humidity and Sweat: If you are applying in a humid bathroom after a shower, moisture is trapped under the glue. Always apply in a cool, dry room.
- Product Contamination: Did you use a moisturizer or facial serum near your forehead after the alcohol cleanse? Even a tiny drop can compromise the bond.
- Cure Time: After applying your wig, avoid heavy sweating or getting the hair wet for at least 24 hours. The adhesive needs time to “cure” or fully set.
Maintaining your wig involves more than just the initial application. Utilizing the best wig care products for washing and styling your unit will also ensure that the lace remains clean and free of buildup, which helps the next application hold even better.
Frequently Asked Questions
Can I use rubbing alcohol if I have sensitive skin?
While 99% Isopropyl Alcohol is the industry standard for cleaning, it can be drying. If you have sensitive skin, test a small patch first. You may prefer using a specialized scalp cleanser designed for sensitive skin, followed by a gentle layer of scalp protector to act as a buffer before applying any adhesive.
How long should I wait after cleaning to apply the glue?
Wait until the skin is bone dry. Any moisture trapped under the adhesive will turn into steam (body heat) or bacterial breeding grounds, causing the glue to turn white and lift.
Do I really need a scalp protector if I’m only wearing the wig for a day?
While not strictly “mandatory” for daily wear, a scalp protector is highly recommended. It prevents contact dermatitis and makes the removal process significantly easier and gentler on your skin.
What is the difference between cleaning and toning?
Cleaning removes dirt and debris. Toning removes the microscopic oils and balances the skin’s surface tension. You can clean without toning, but you cannot achieve a maximum-wear hold without both.
The Path to Confidence
Mastering scalp preparation transforms wig wearing from a daily worry into a seamless part of your lifestyle. By respecting the science of your skin and treating the prep phase as a ritual of self-care, you ensure that your wig doesn’t just look good—it feels like a natural extension of you.
When you are ready to take the next step in your journey, exploring the right adhesives and removal products will help you customize a routine that fits your unique life and style.